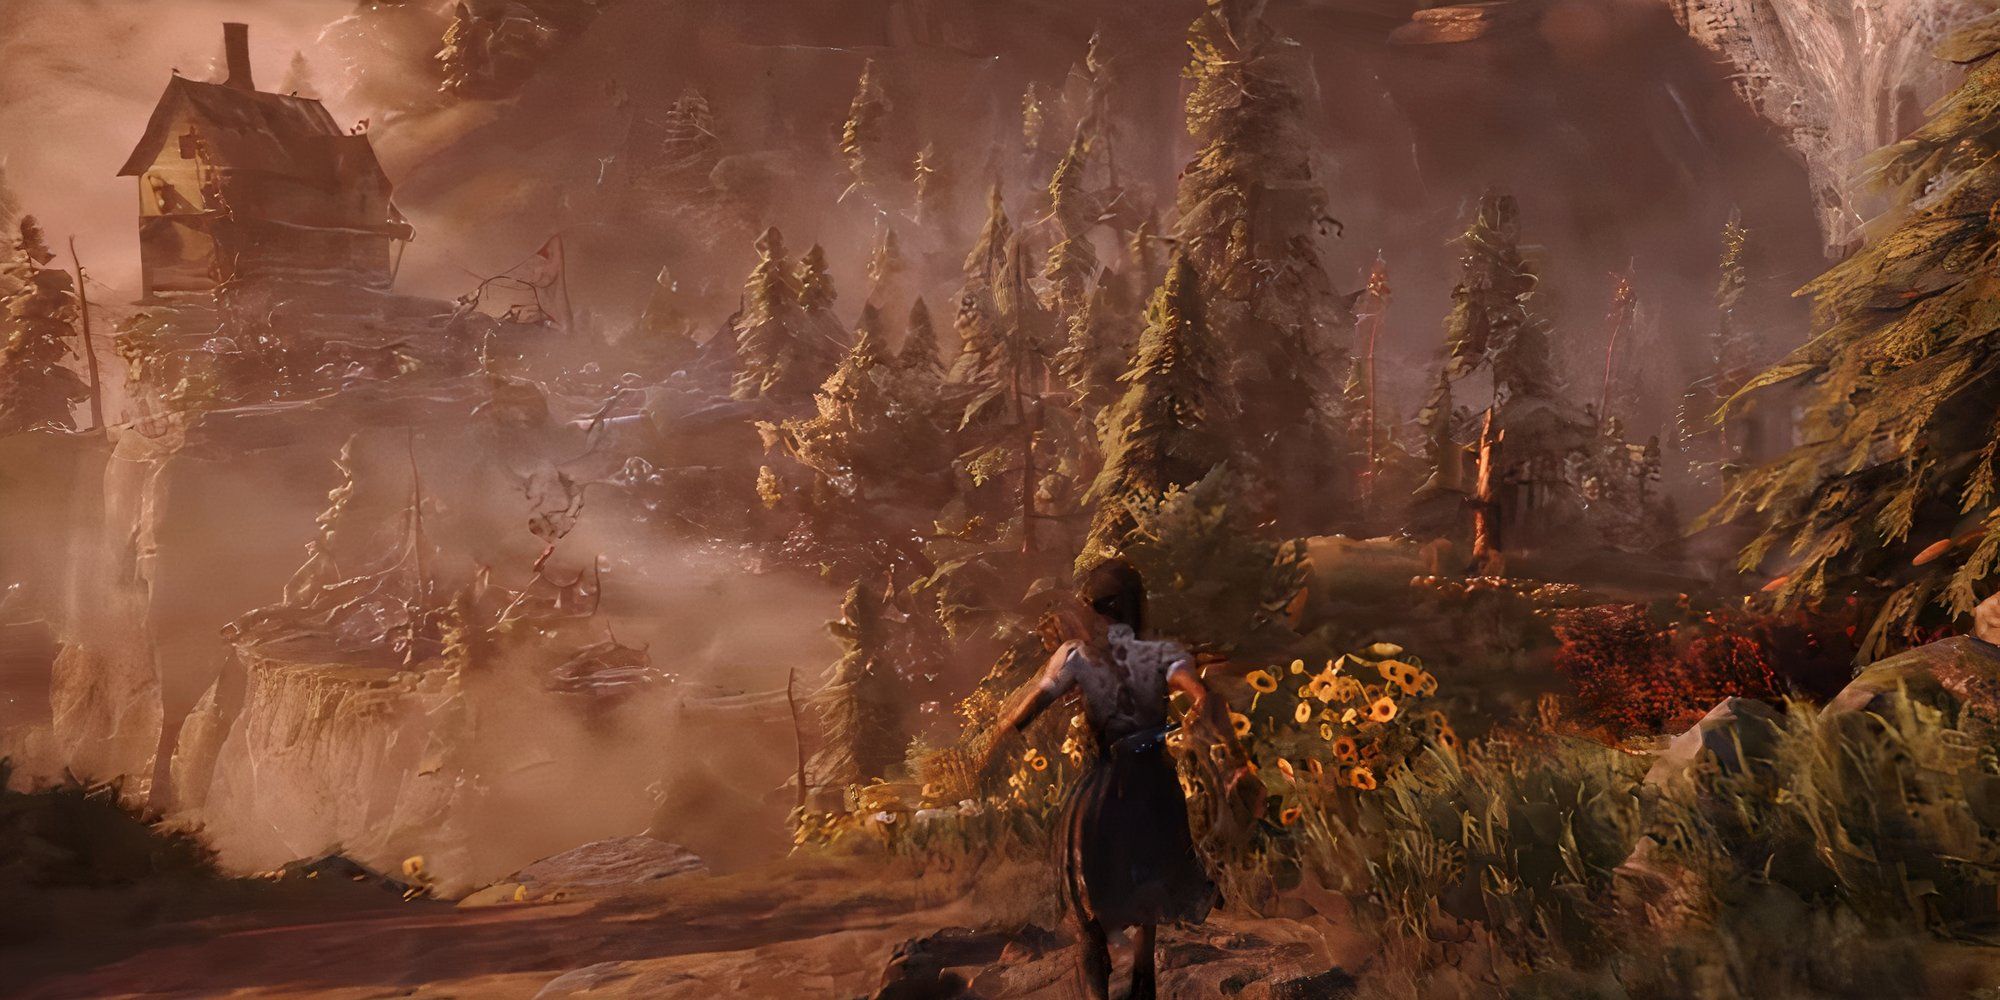
South of Midnight
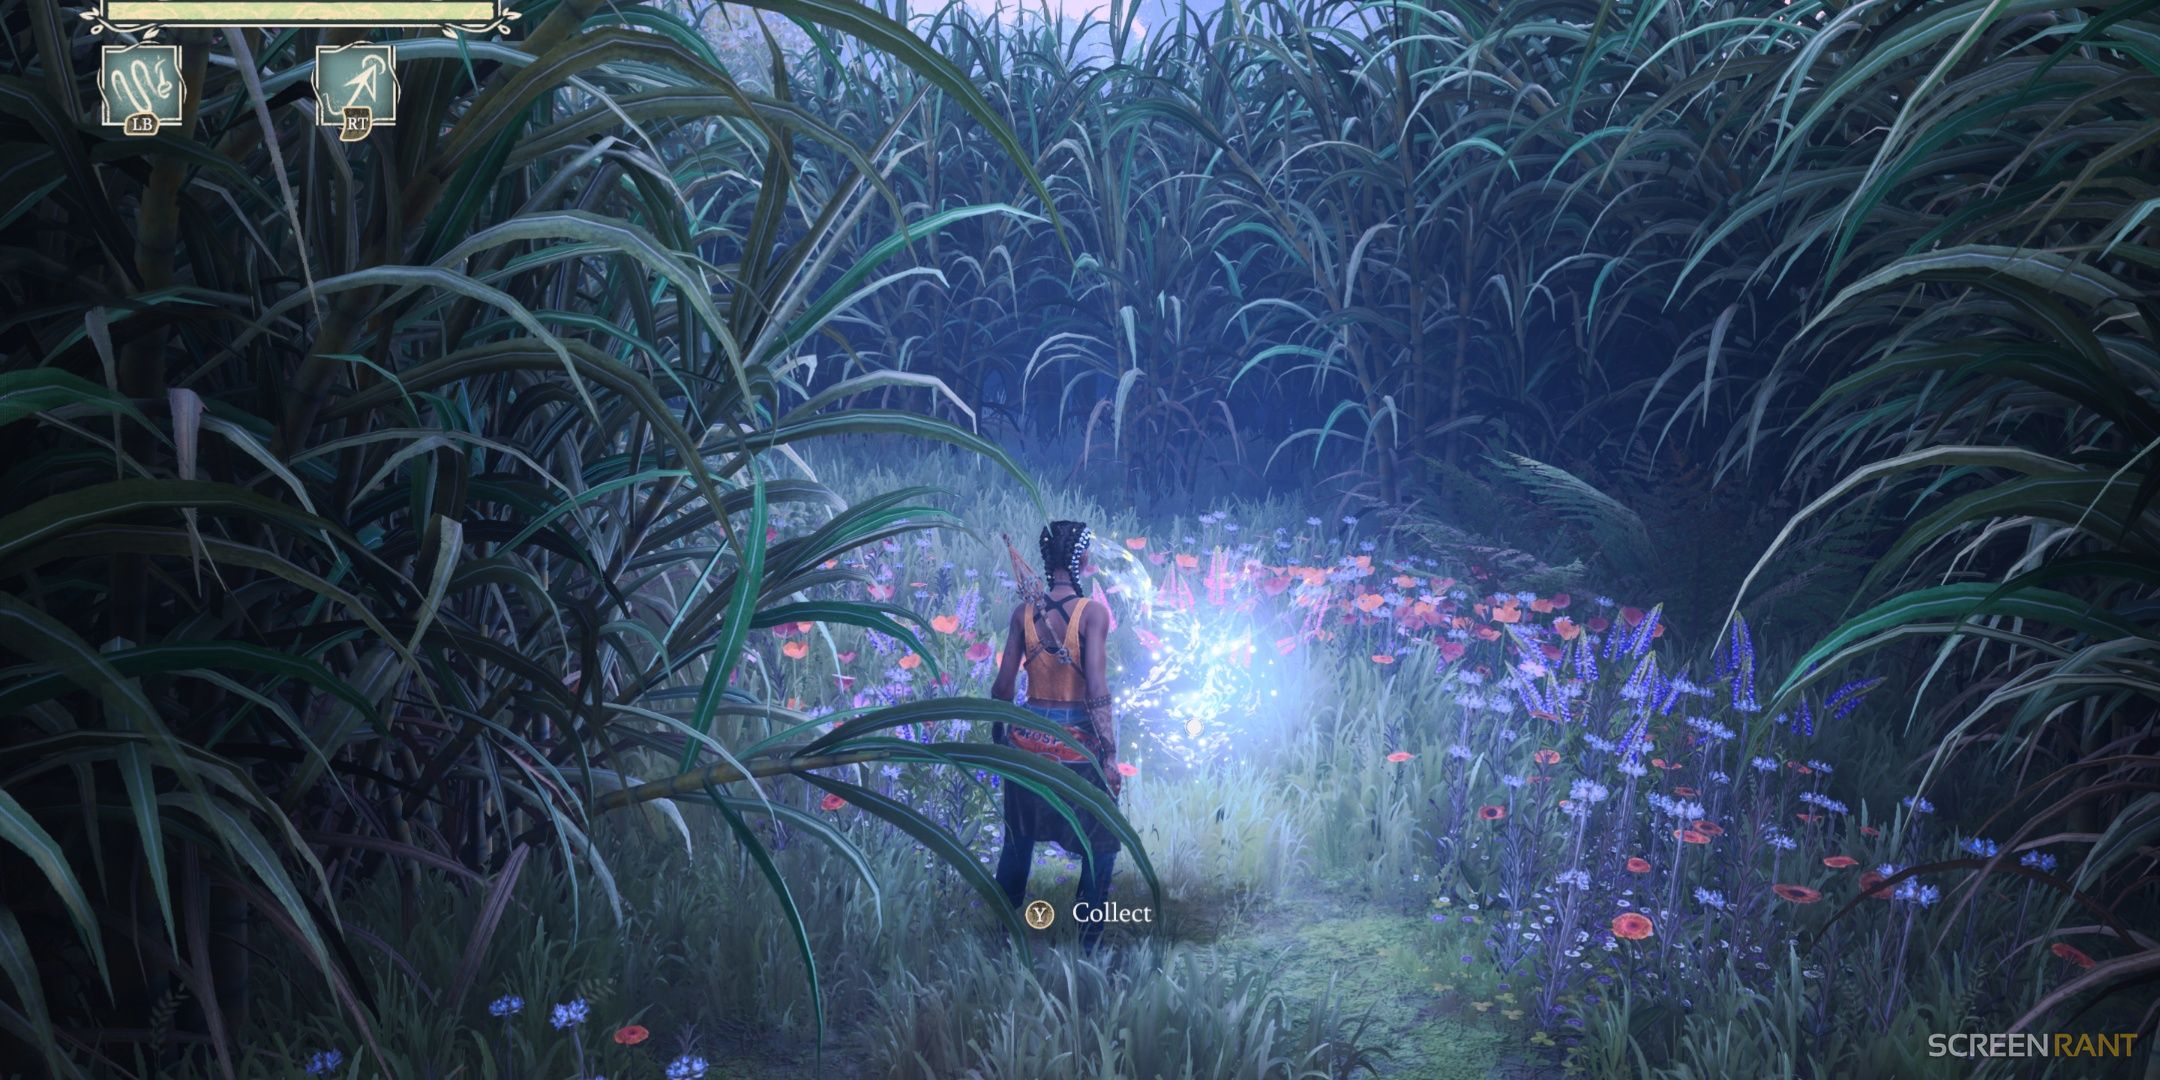
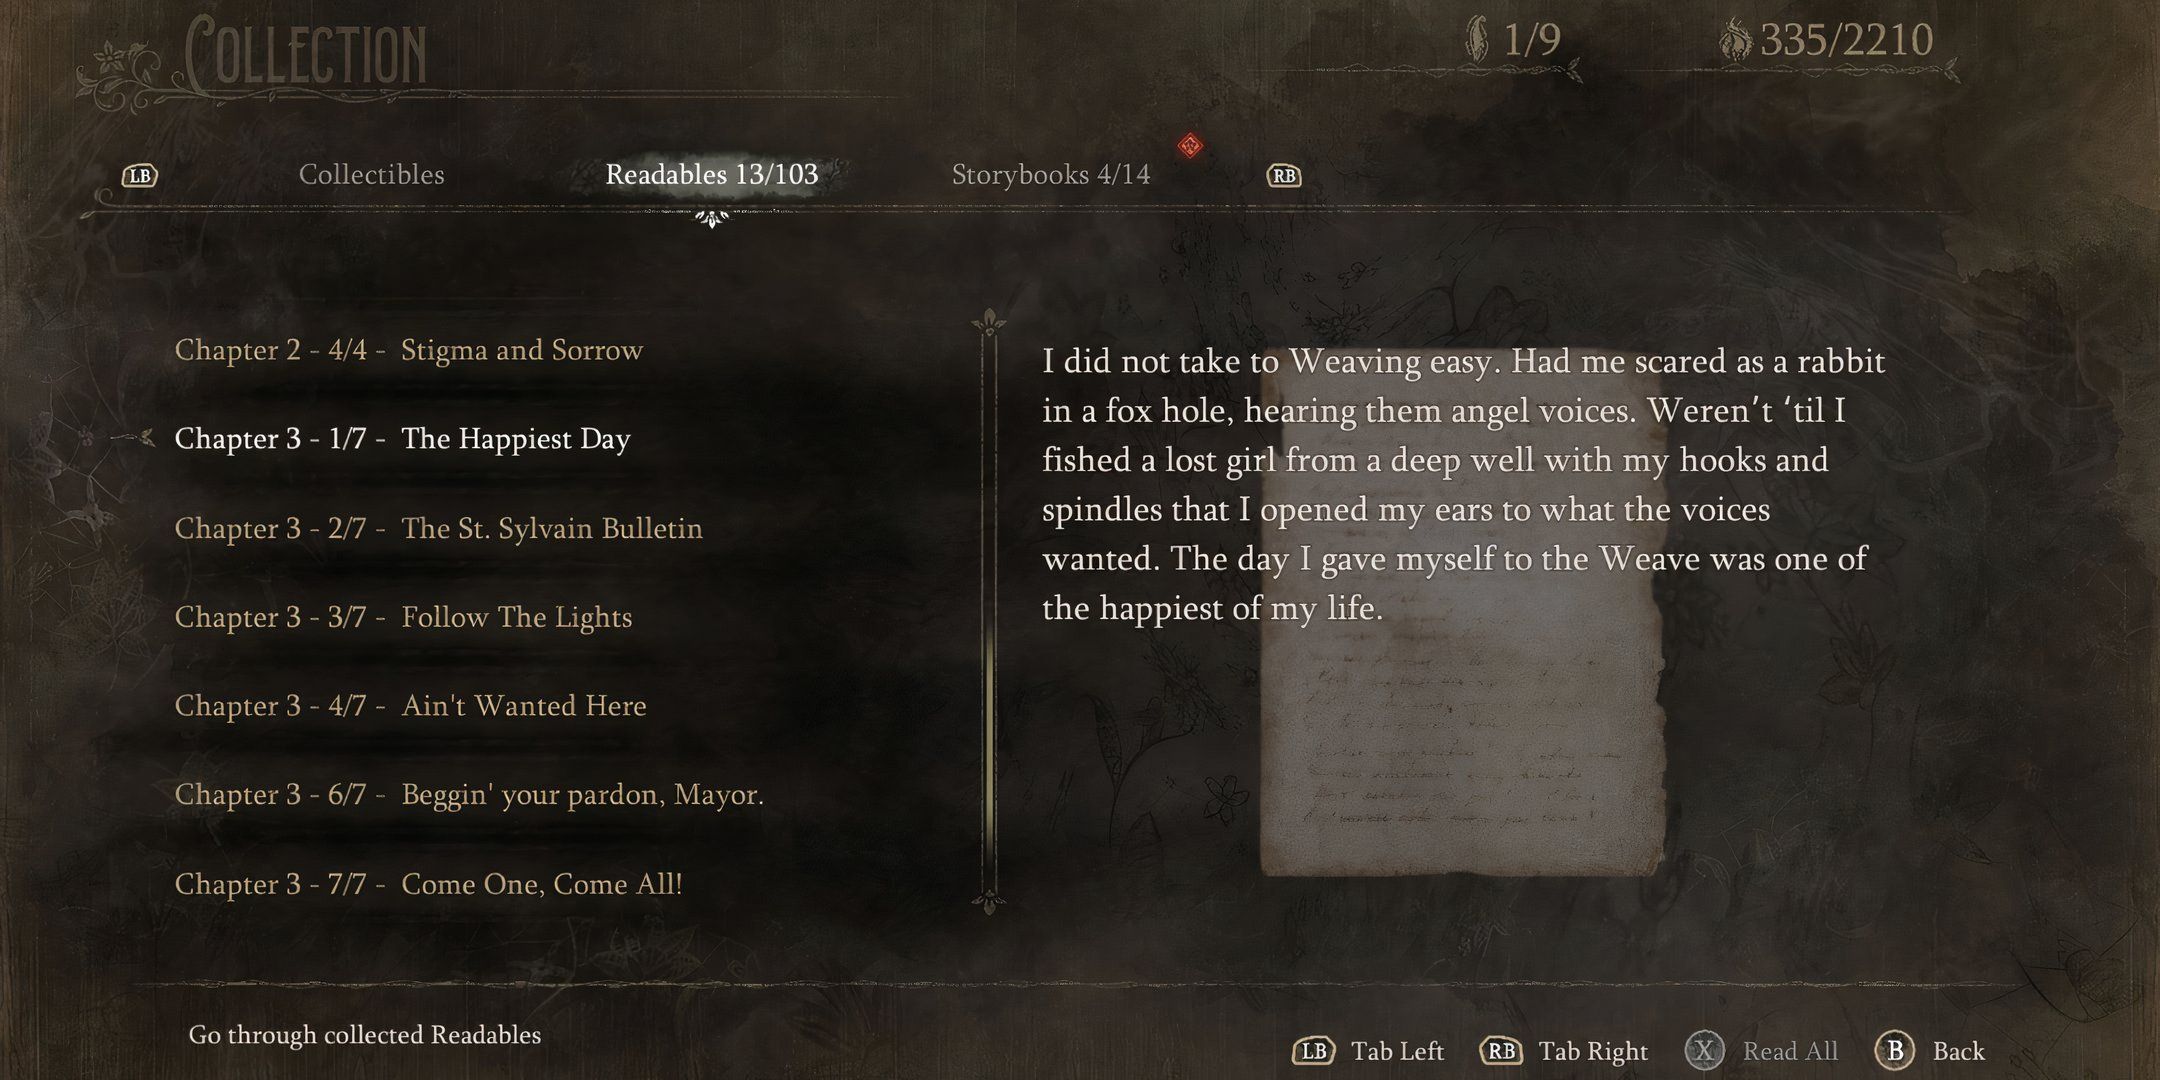
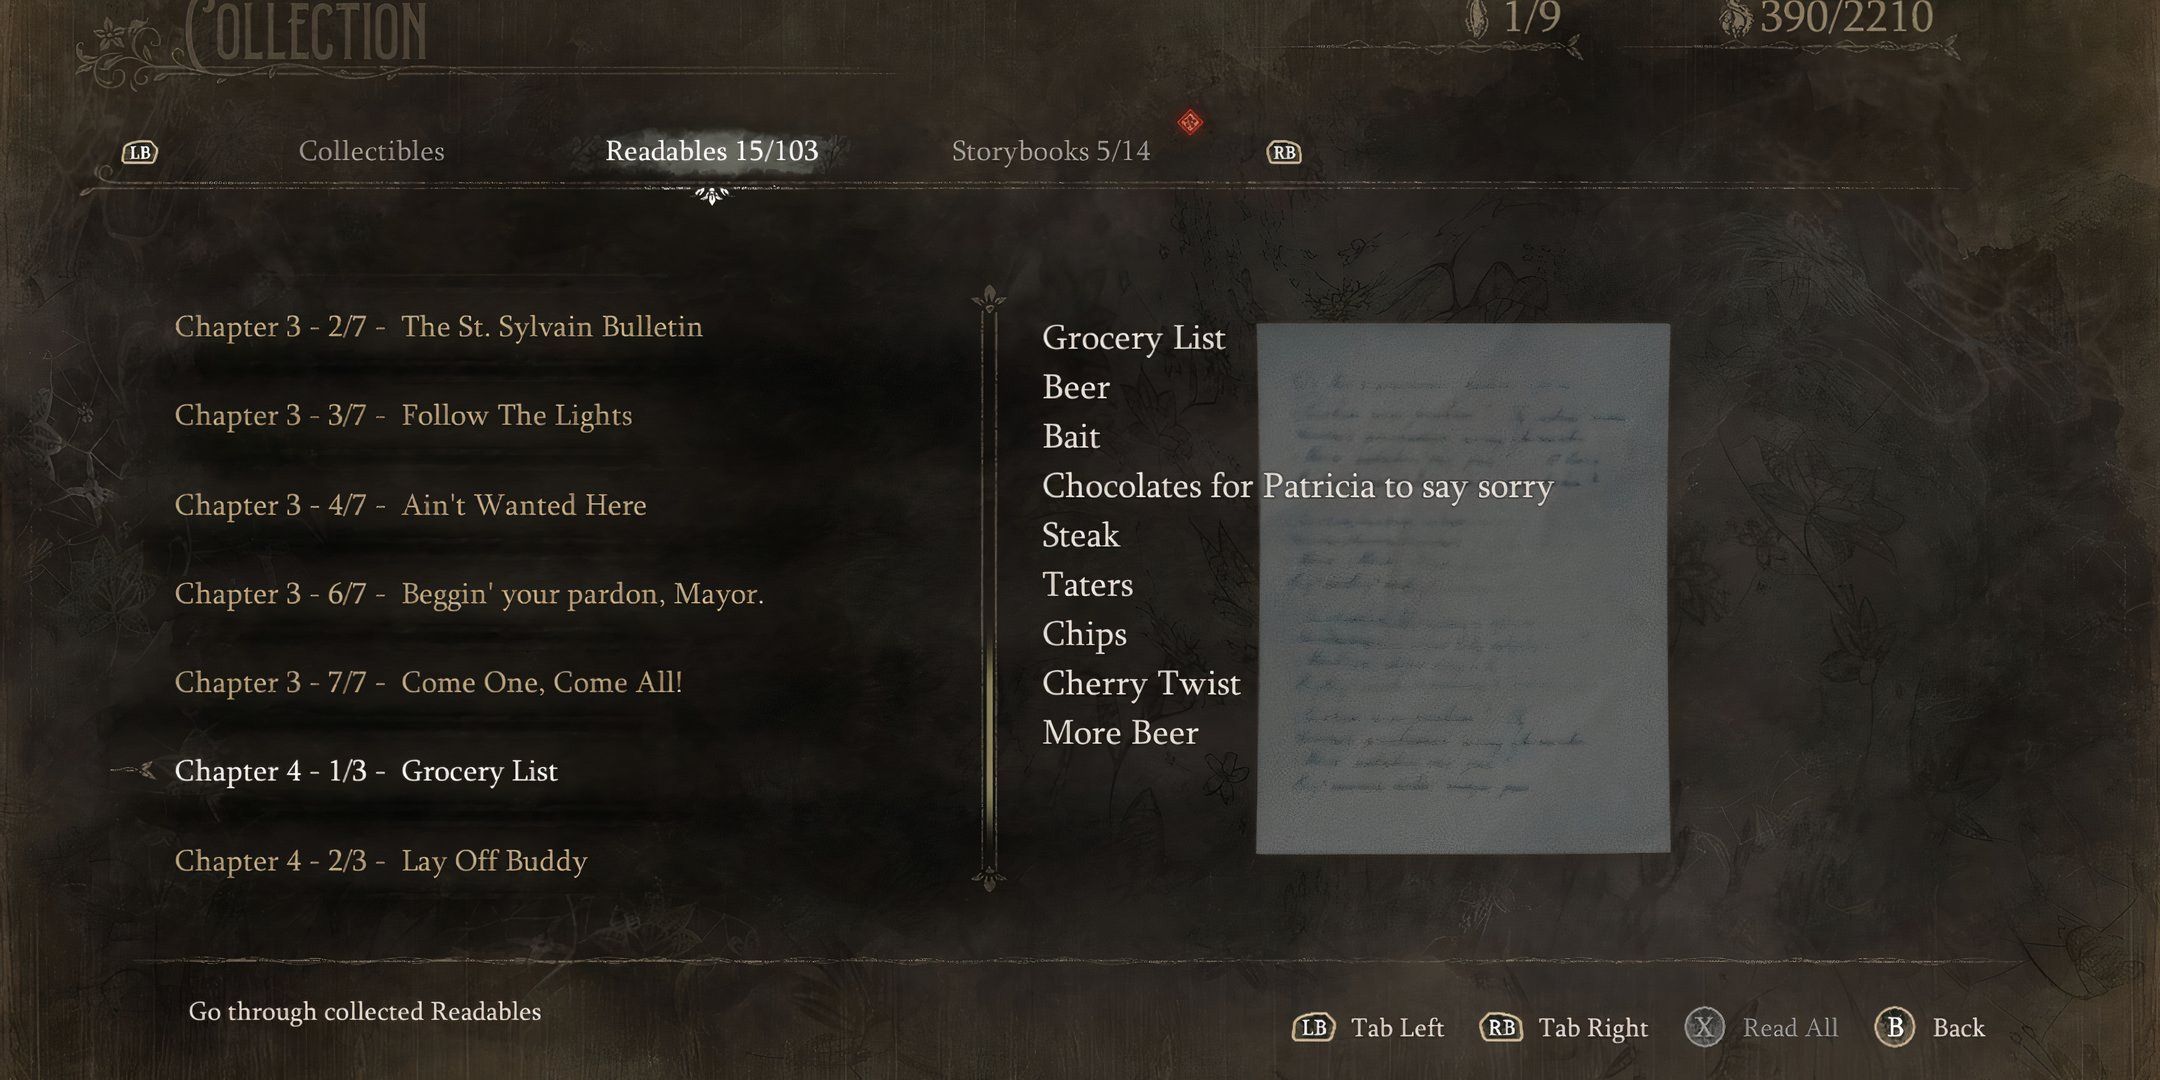
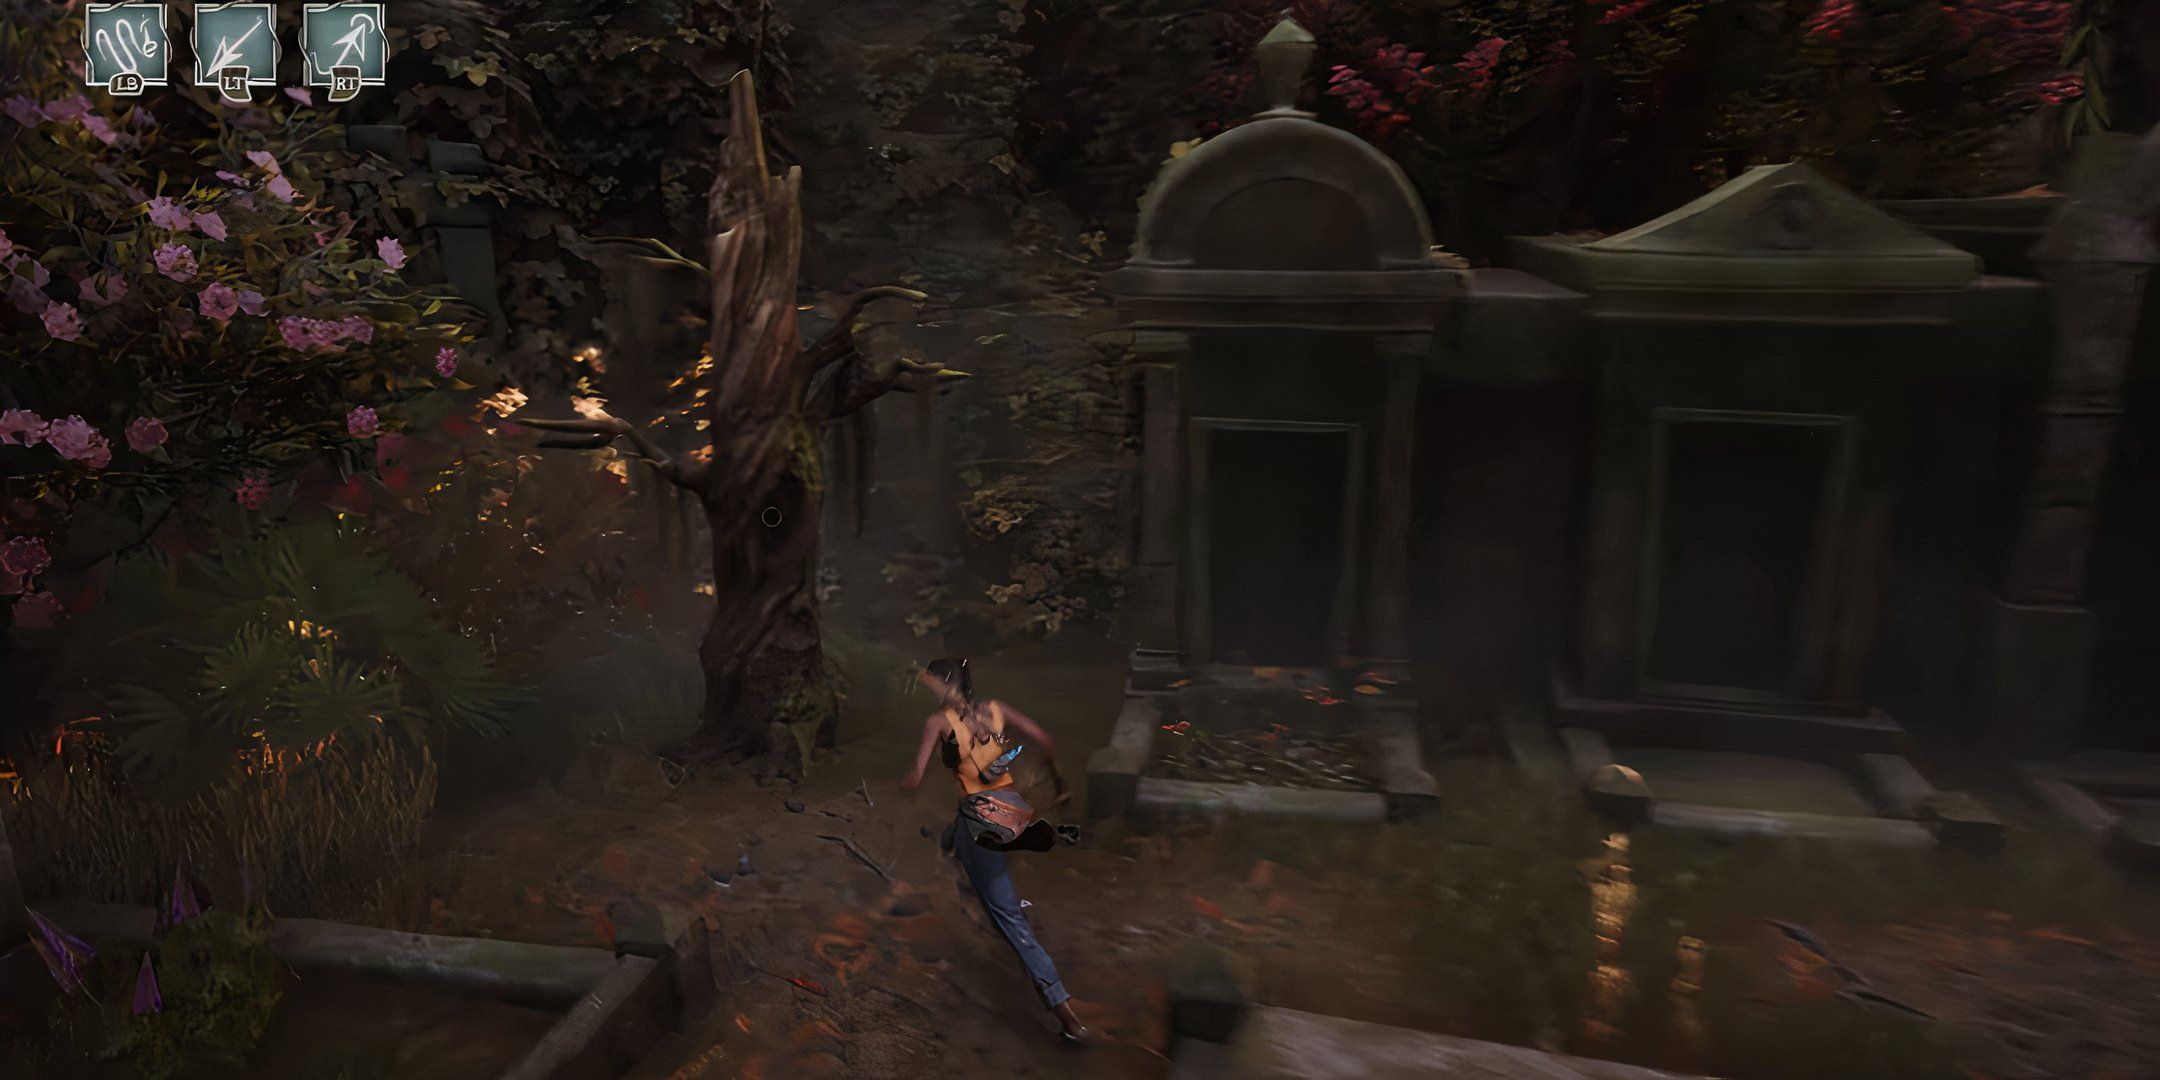
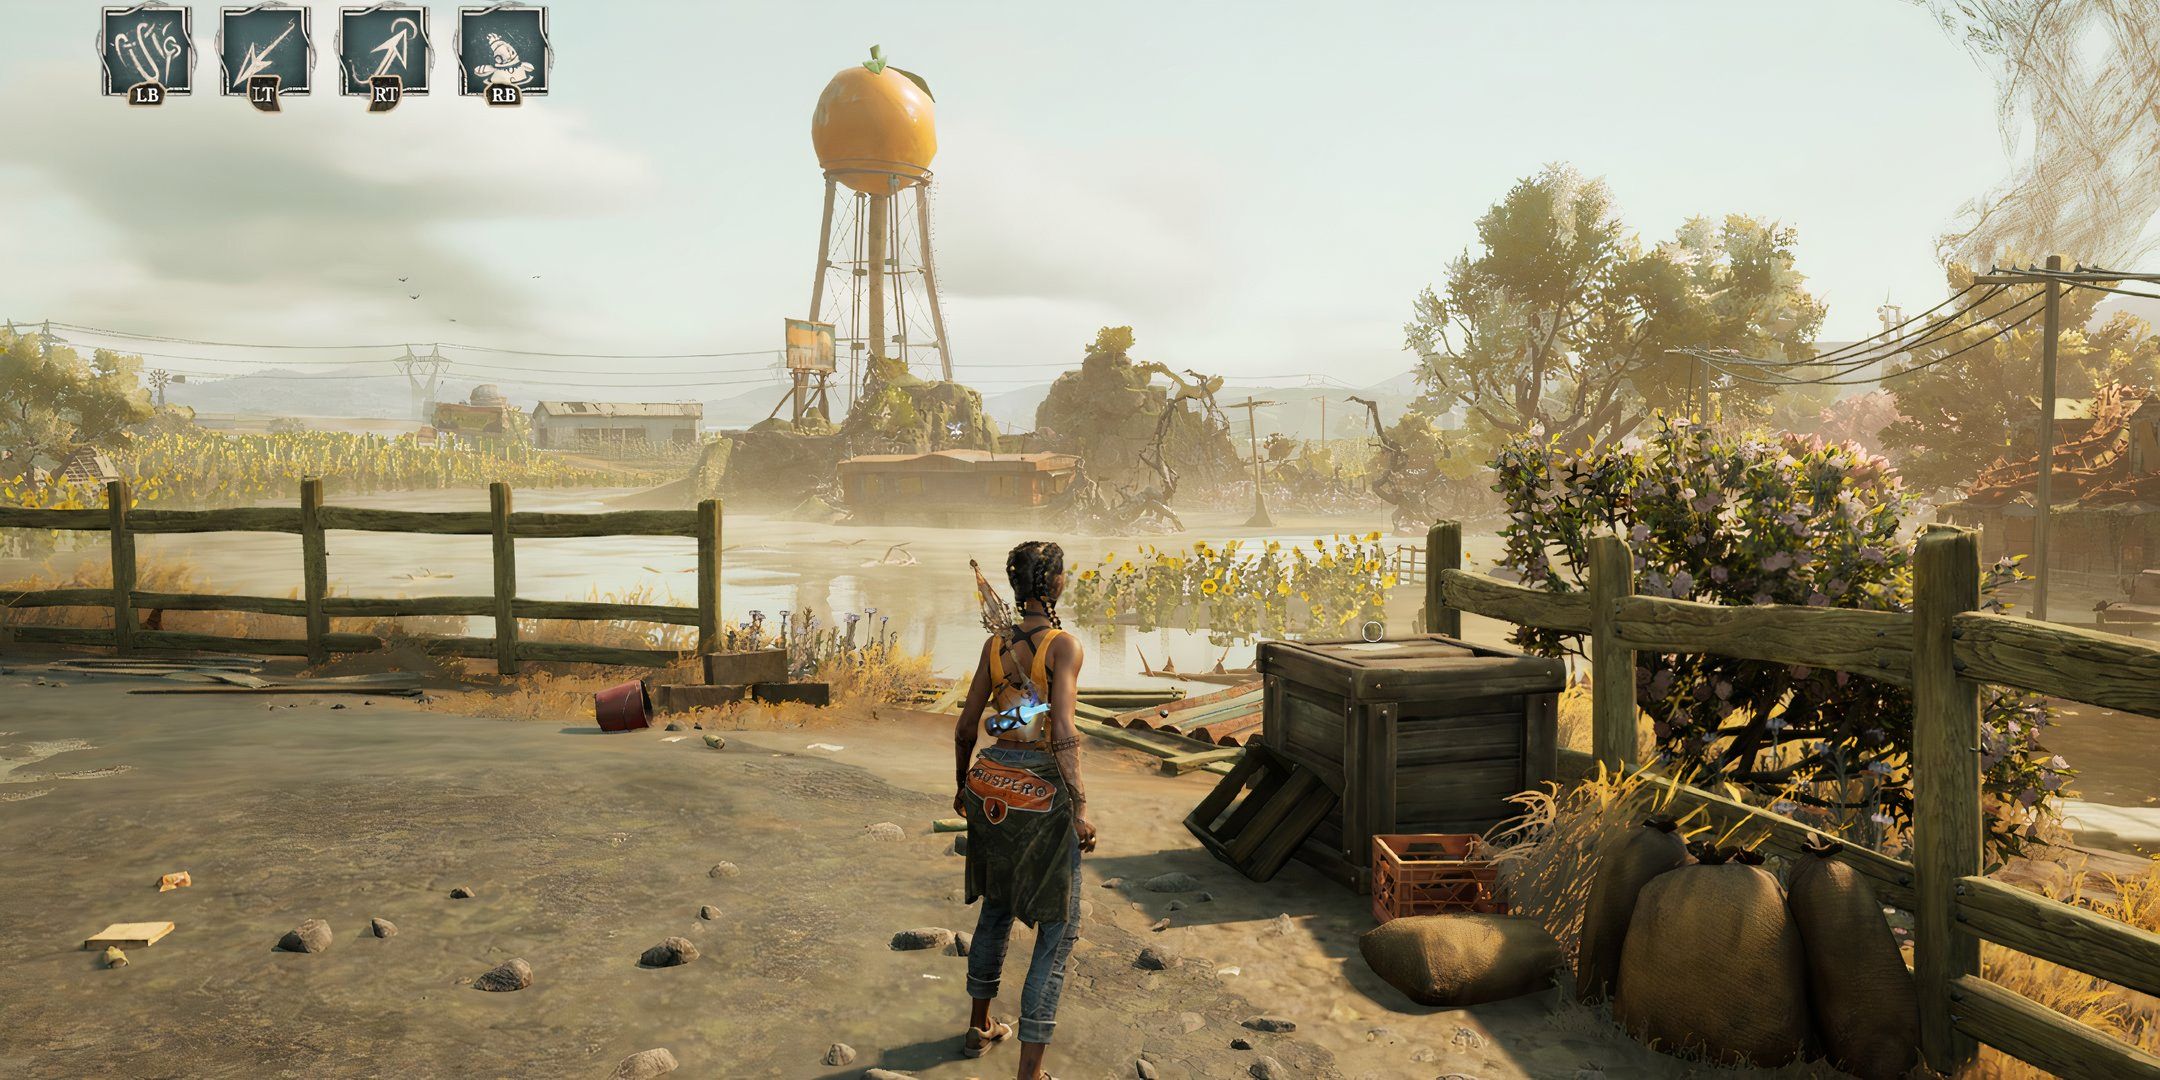
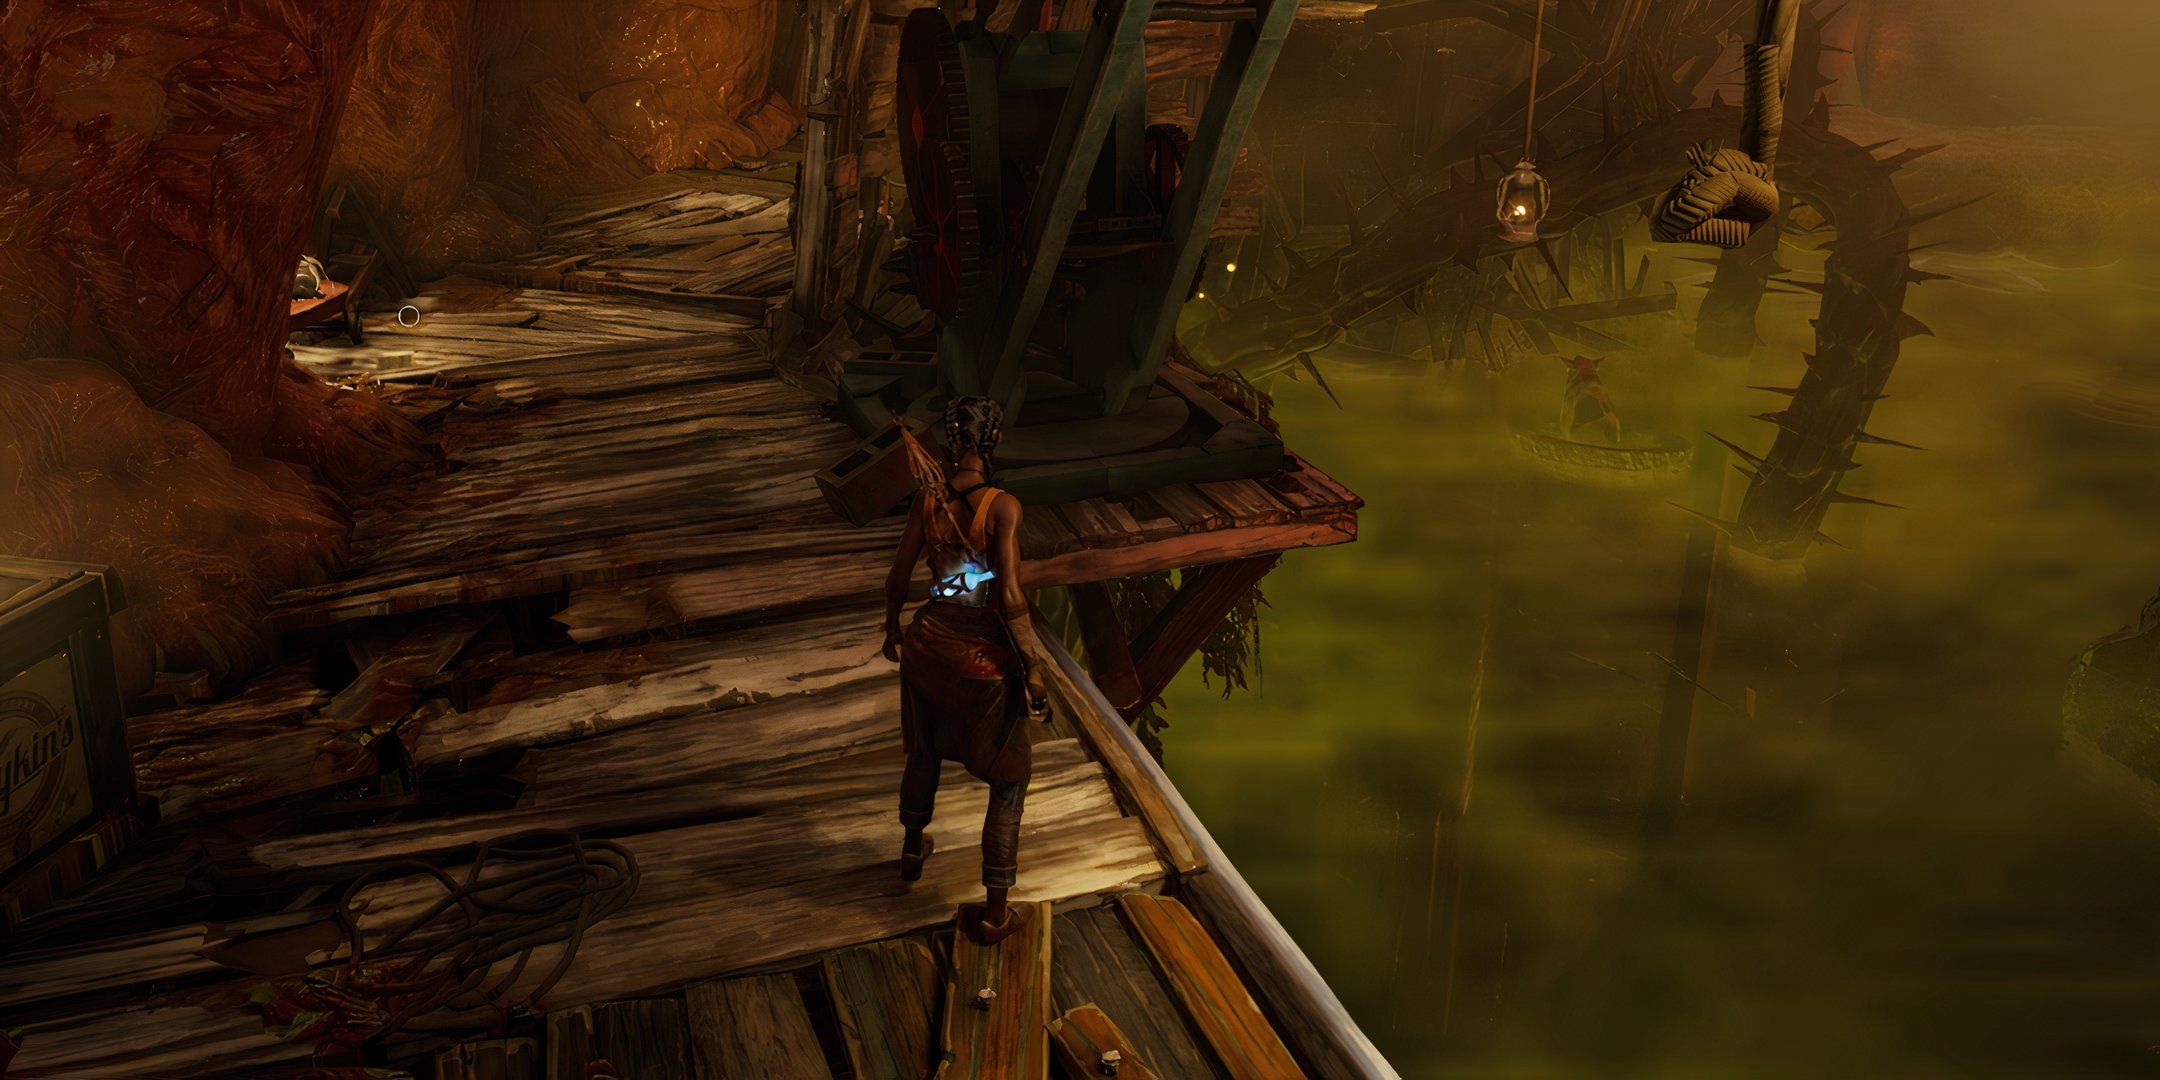
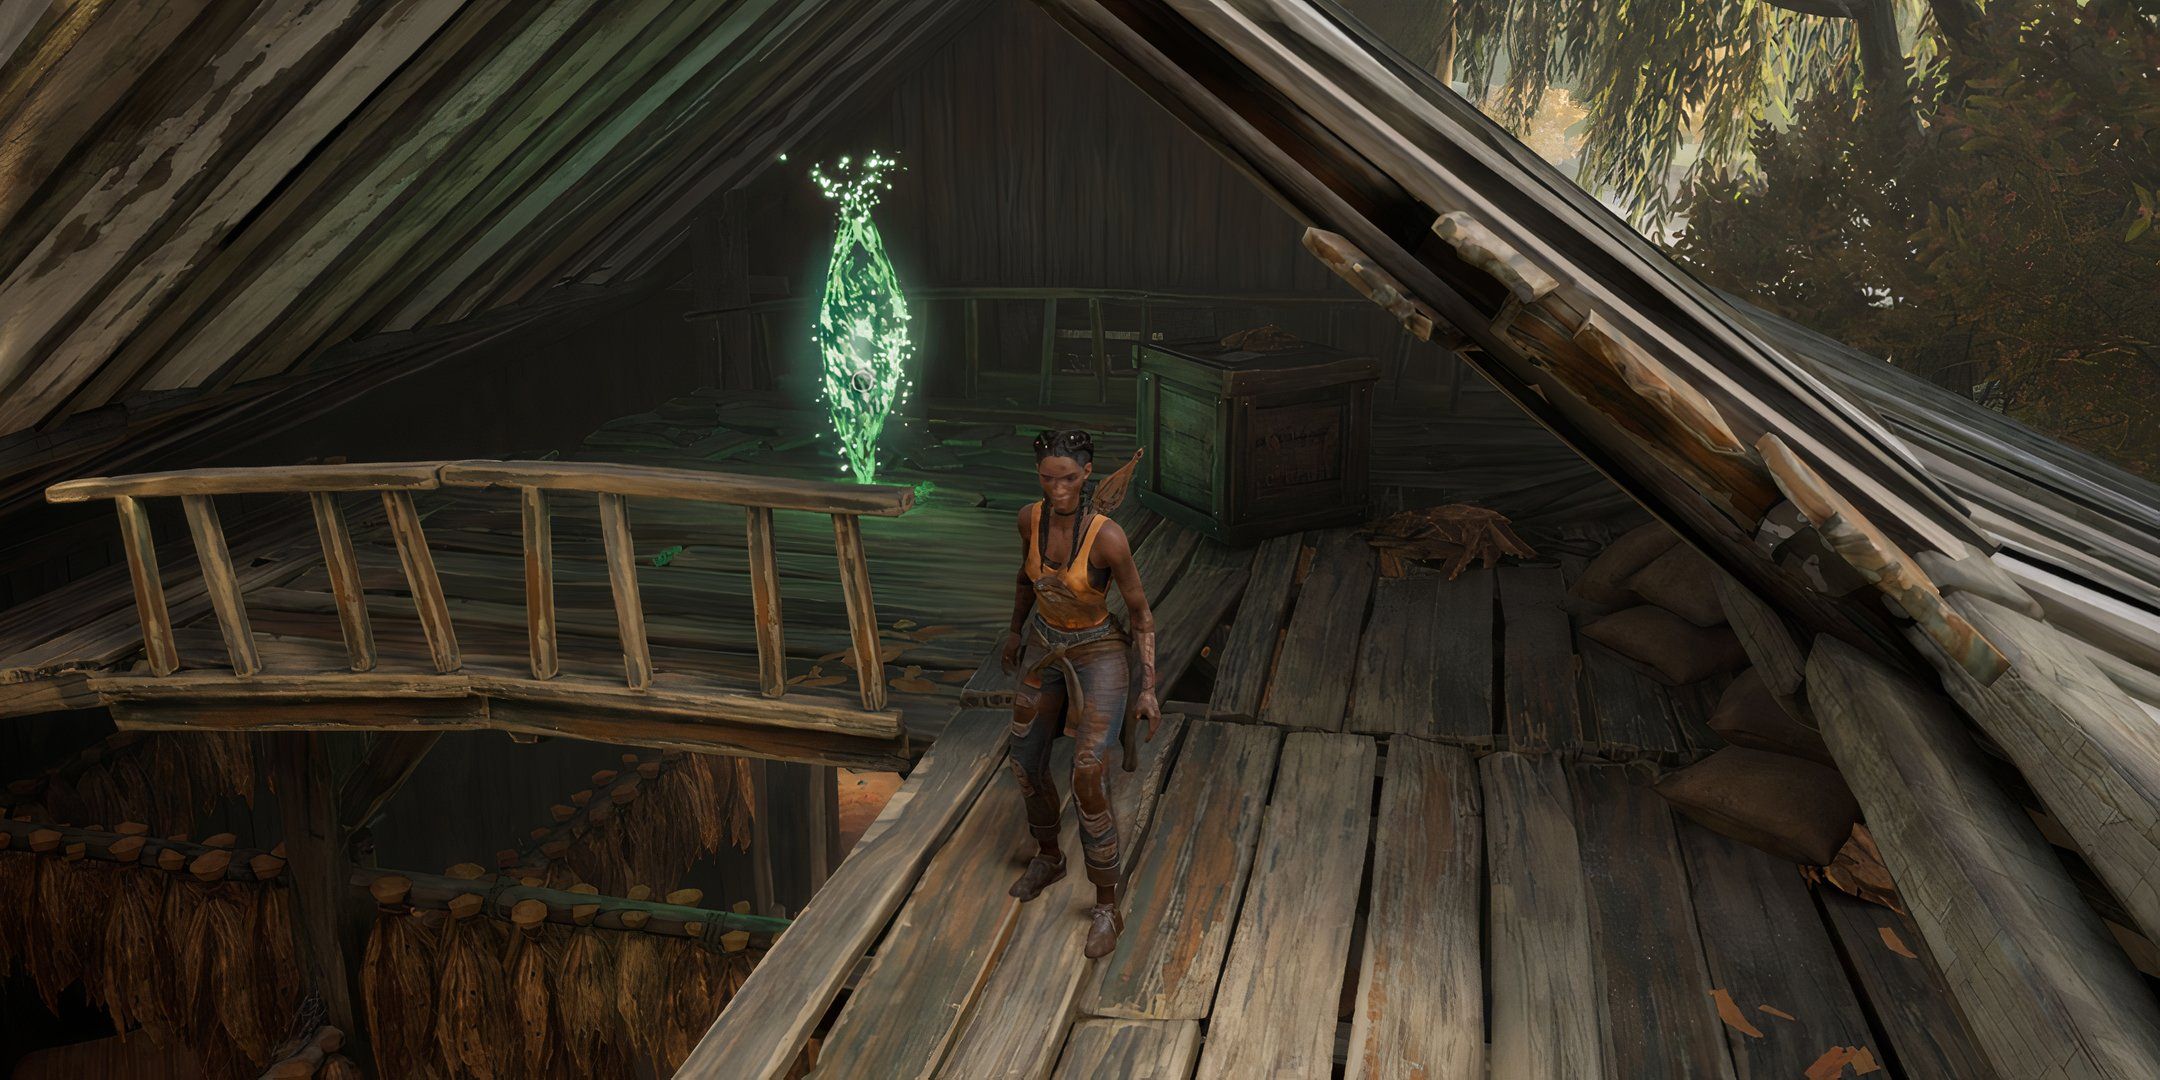
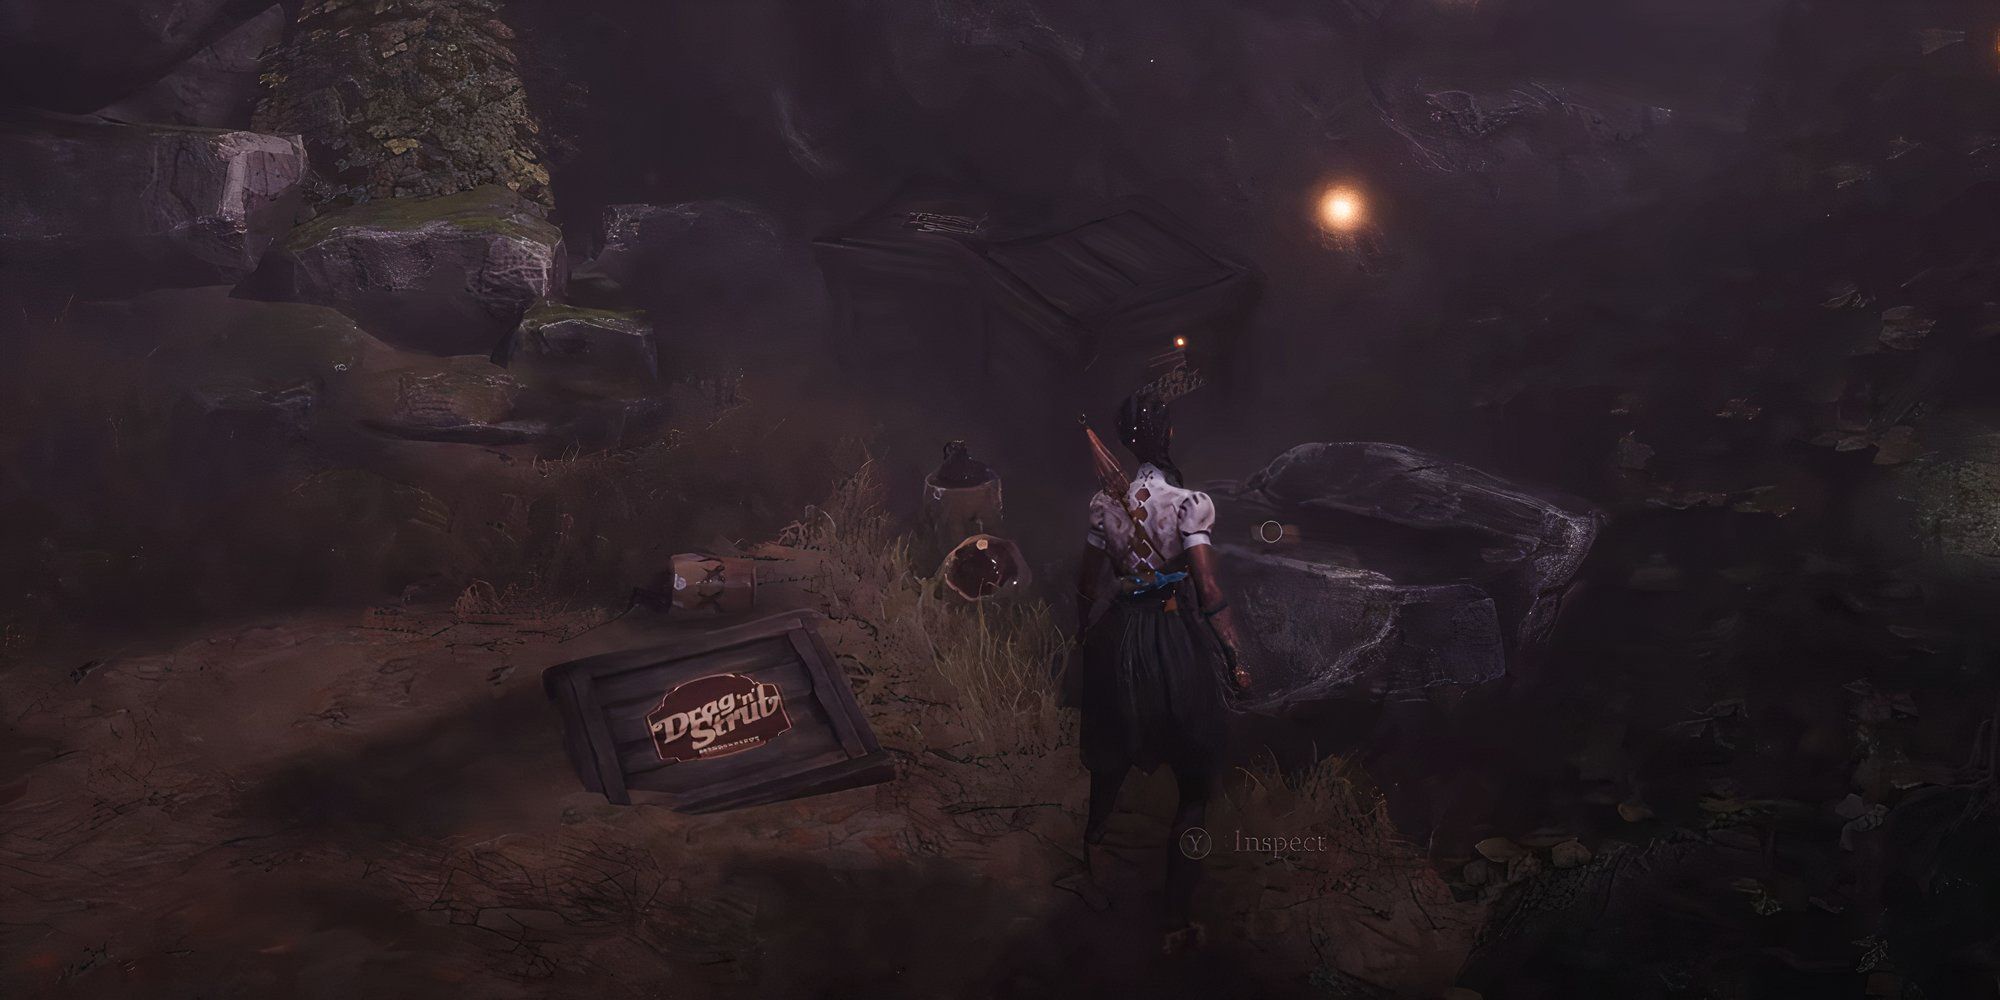
With so many collectible item inSouth of Midnight , it ’s easy to overtop some of the many different readable payable location in each chapter . clear collectable are recover during the main tarradiddle as you make your manner across Prospero , and you ’ll need to grab them all if you need to unlock the associated achievement . Readable collectable add to the overall traditional knowledge of the story , while allow for background and brainwave into the type as well . These sometimes take the shape of glowing symbols on the paries , but can also be notice on notes or books , etc .
There are over 100 decipherable collectibles in South of Midnight , and while itcan be a bit tediousto track these down at times , if you ’re interested in the rich and complex narrative , these provide a lot of interesting context . Further , if you collect all the readables in the game , you ’ll unlockthe Loremaster accomplishment . Overall , readable collectible are one of the main features of the narrative development in South of Midnight , so be sure to snaffle as many as you’re able to . If you end up missing one , you’re able to replay each chapter from the Load Game concealment .
Quick Links
All Readables In Chapter 1: Night Of The Flood
There Are Three Readables In The First Chapter
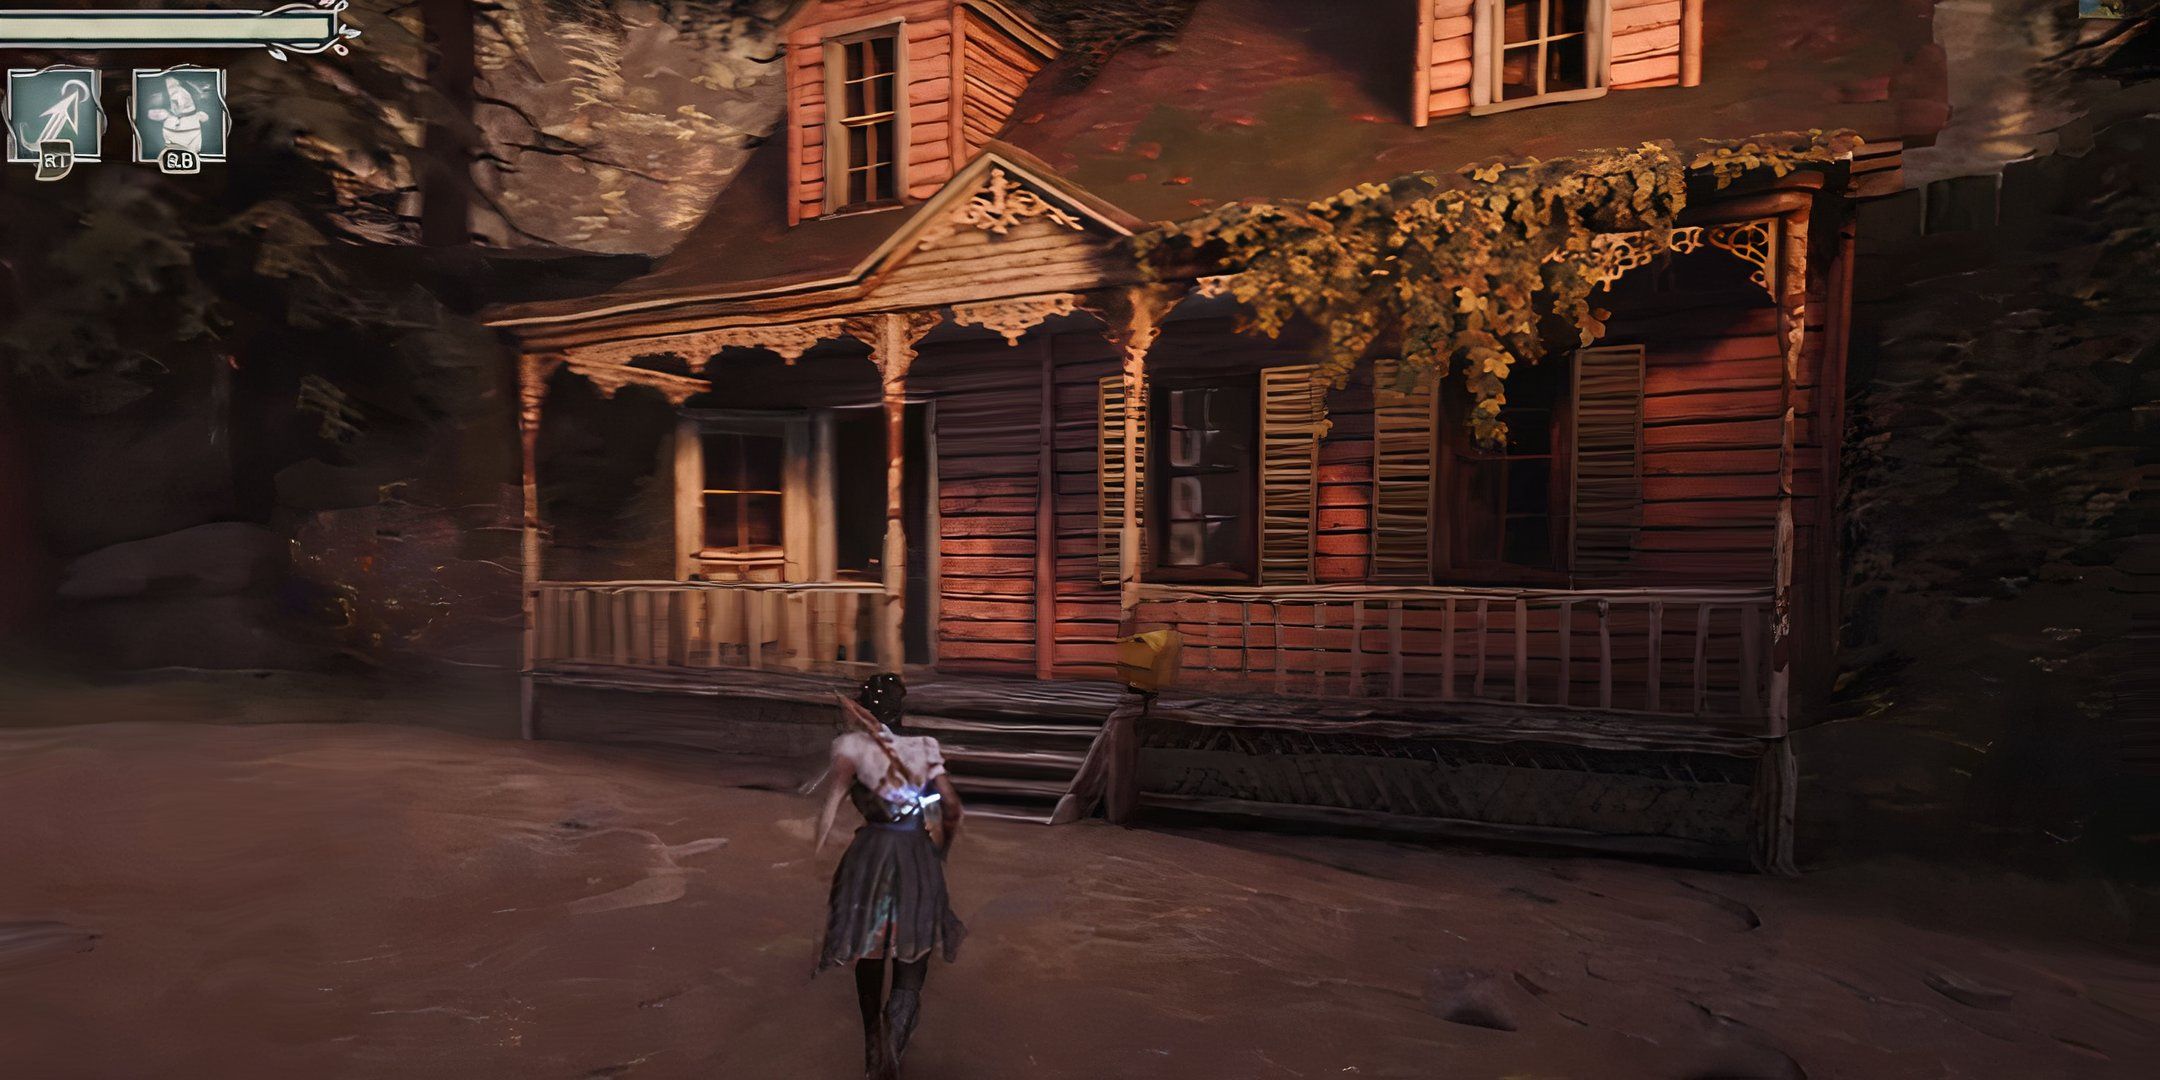
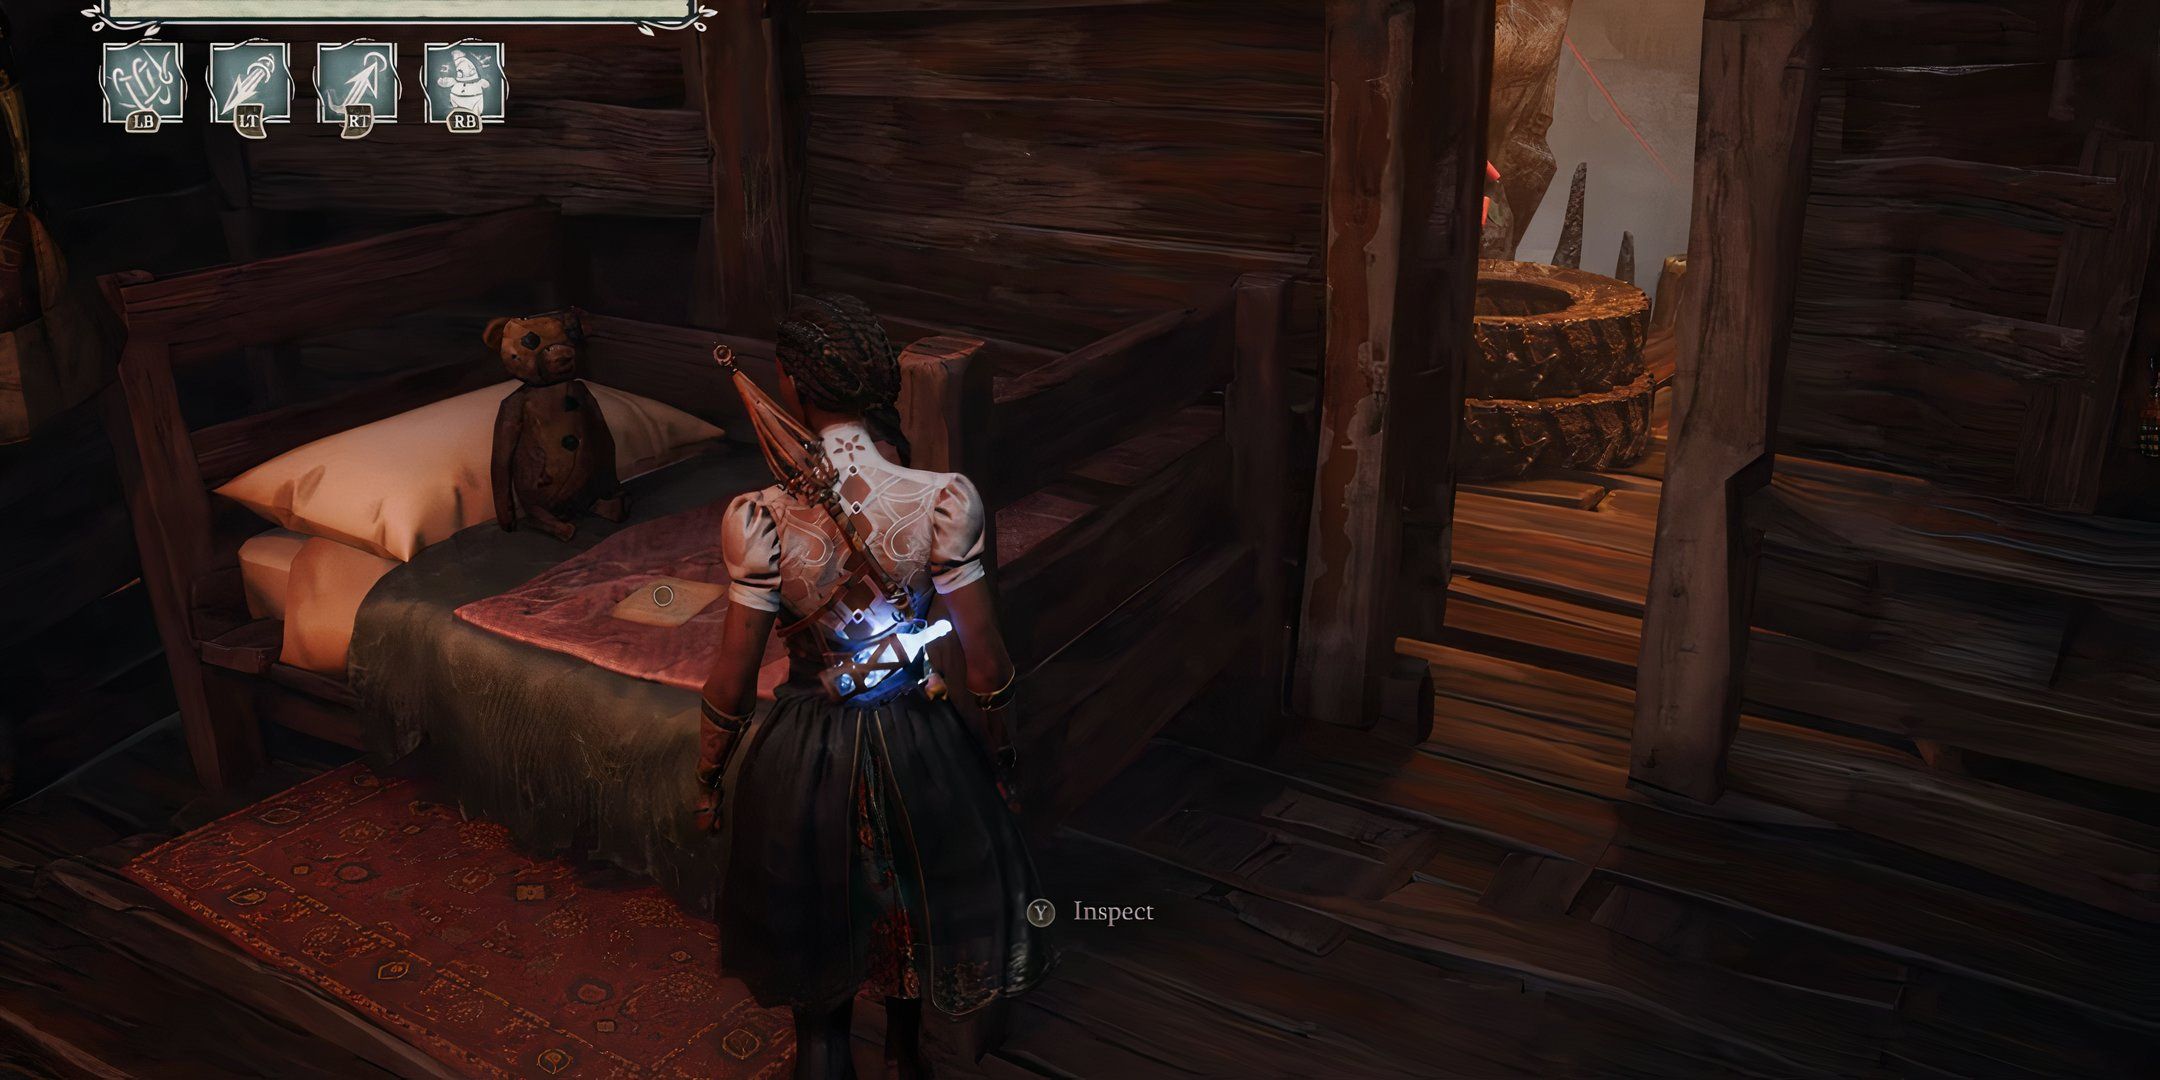
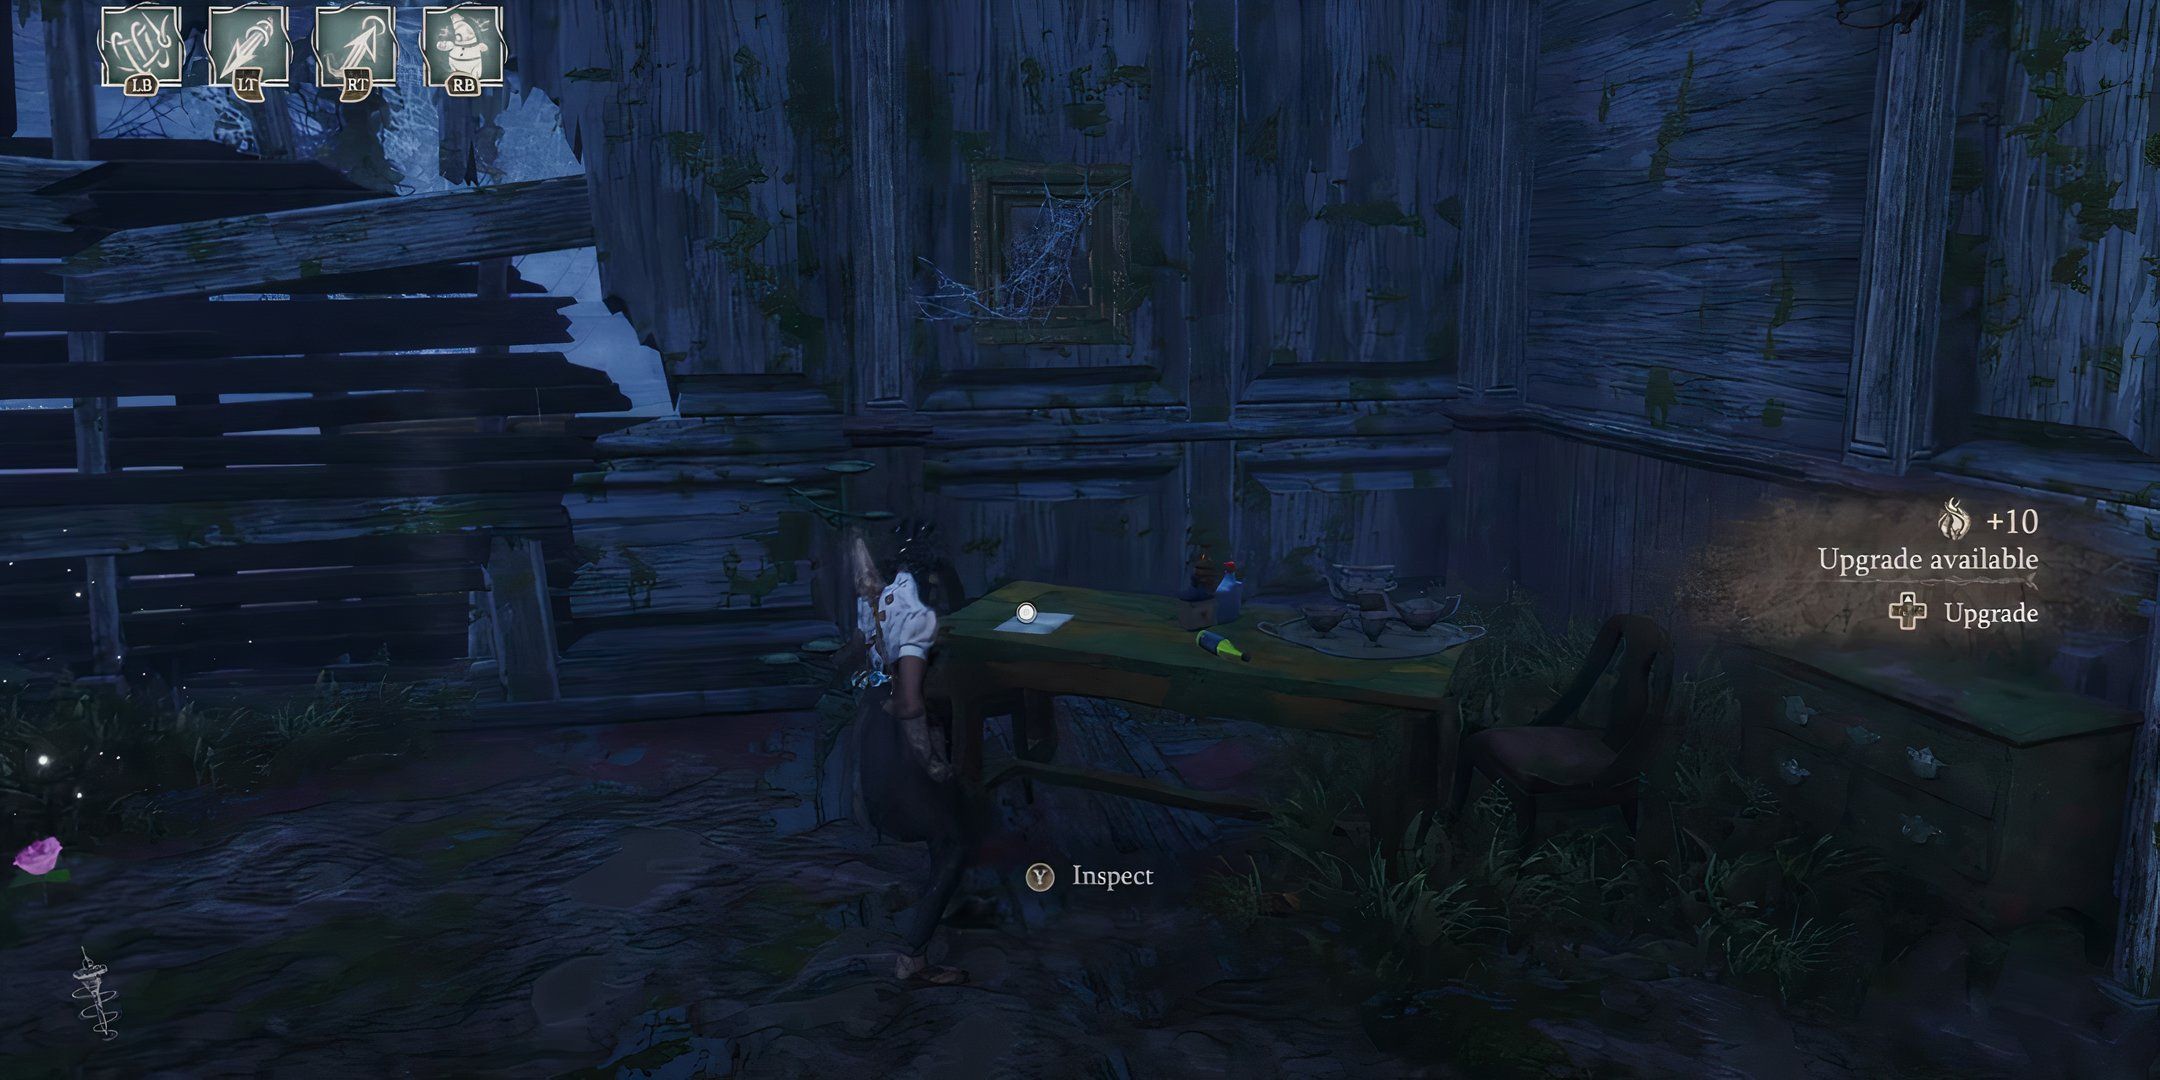
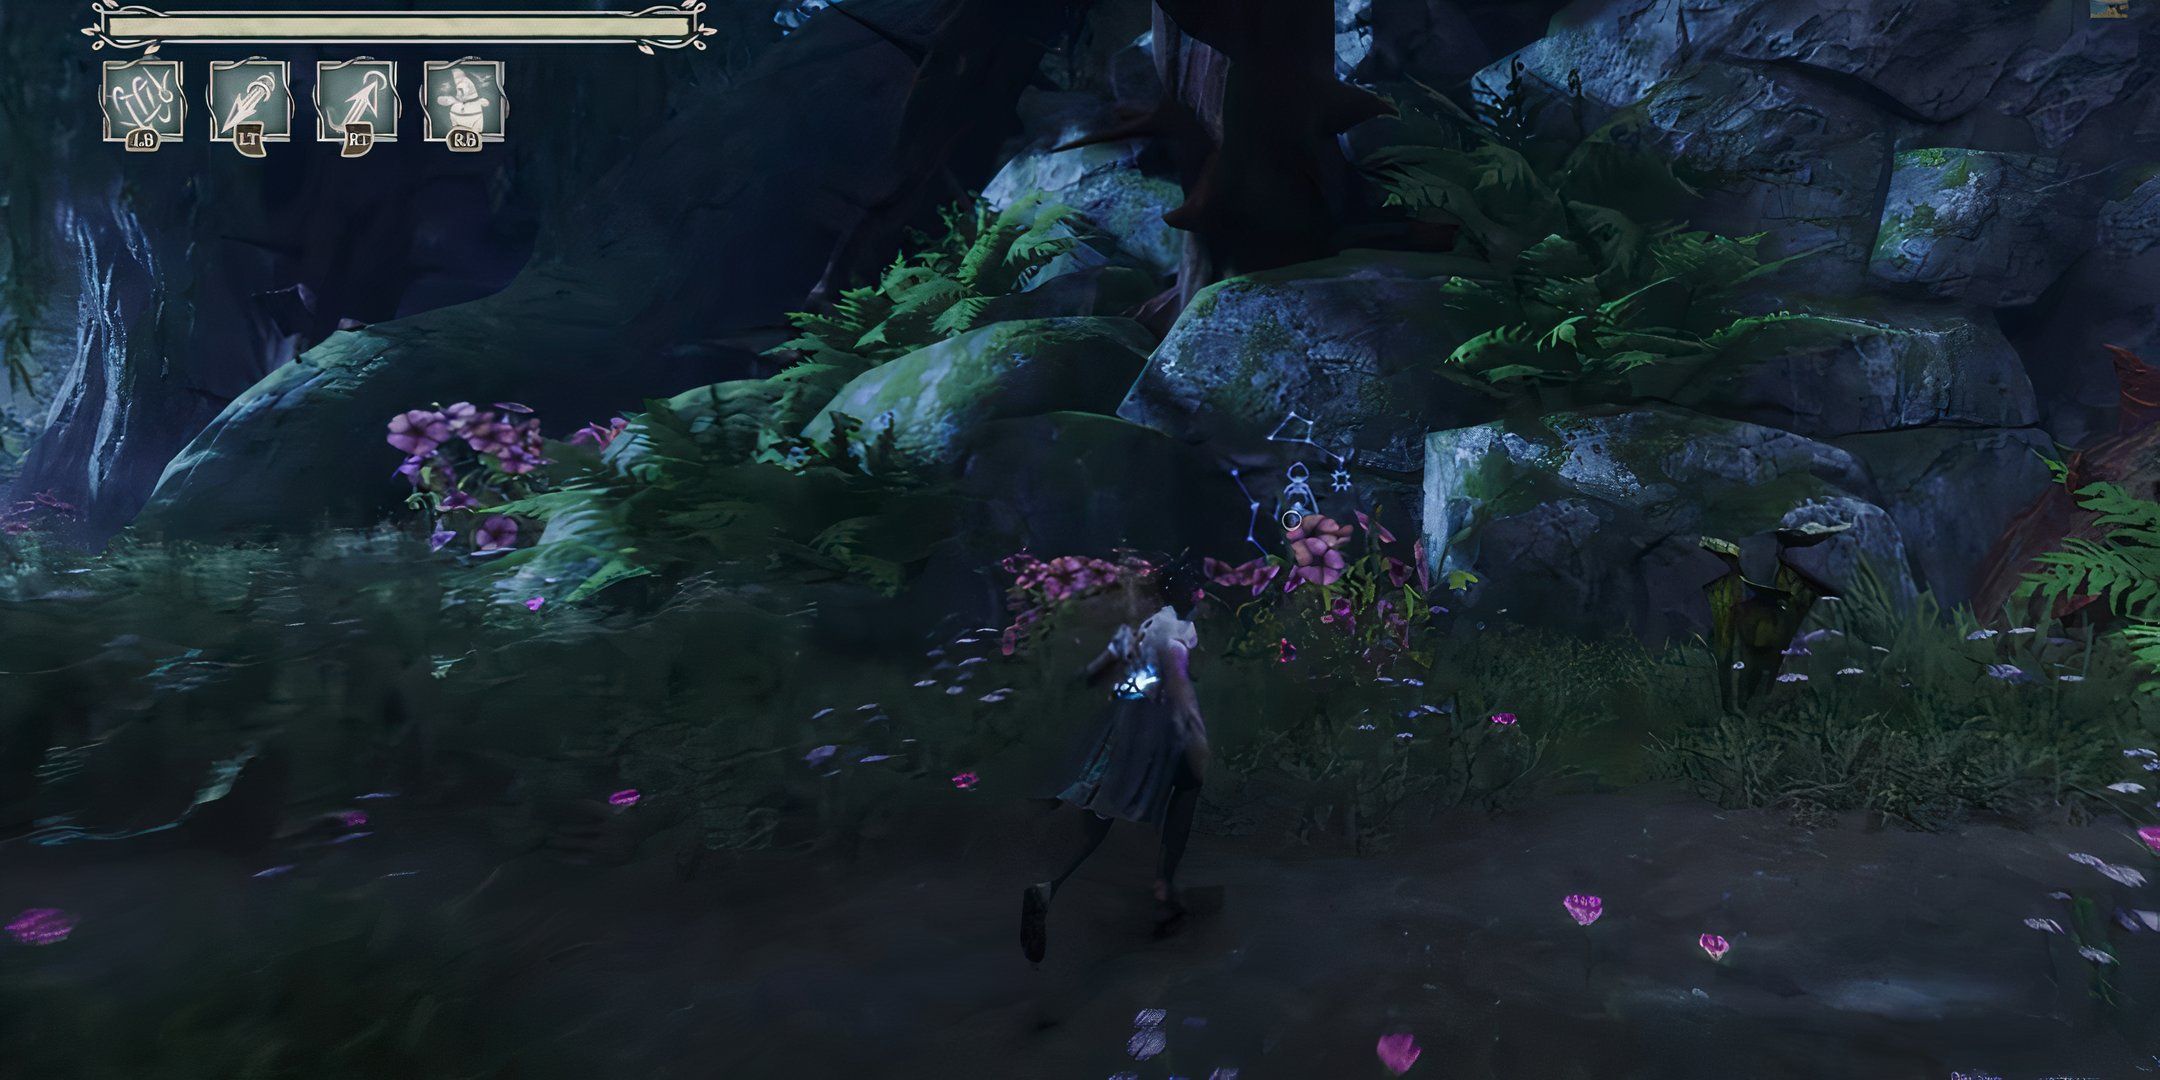
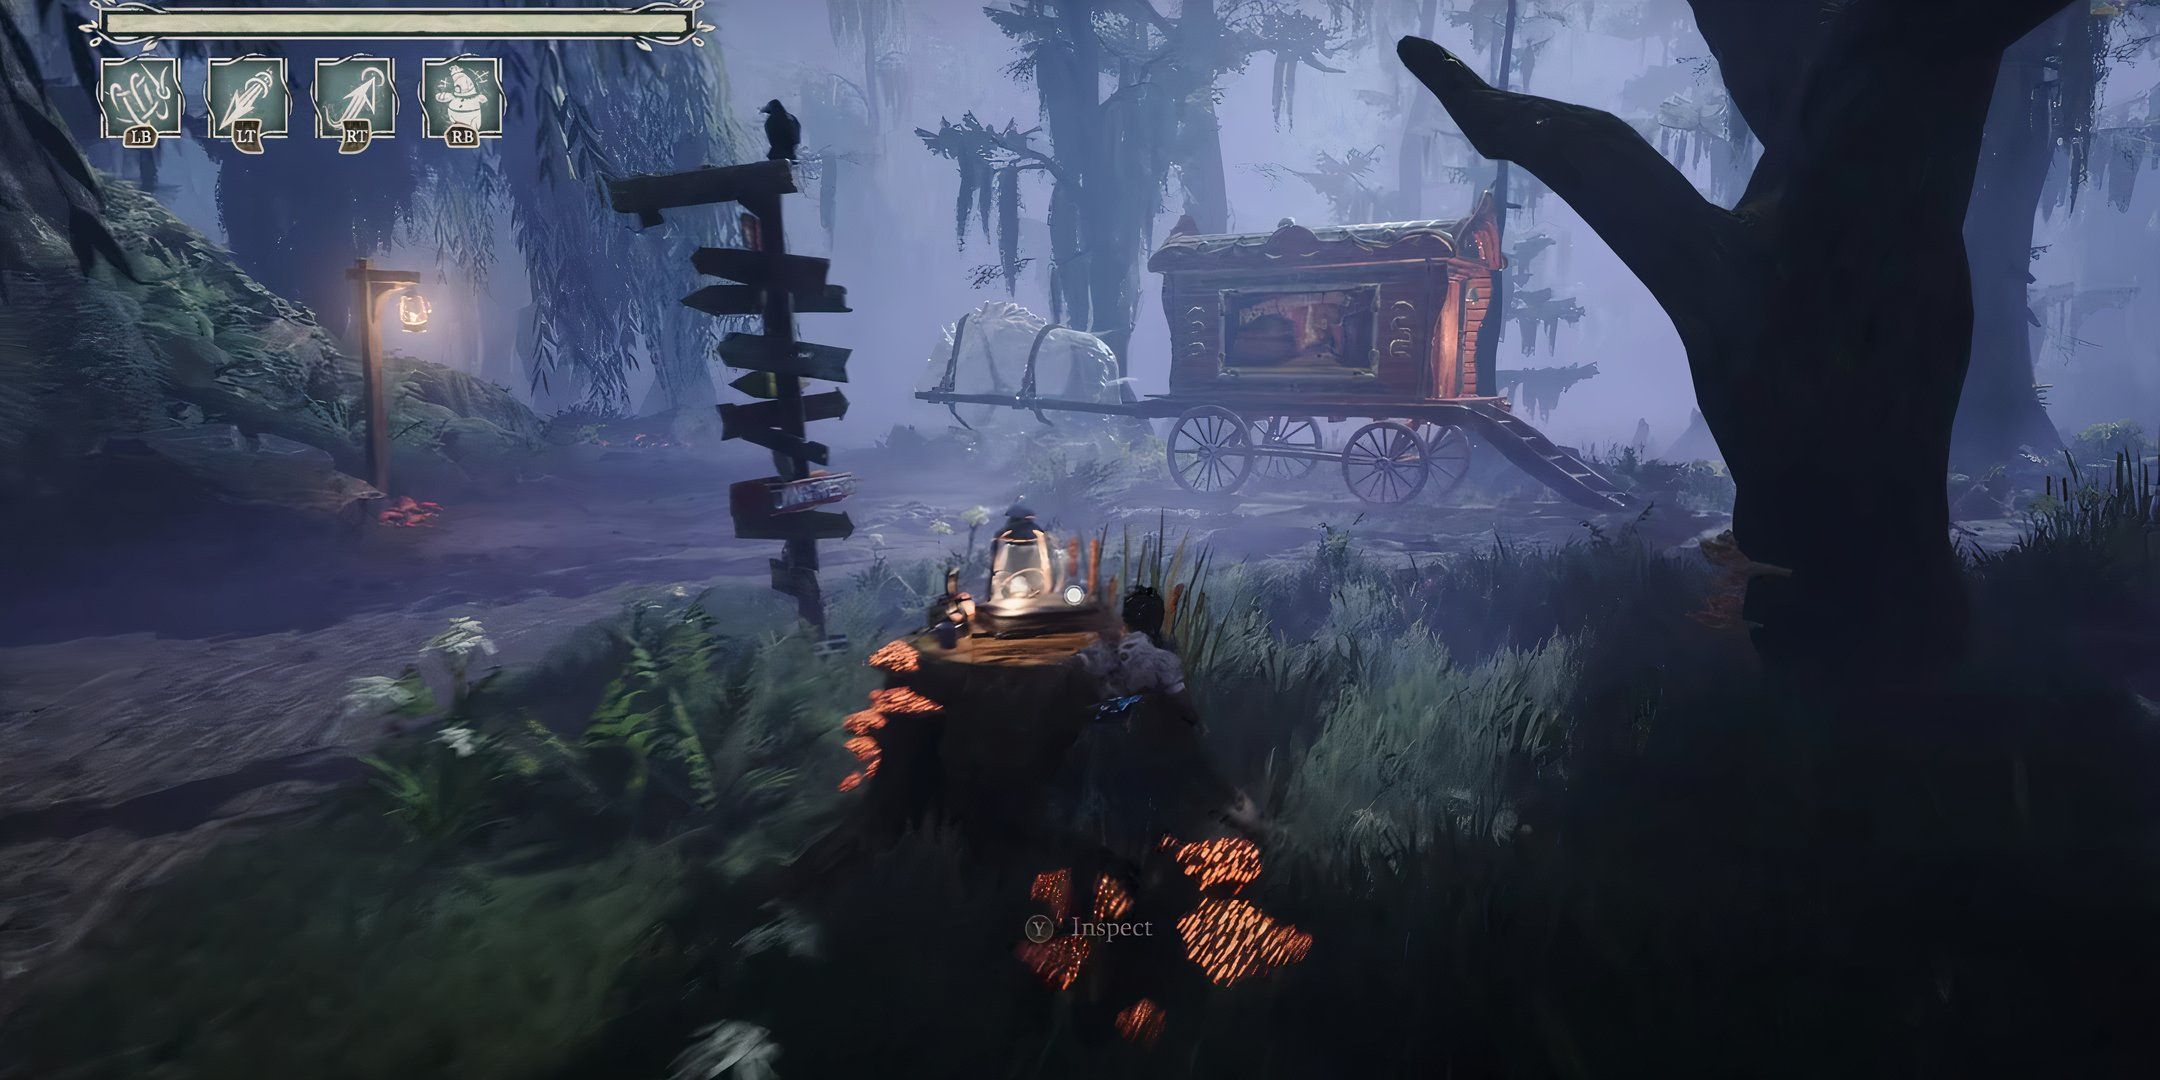
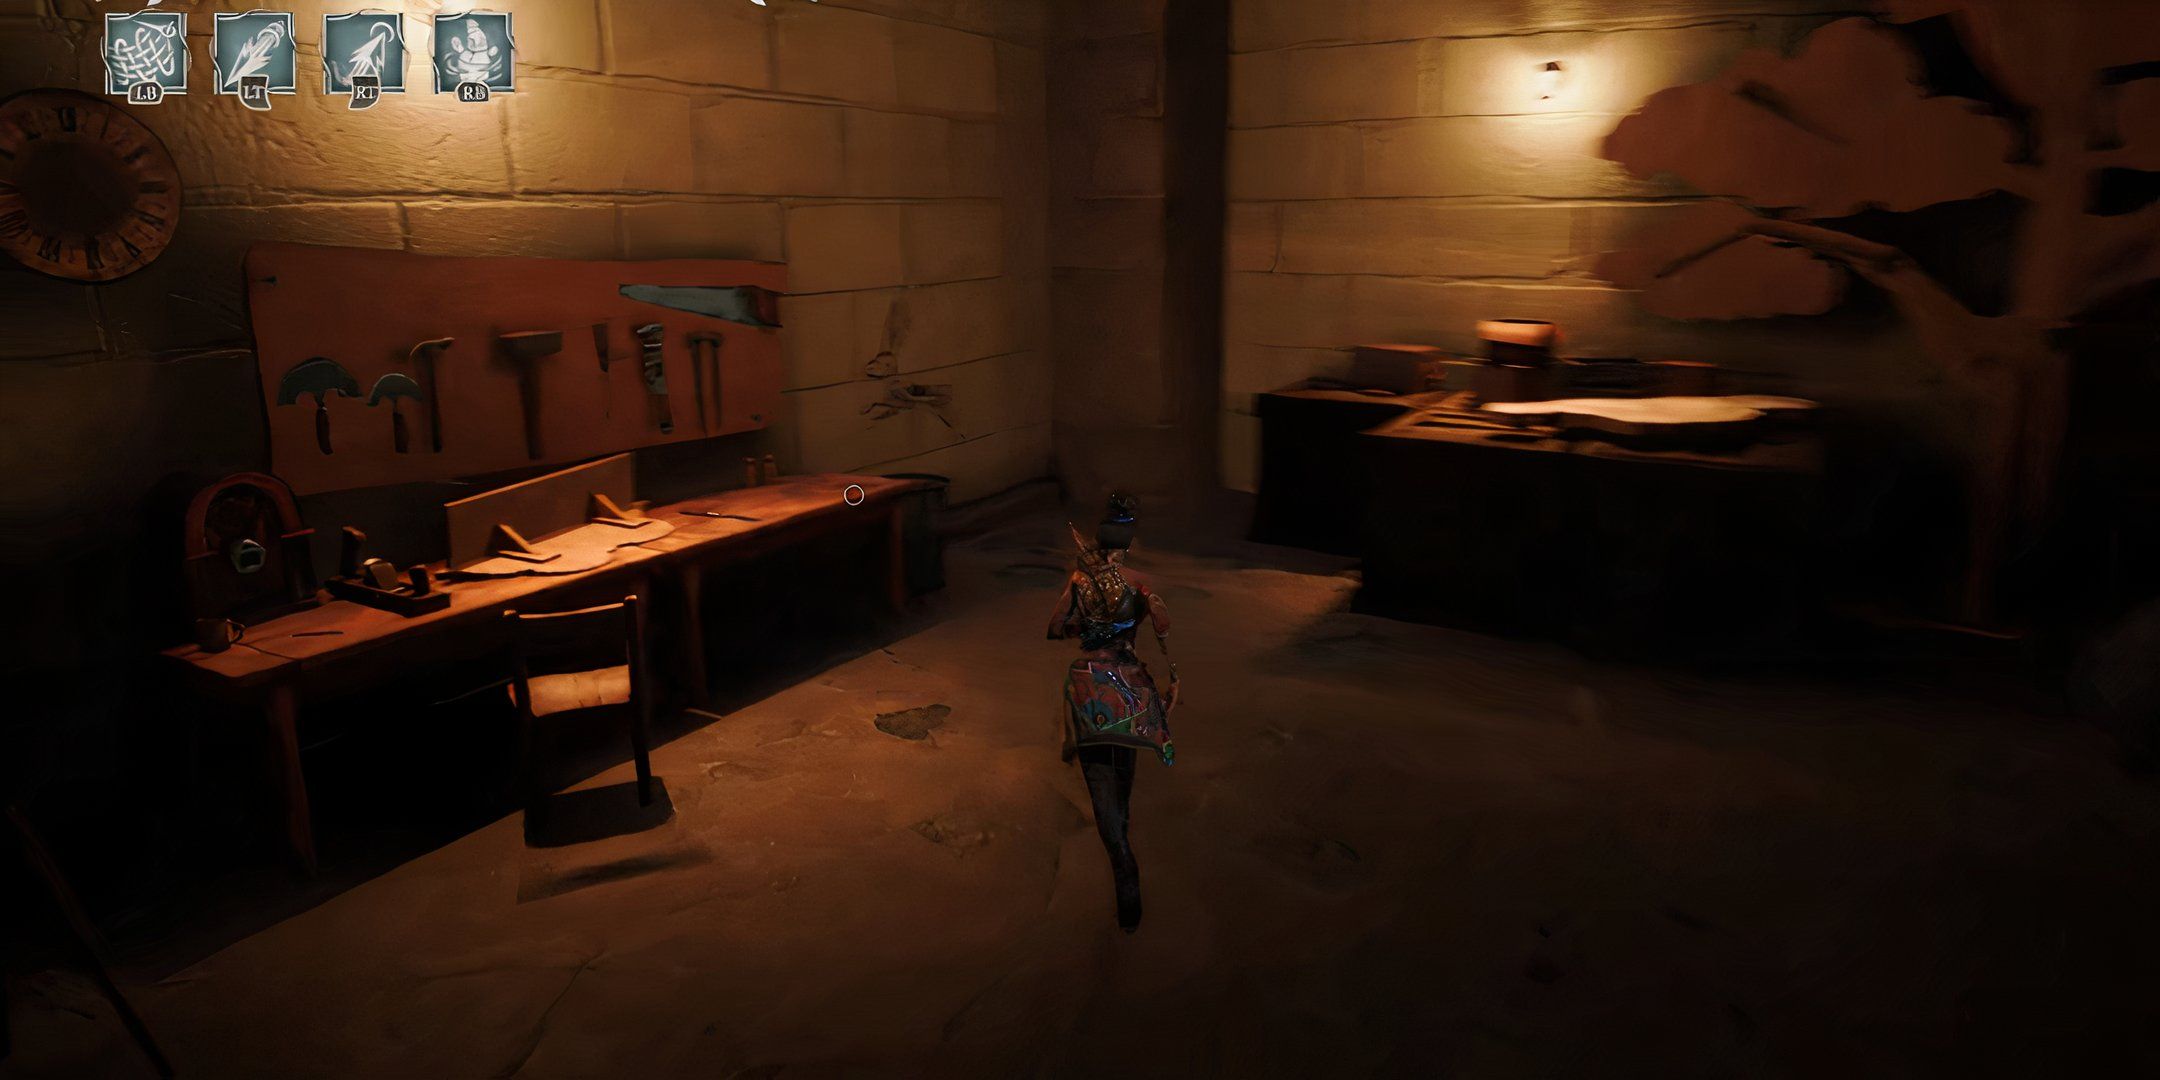
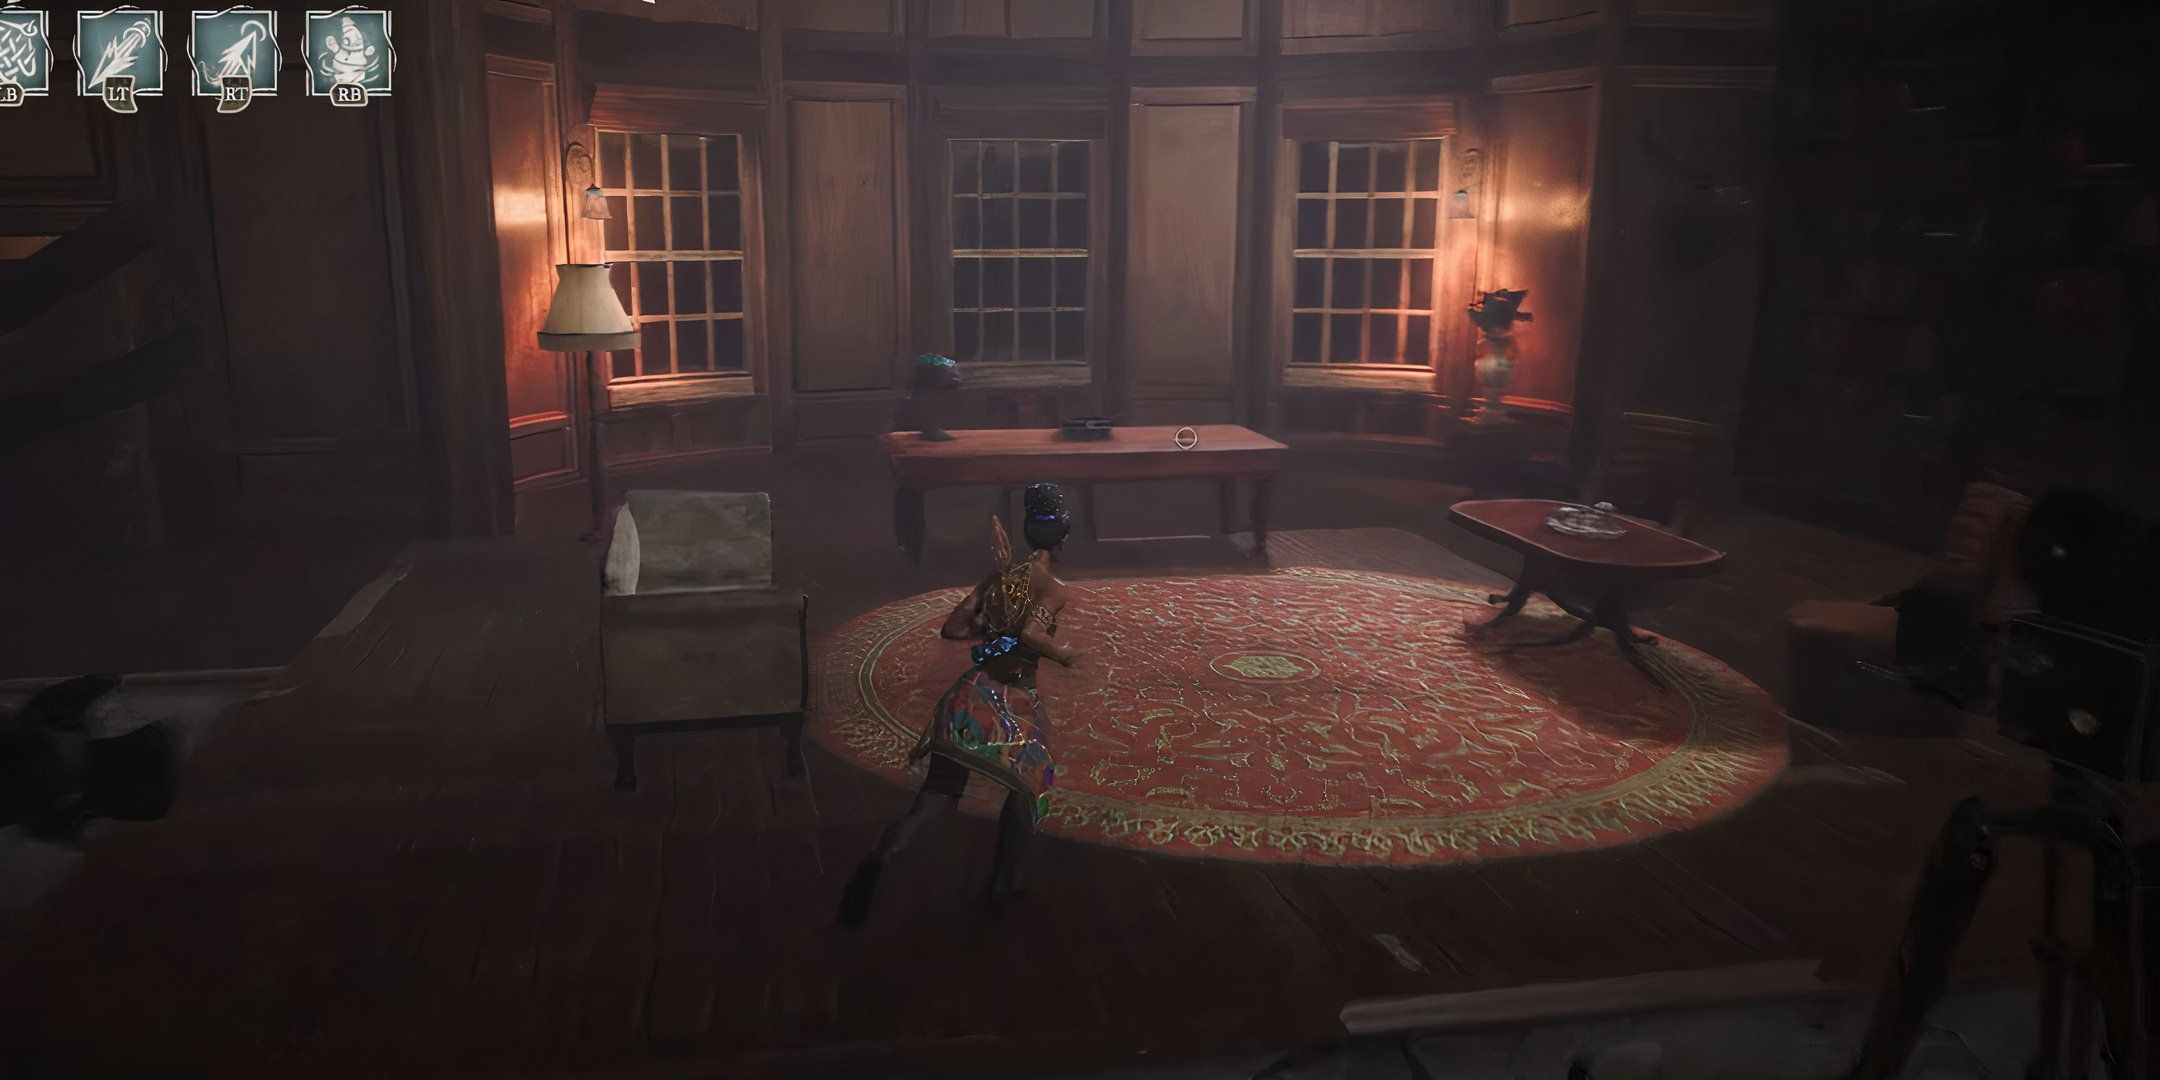
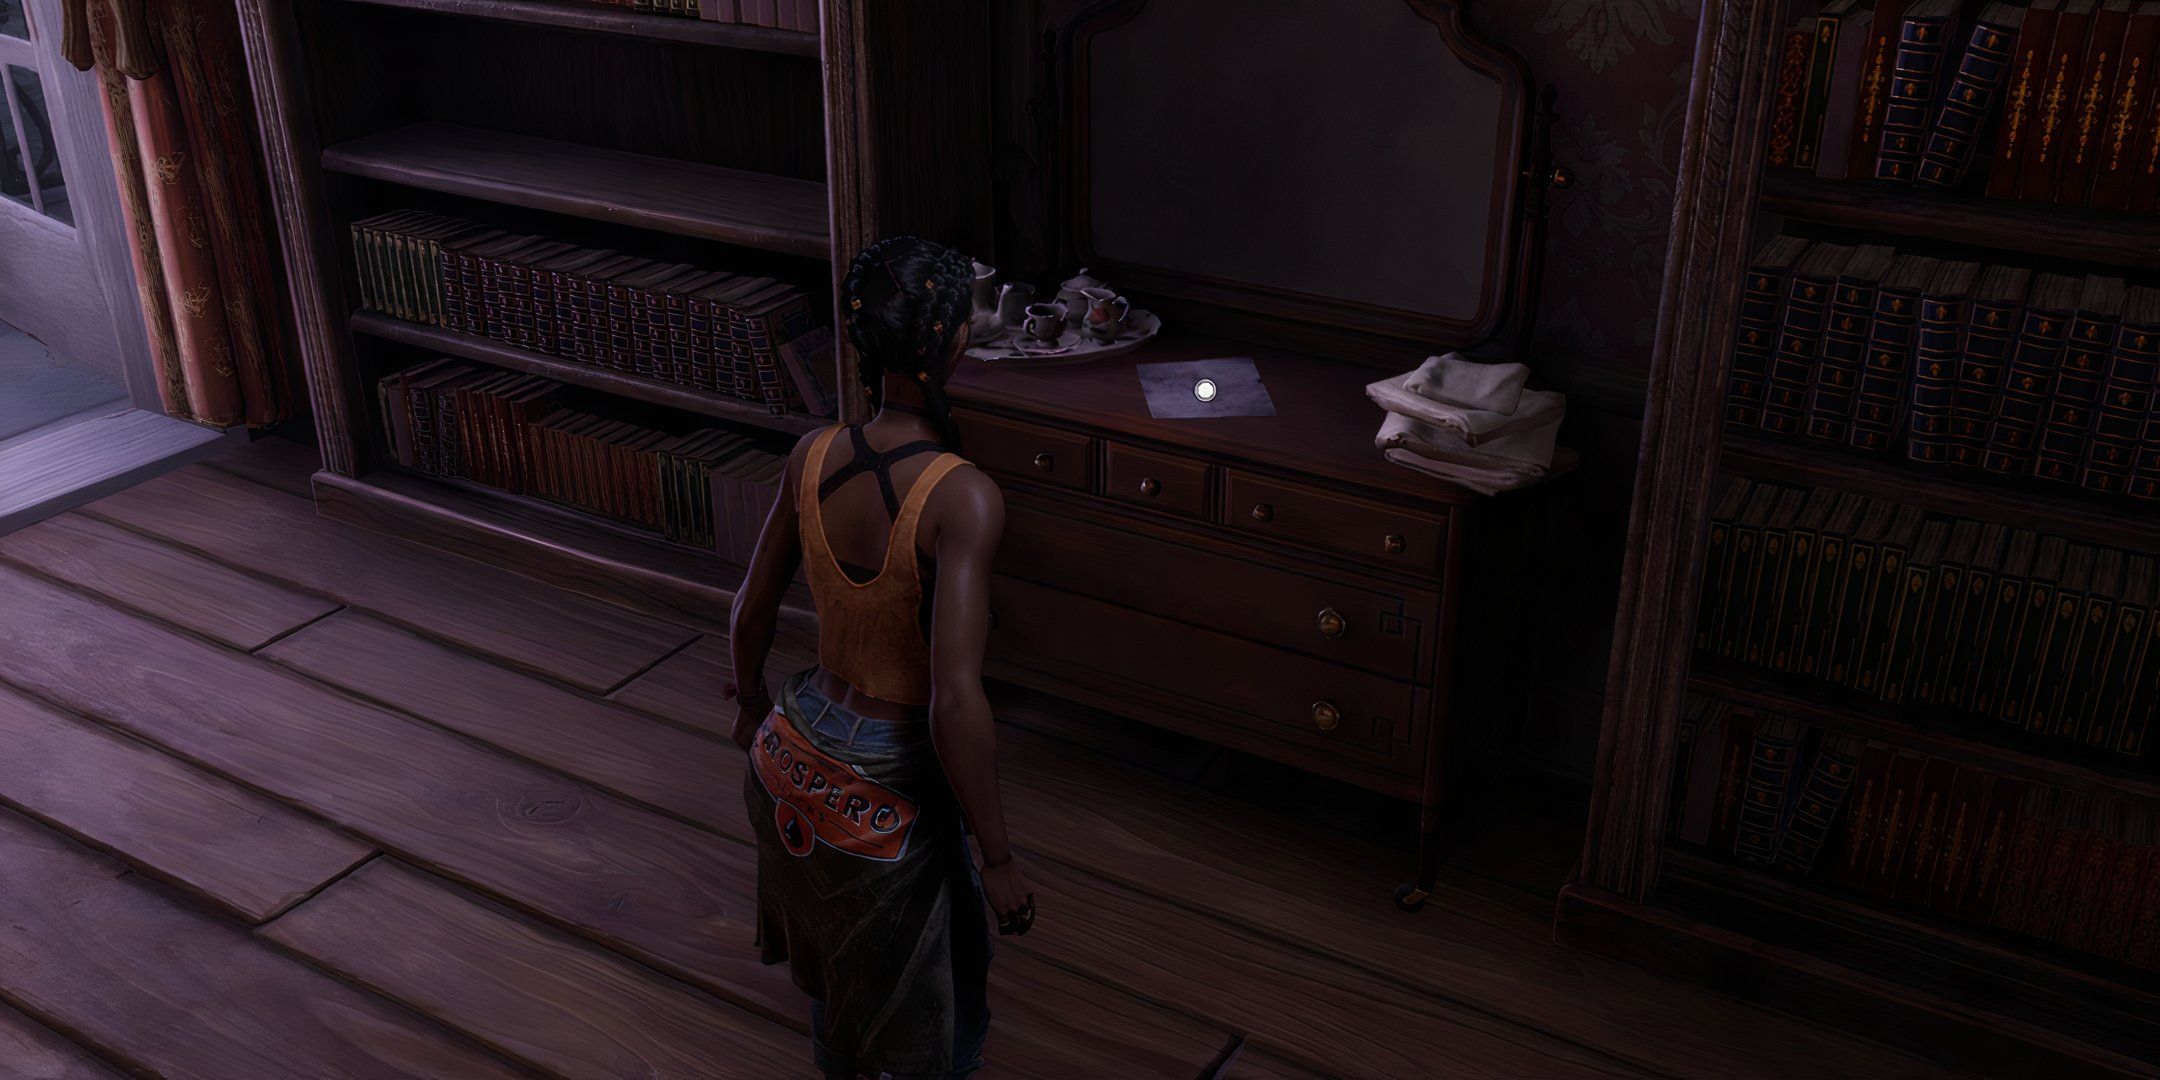
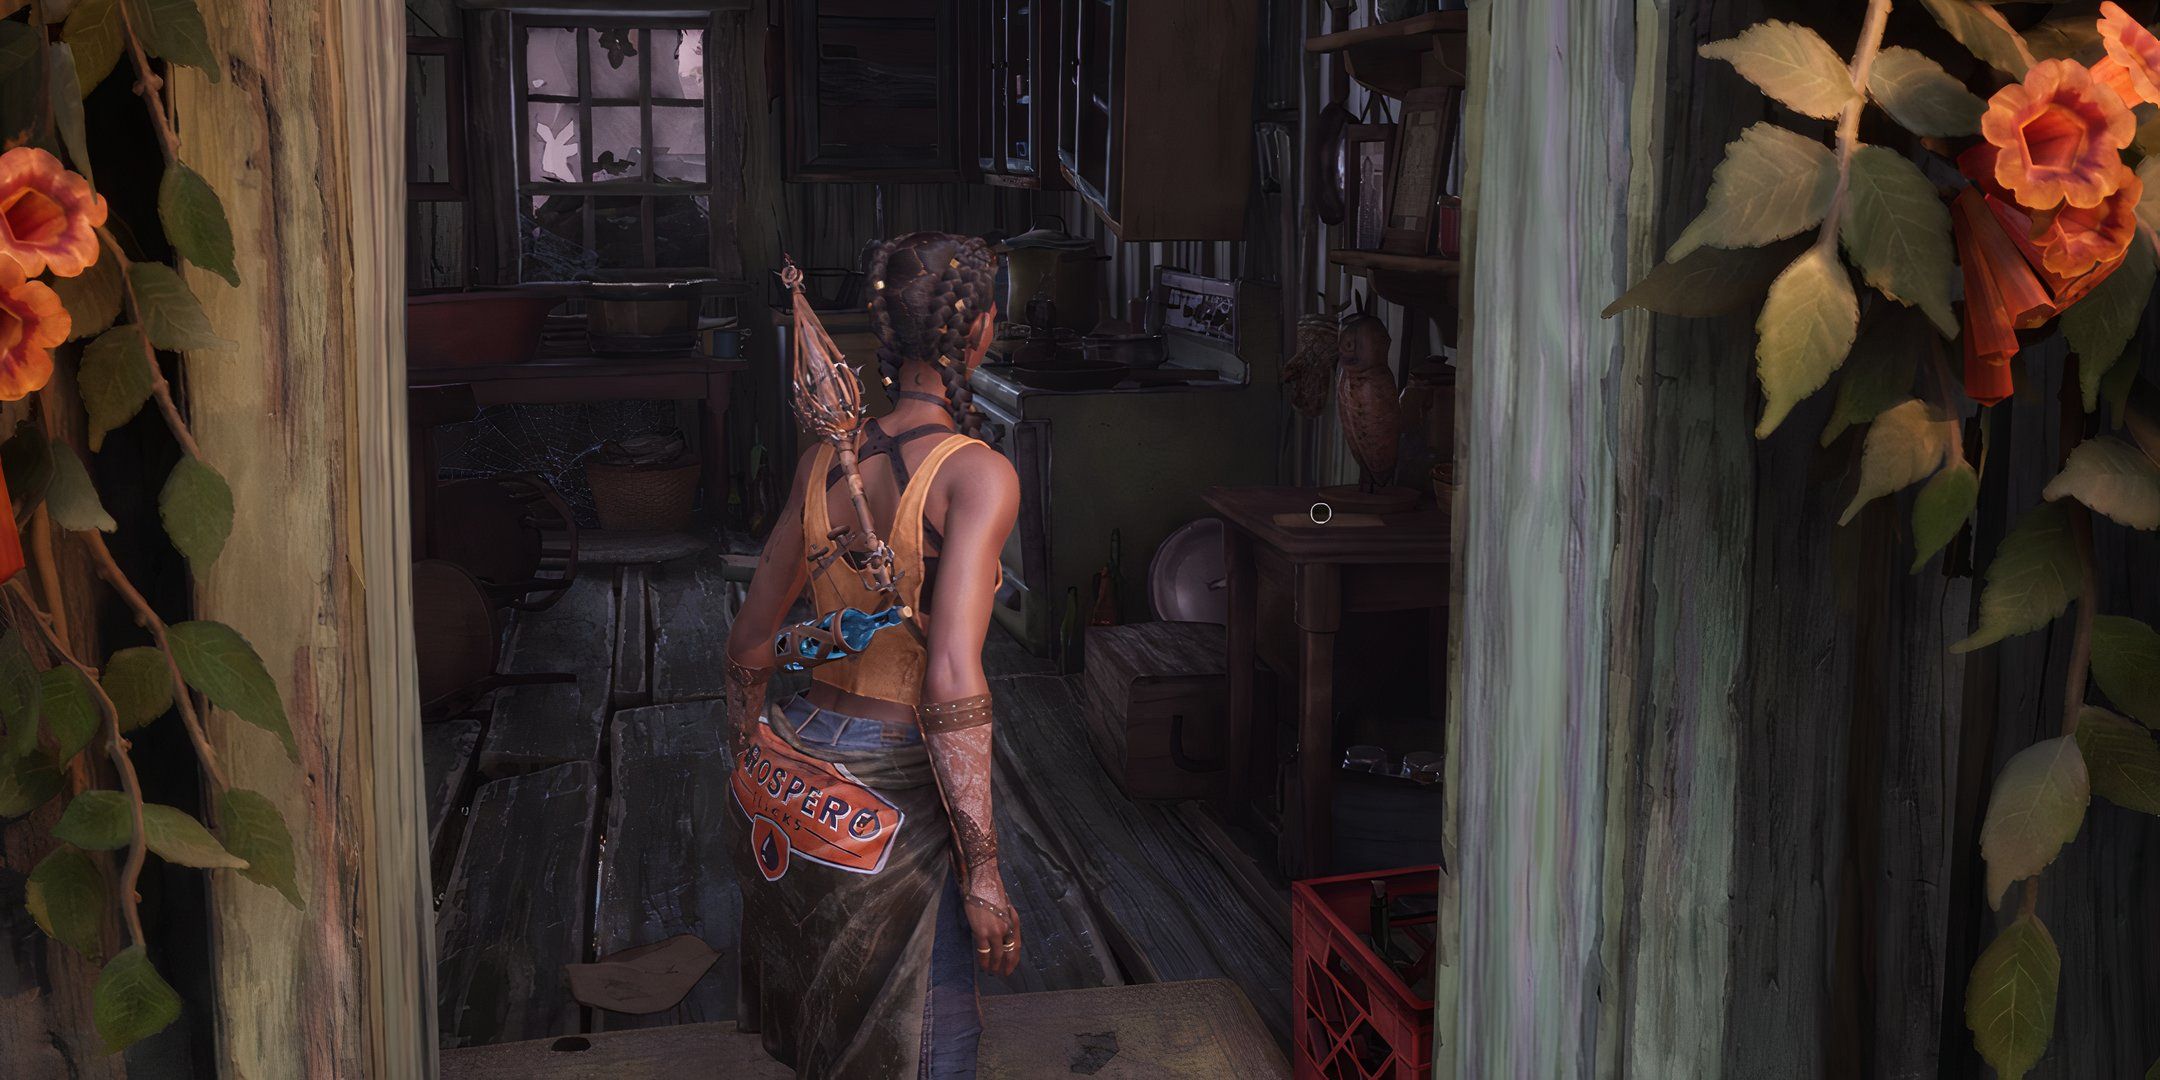
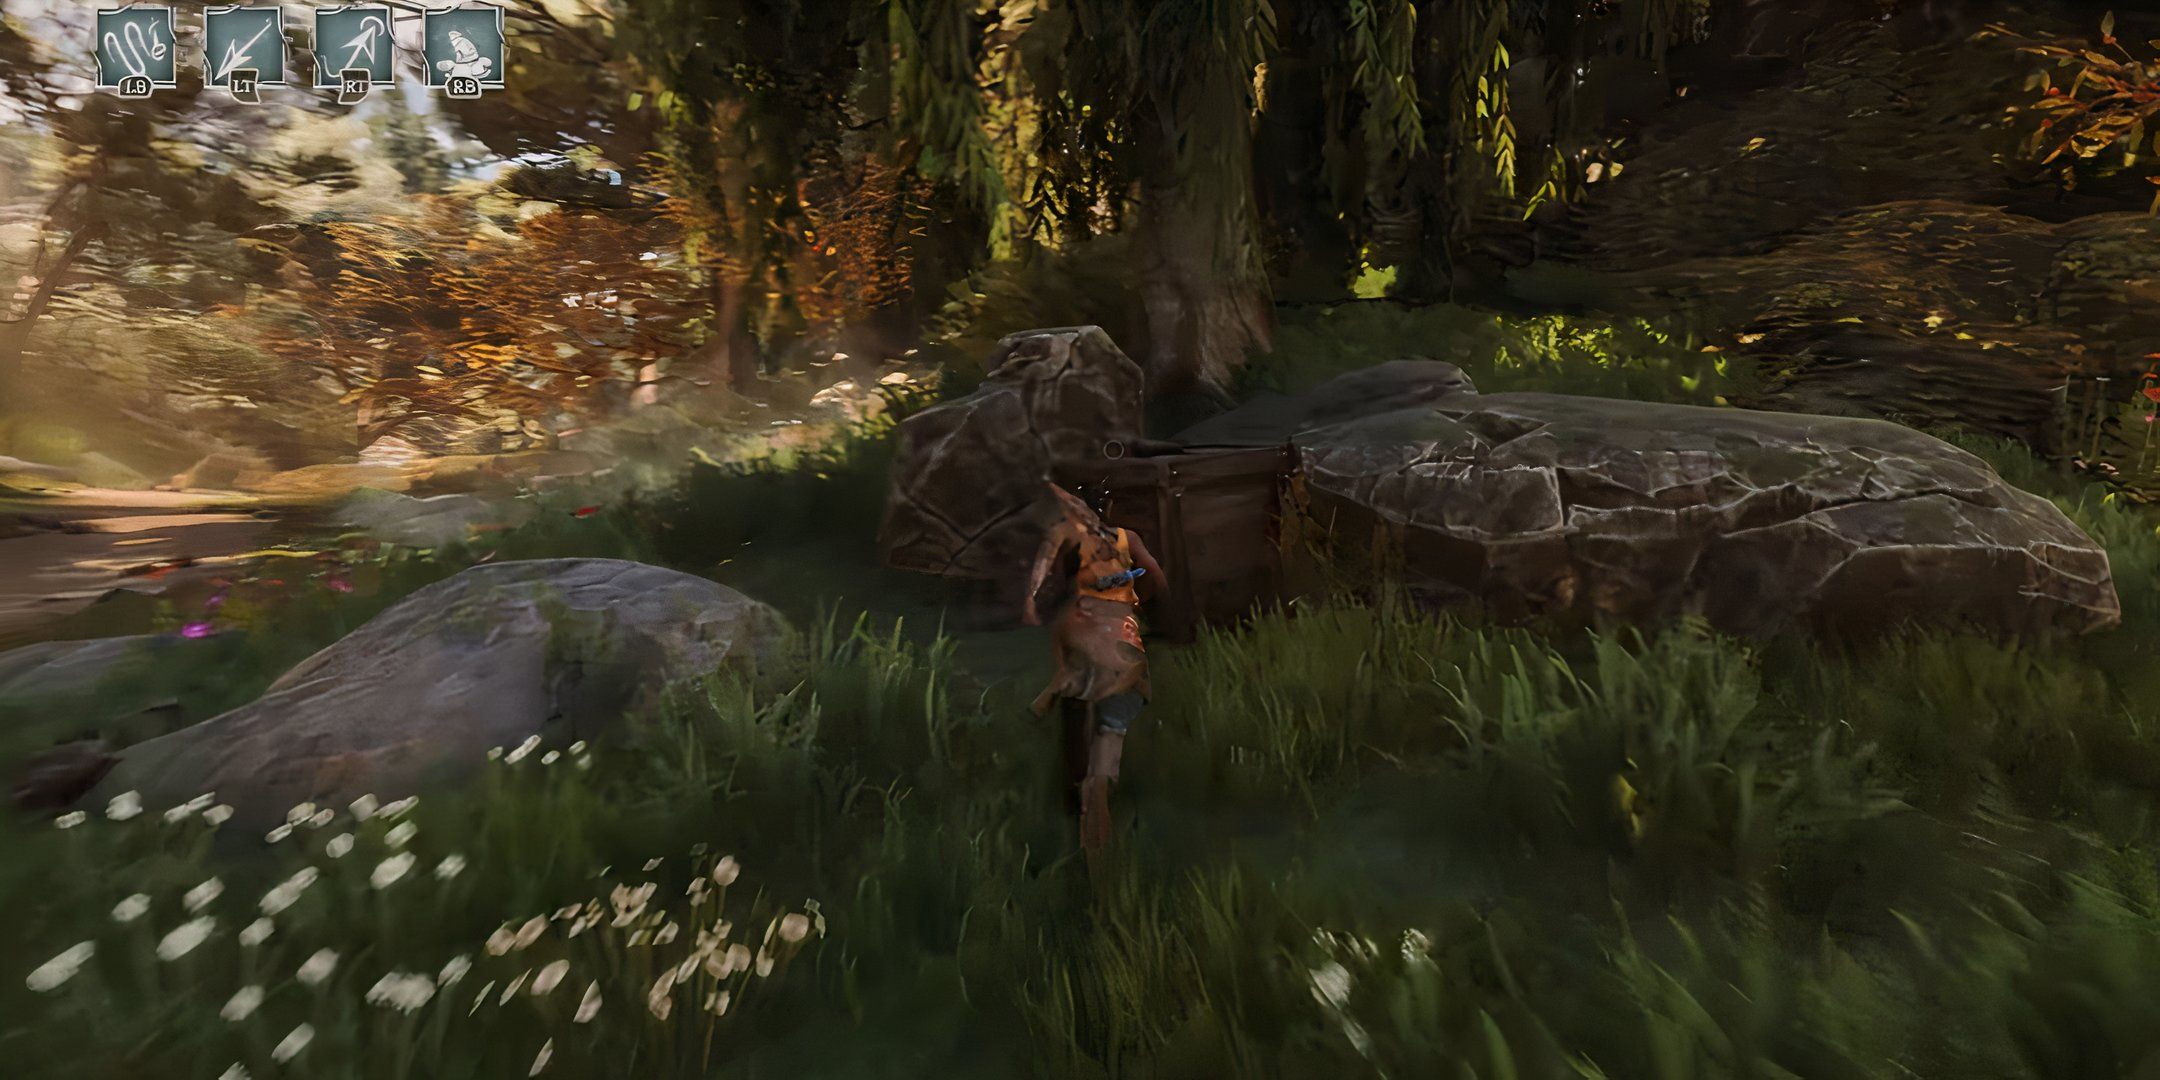
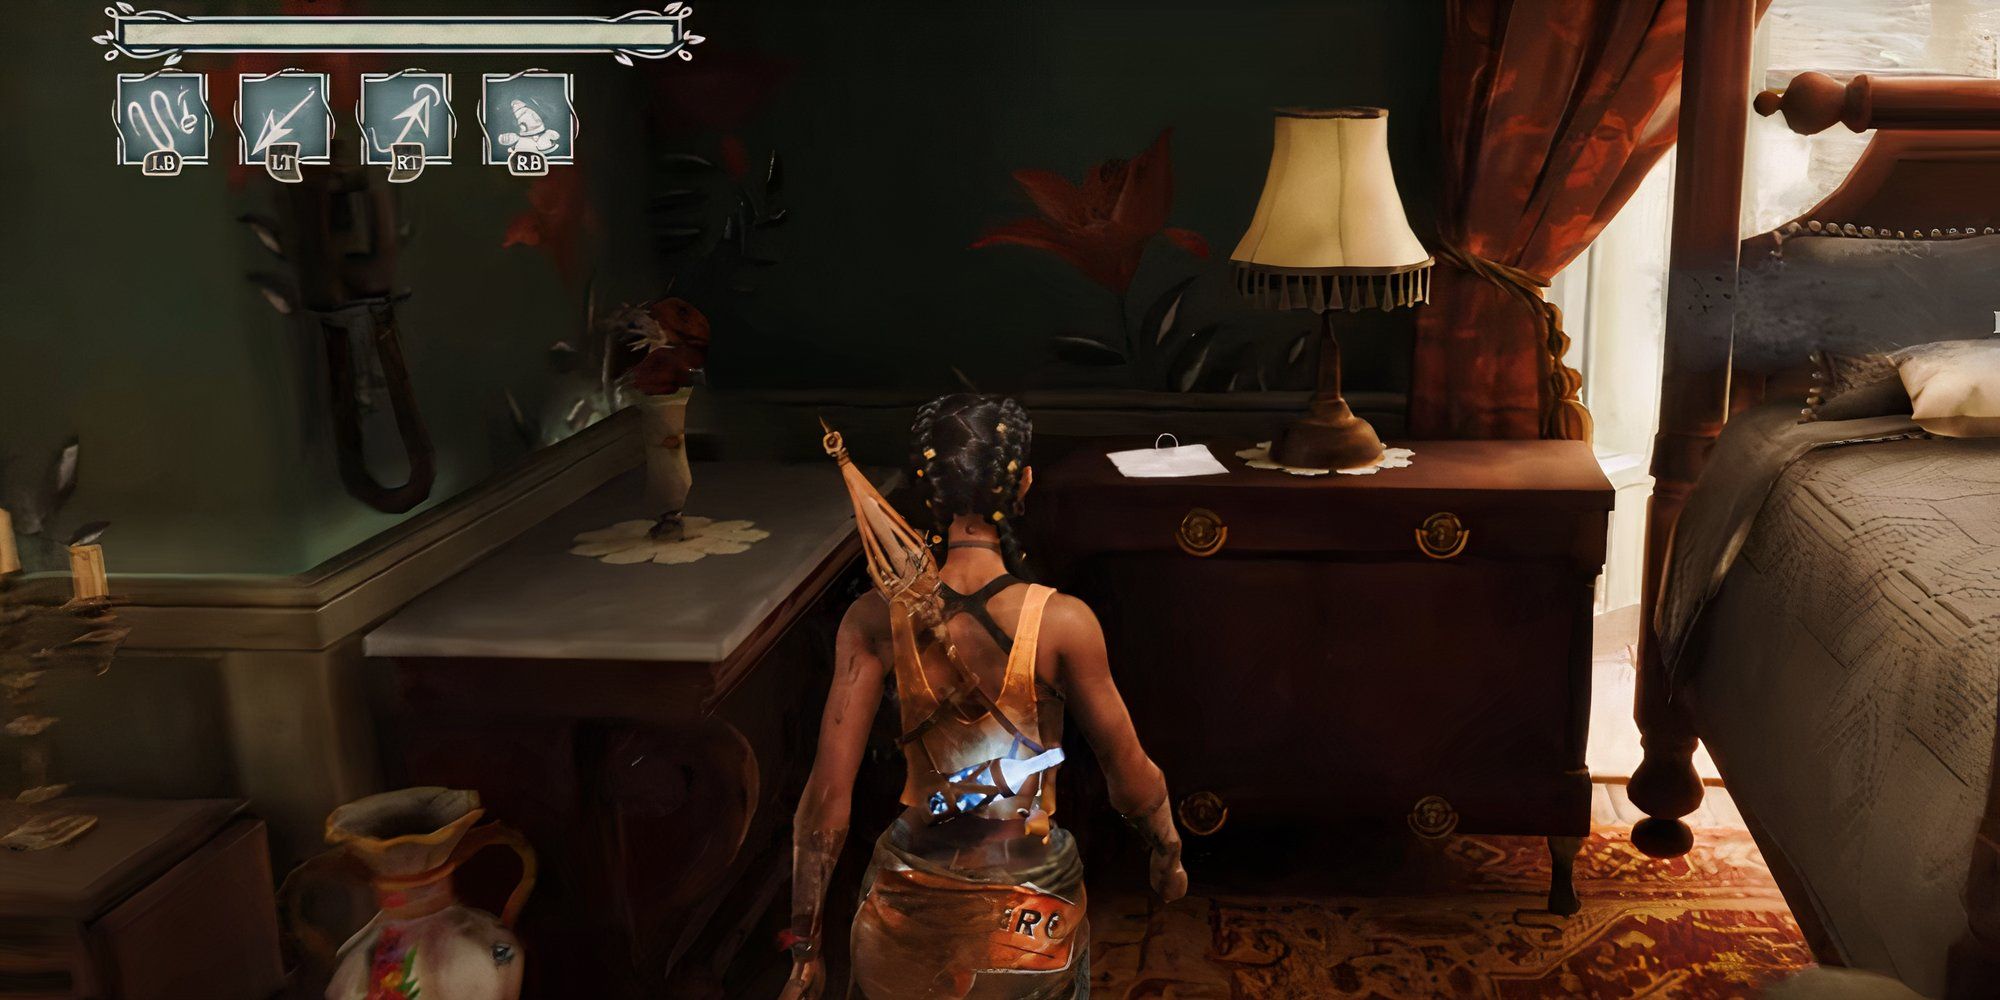
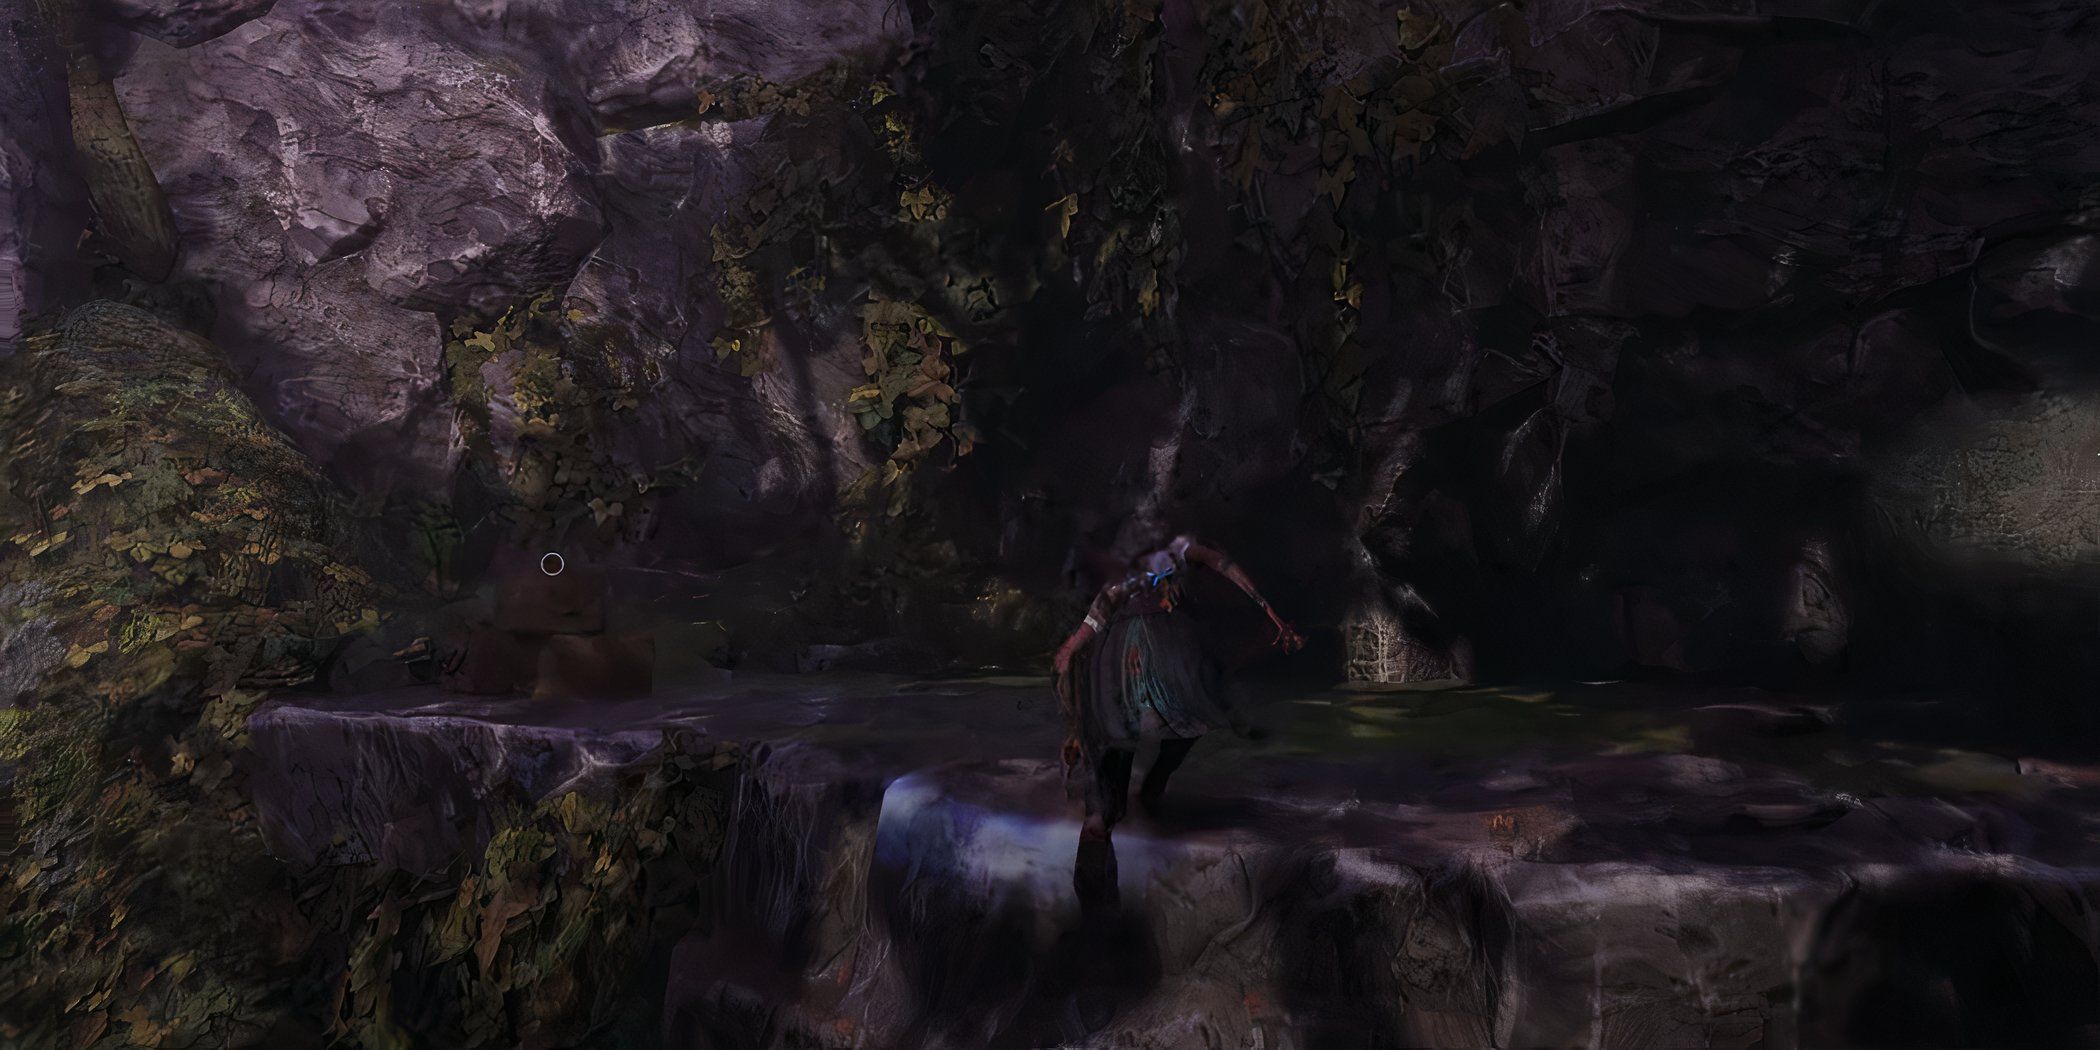
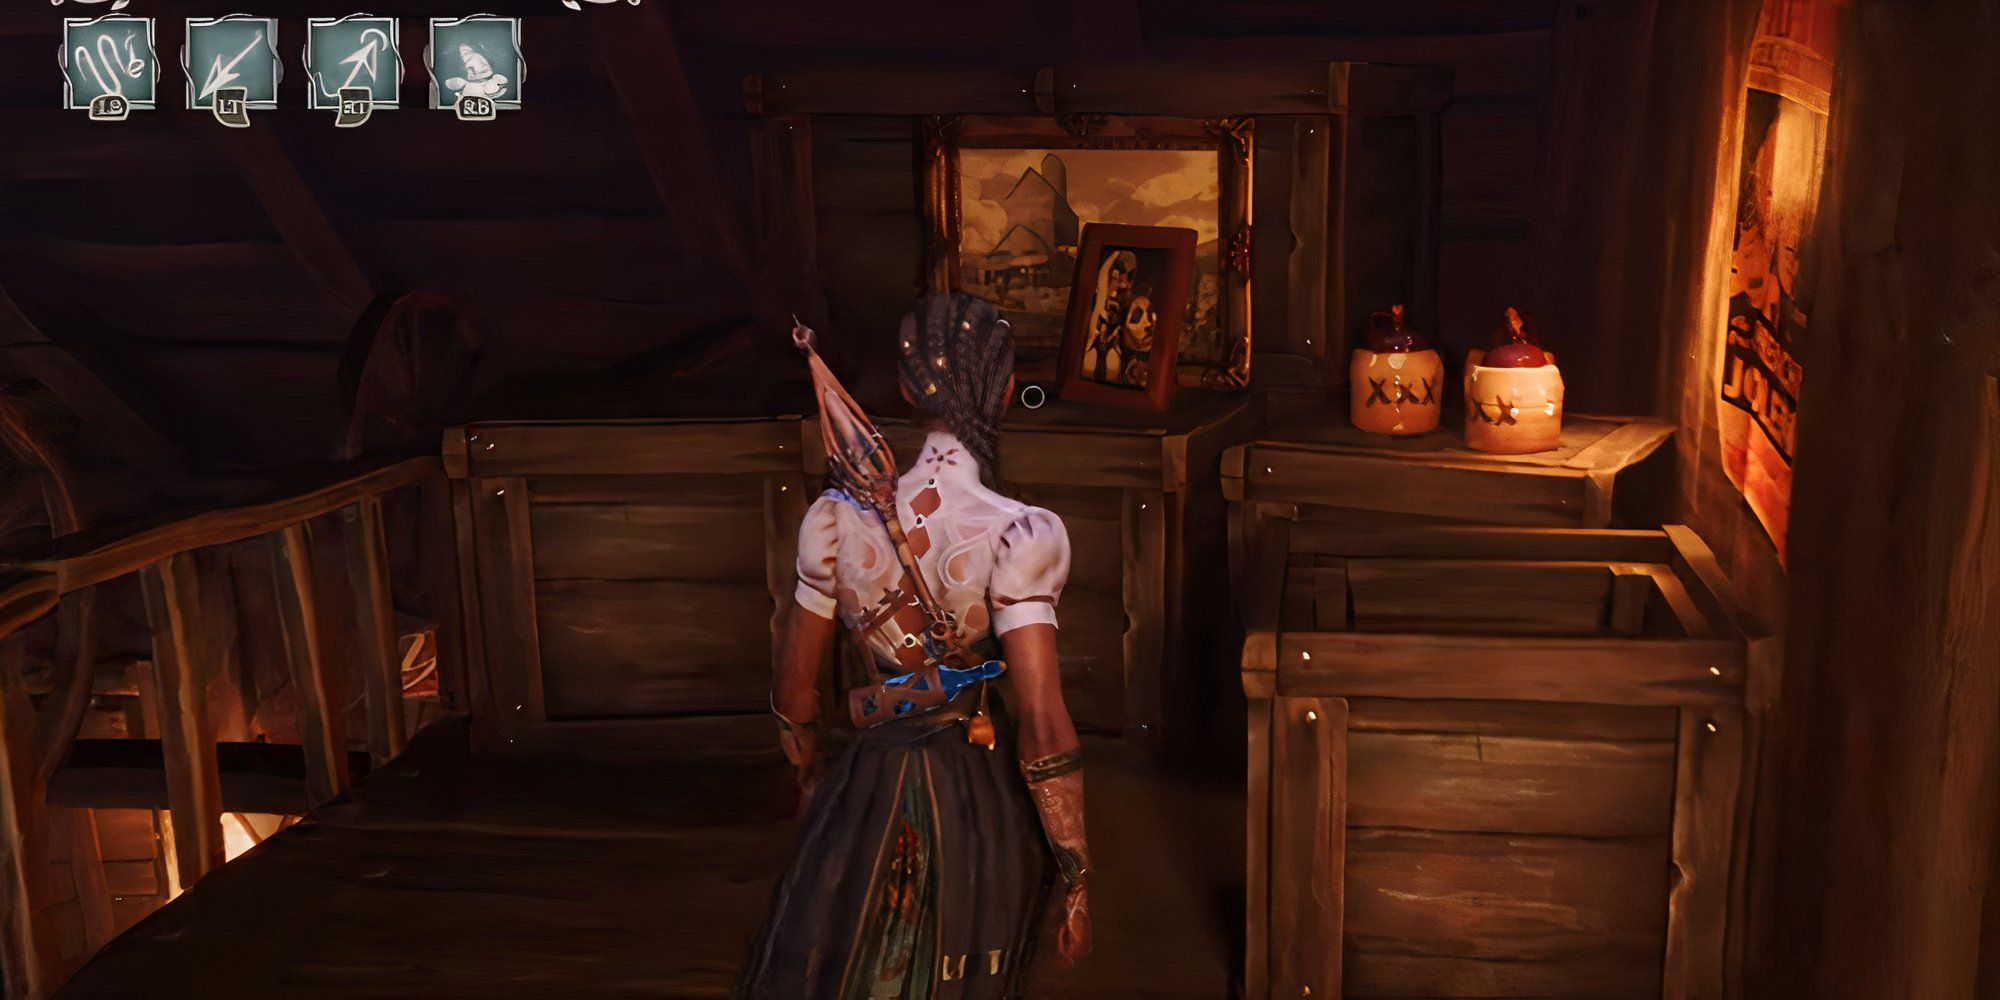
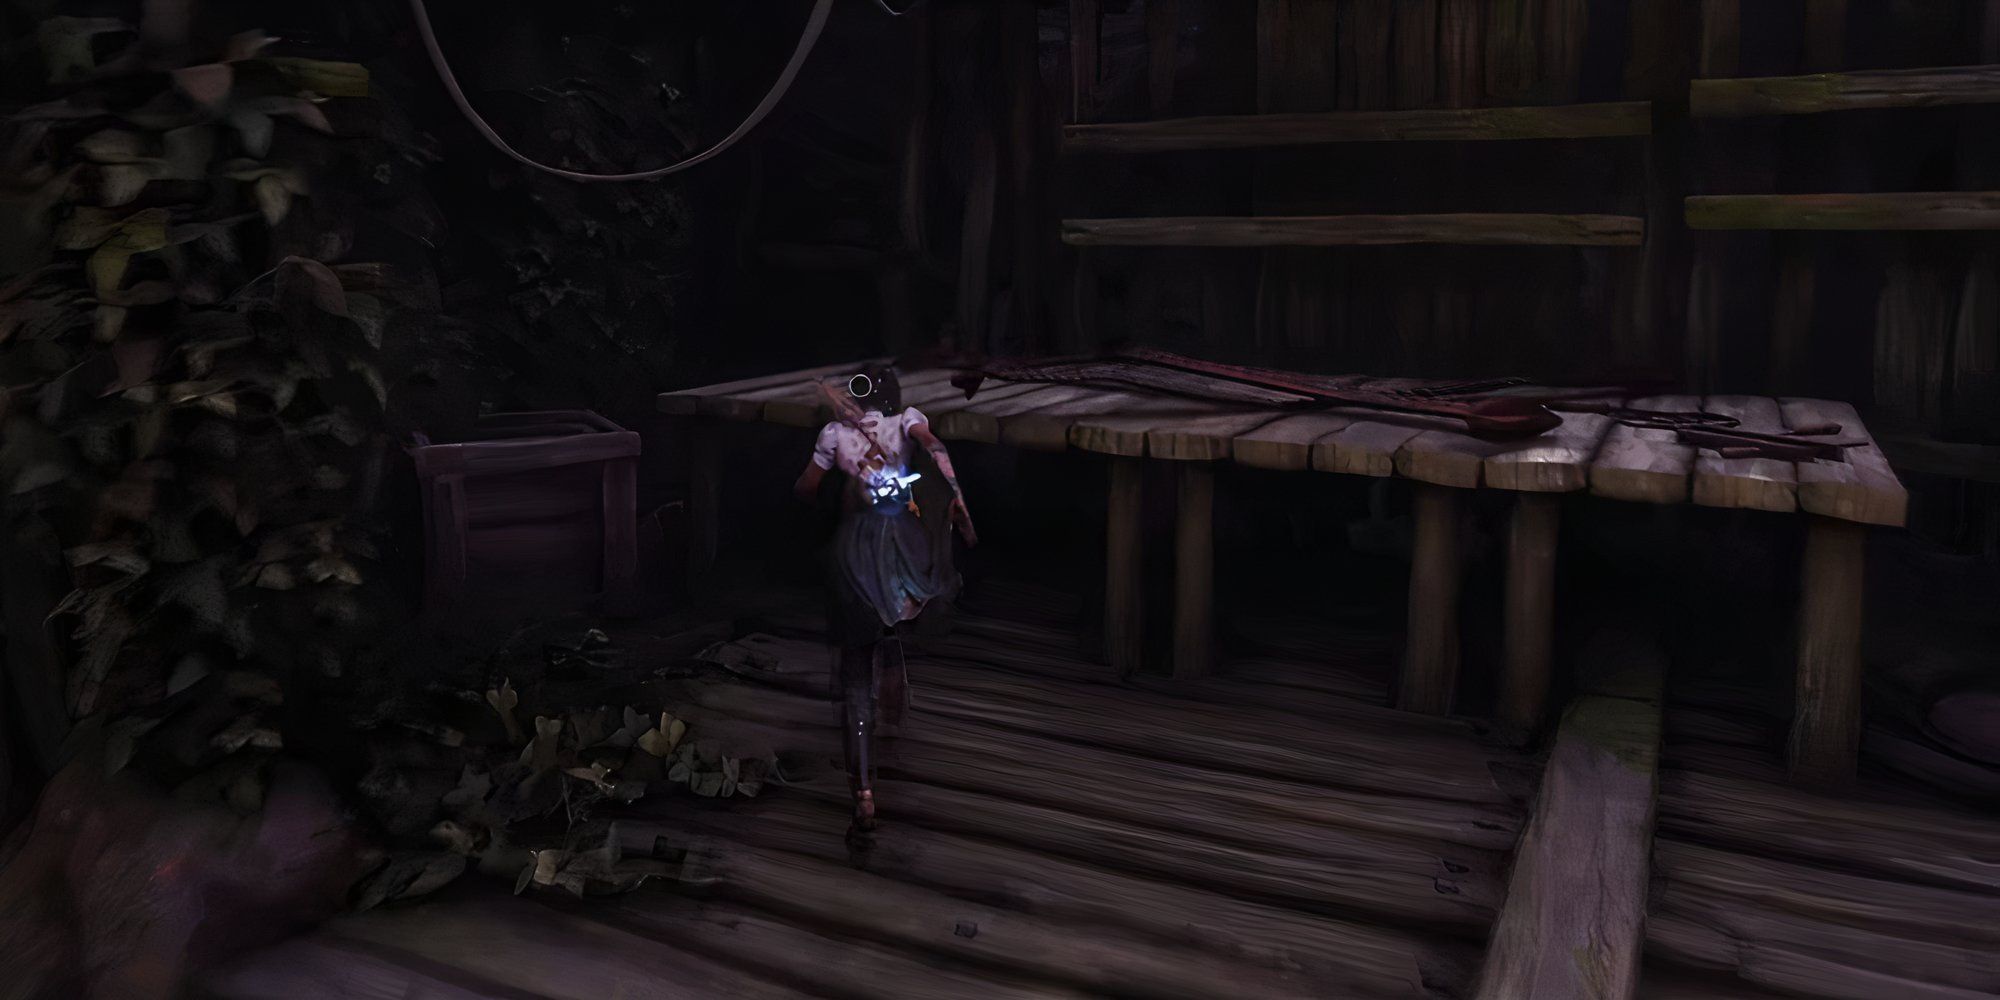
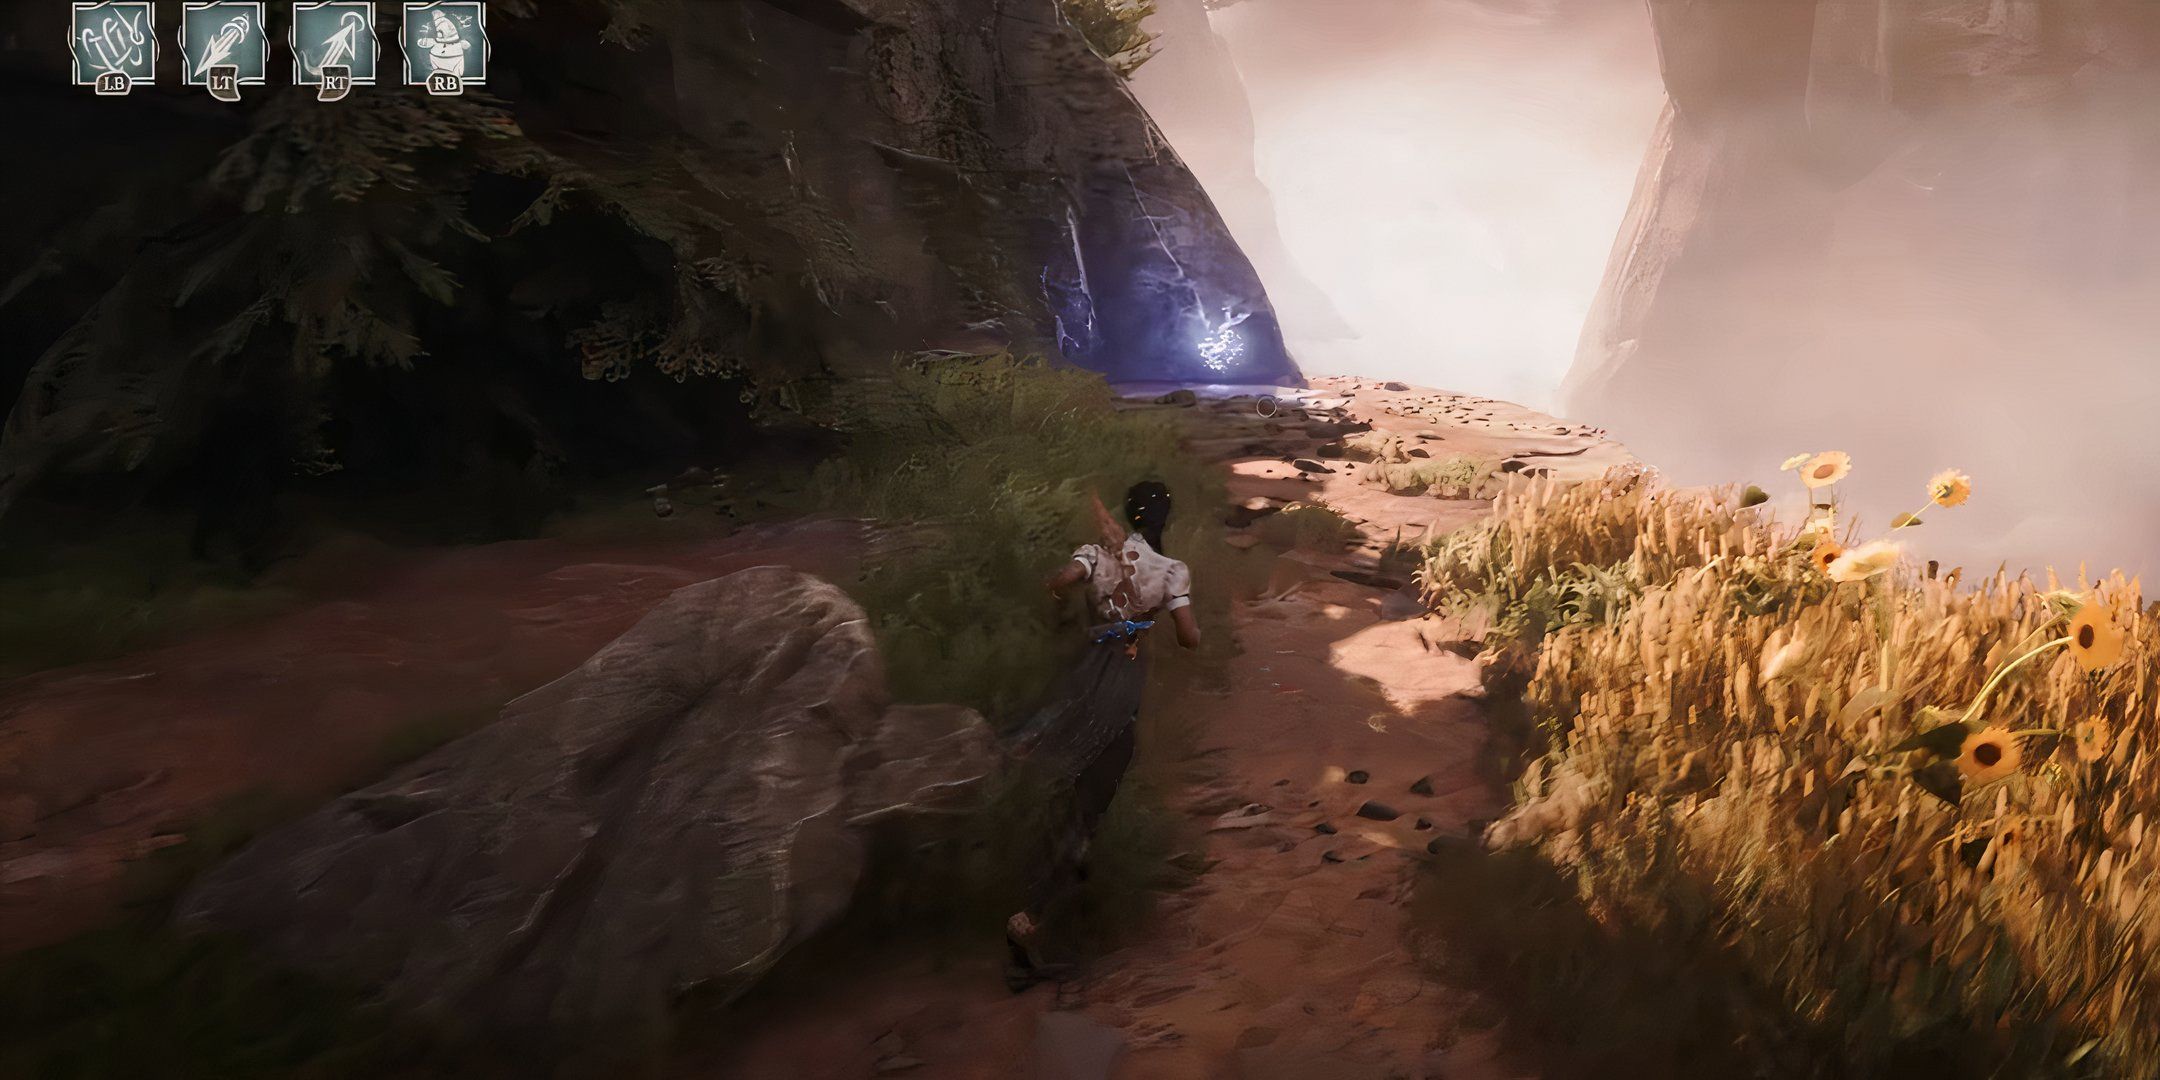
Chapter 1 readable collectibles are very straight , and you ’ll get them allin the mansion once you ’ve move through the tempest . The first is correct in front of you when you come alive up in the mansion , while the other two are in Bunny ’s office after you descale the wall around to the other balcony .
Readable
Location
Image
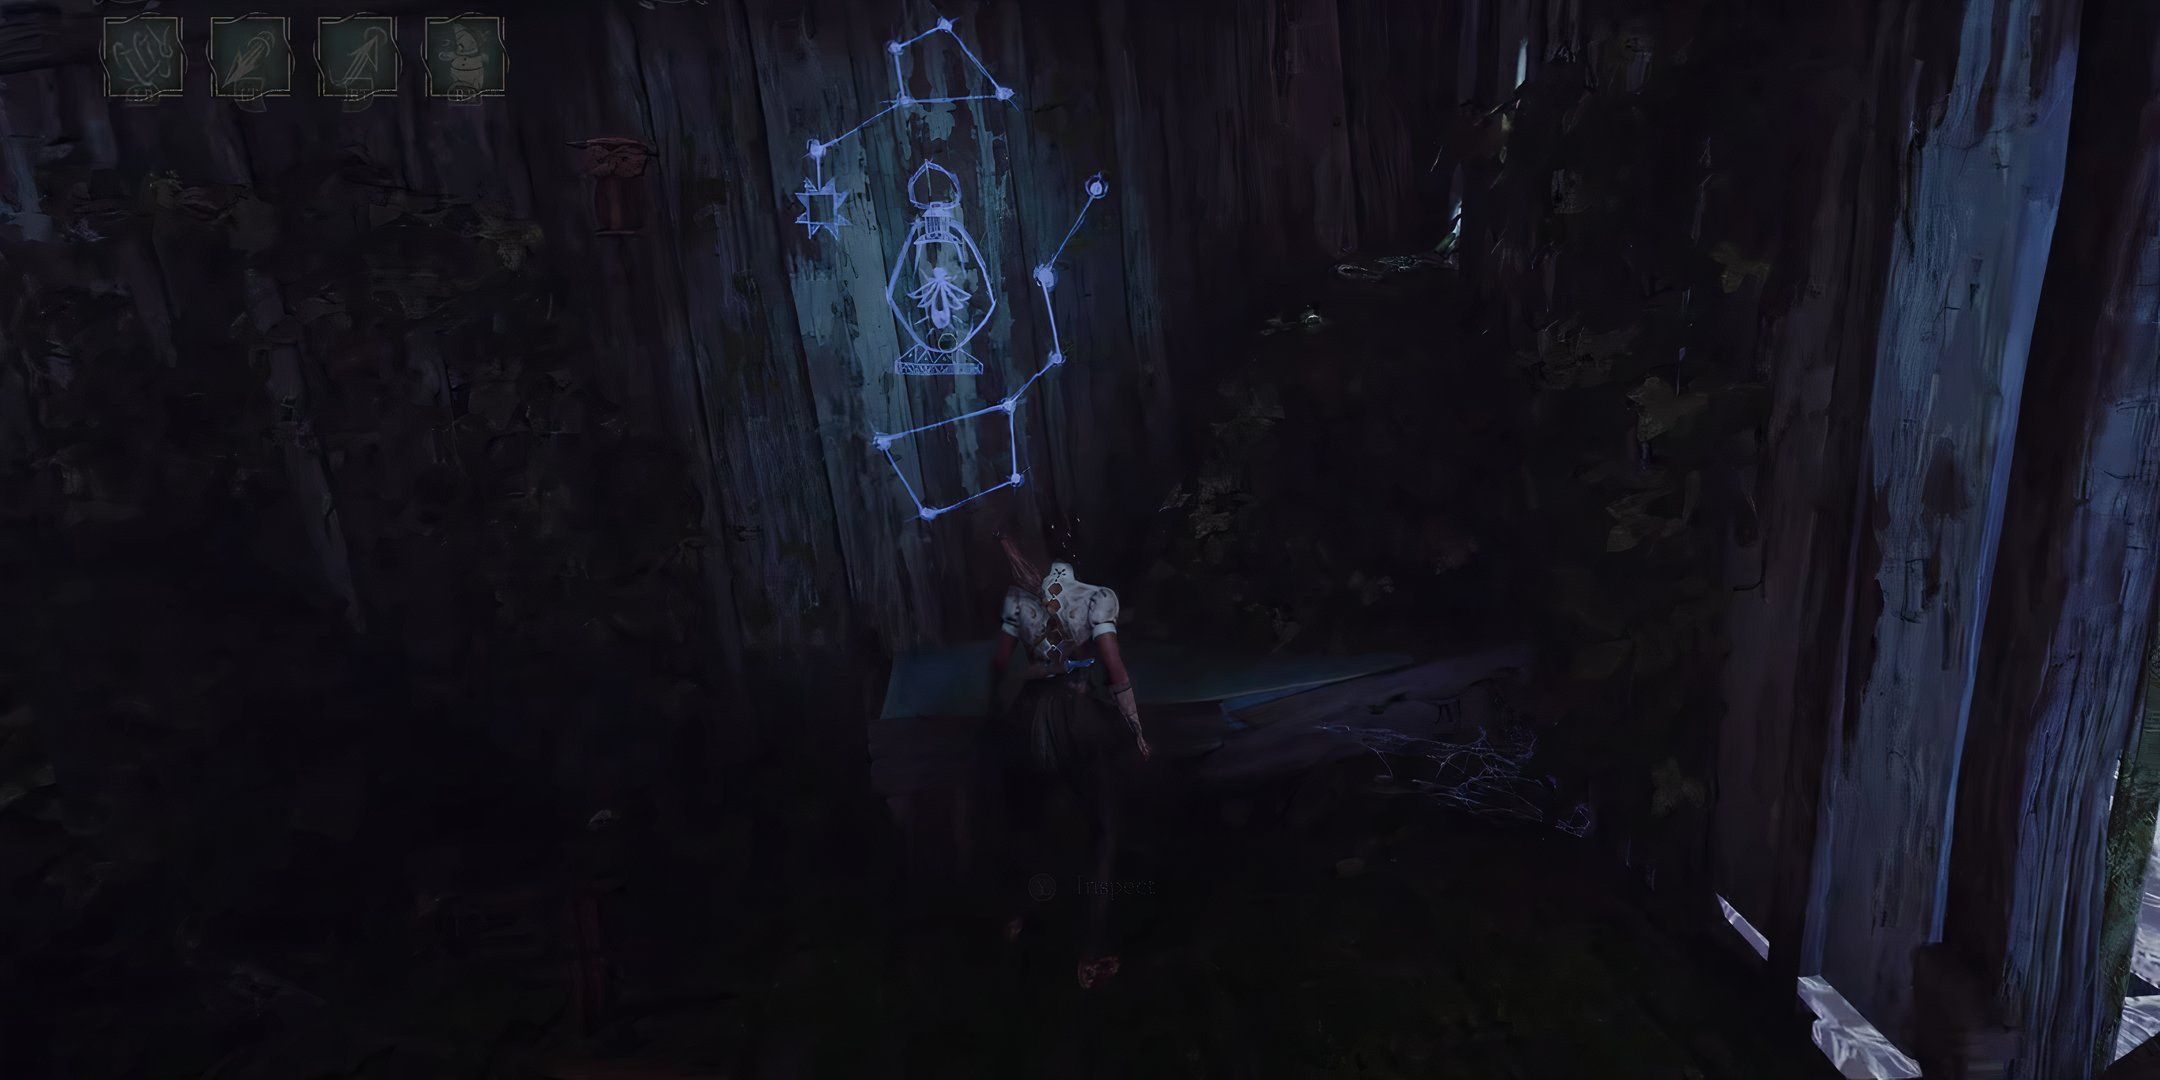
Bunny ’s musical note To Lily
Starting Location in Mansion

Custom image by Katarina Cimbaljevic
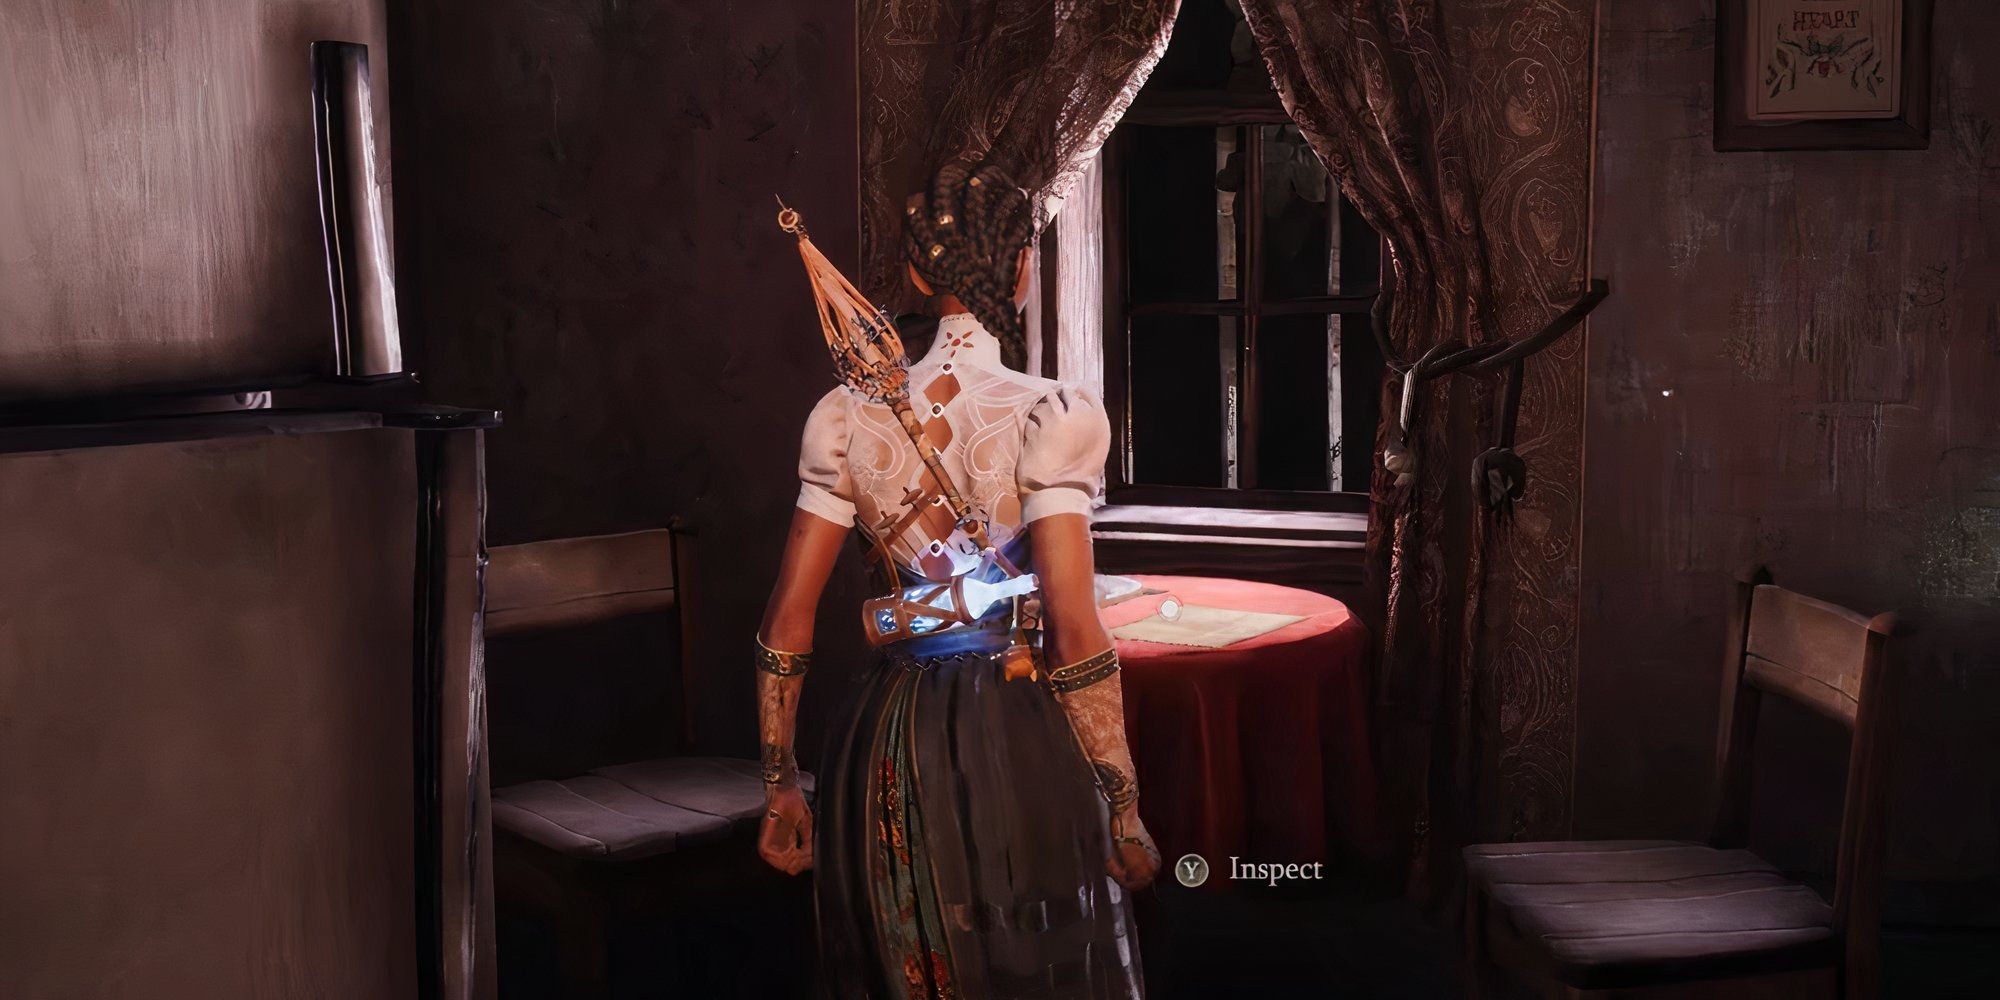
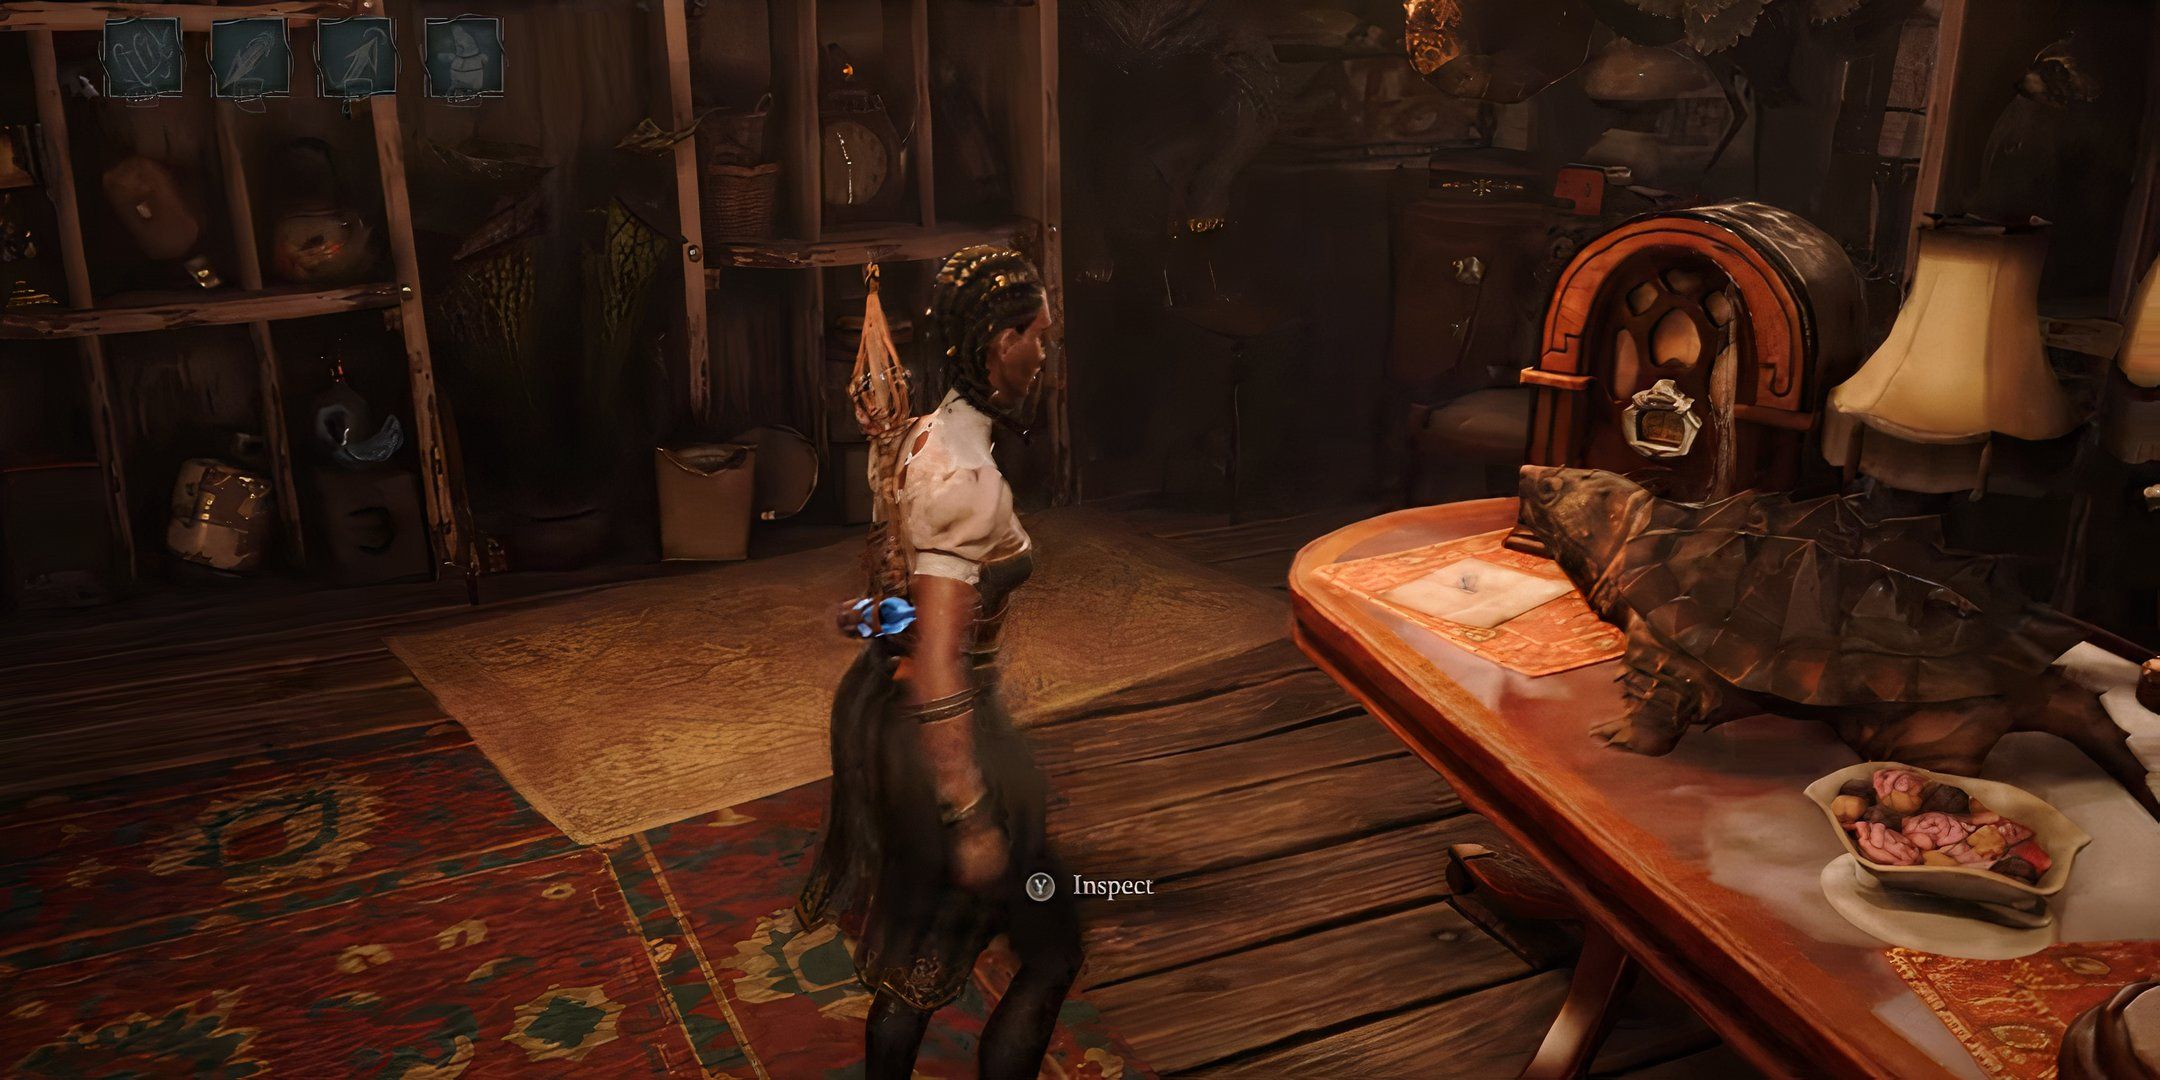
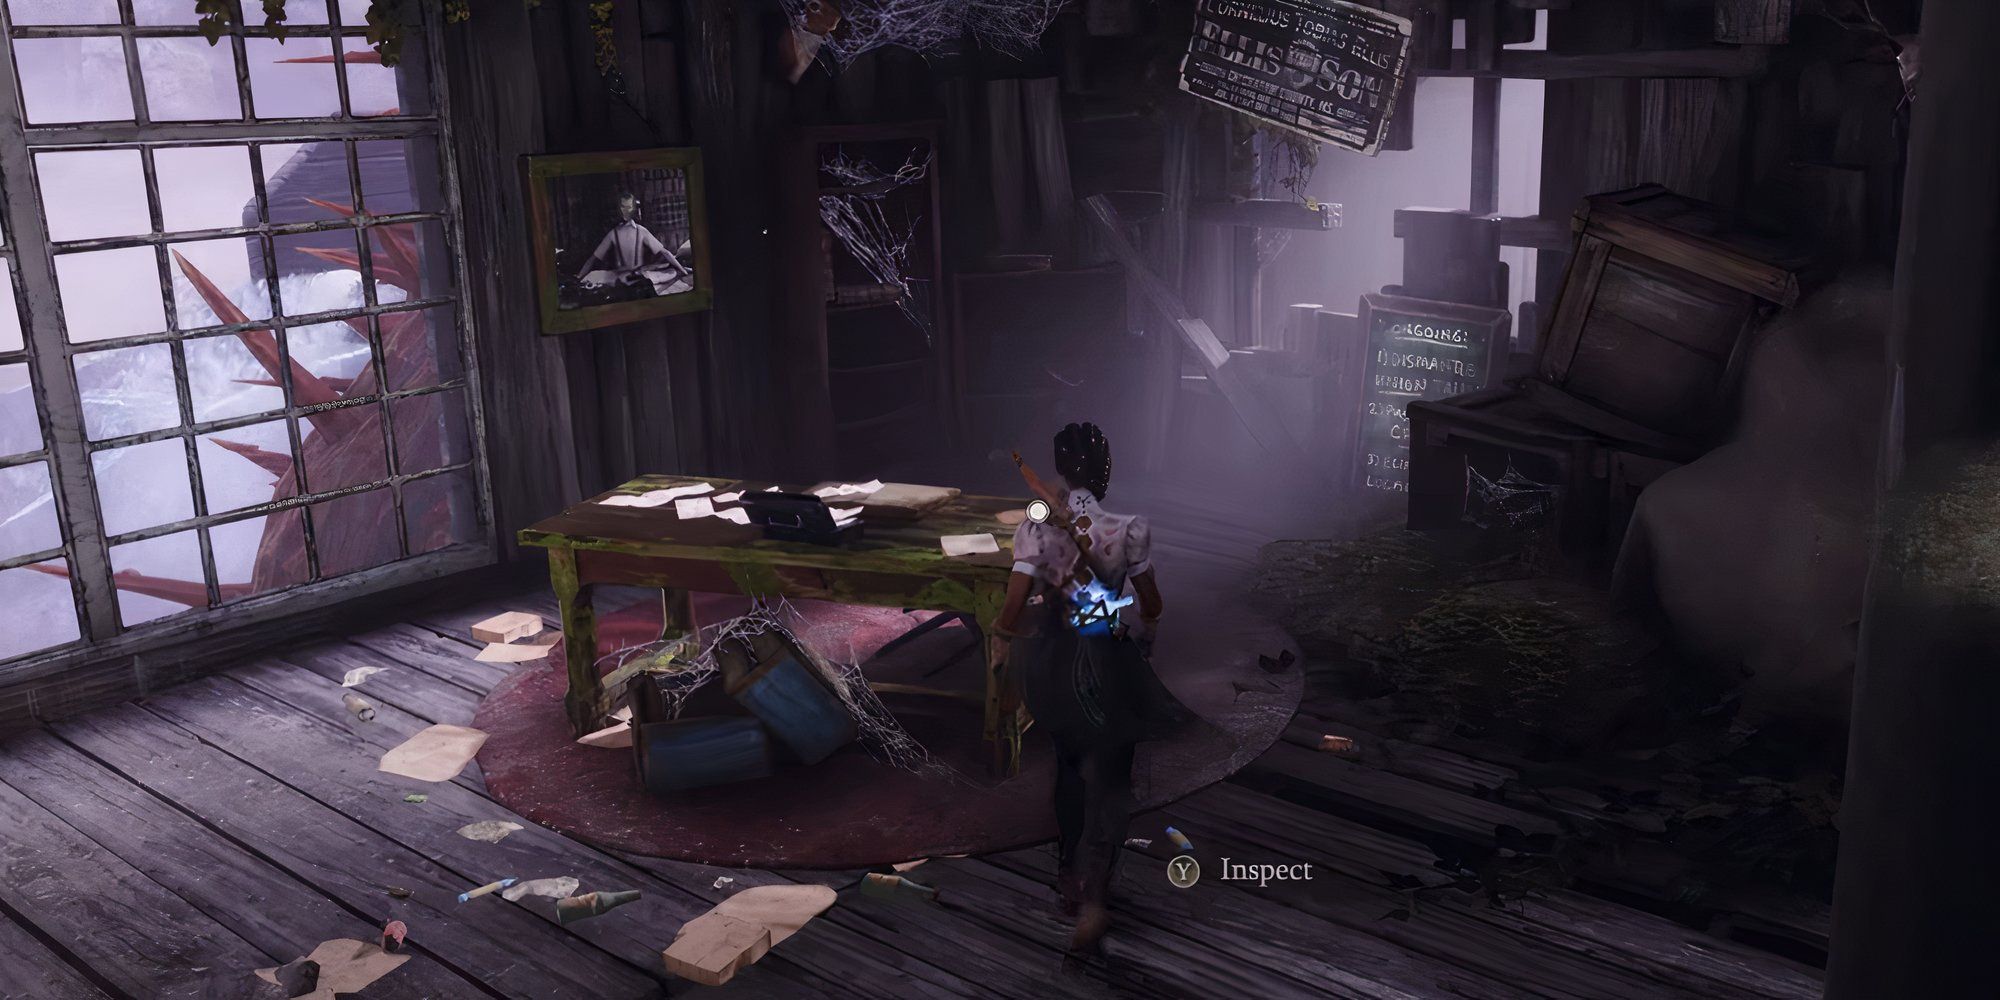
Bunny ’s Desk Entry
In Bunny ’s office , on her desk
Bunny ’s Lounge Chair Entry
Next to the waiting area chair in Bunny ’s office
All Readables In Chapter 2: Other Voices, Other Looms
Find All Four Readables In The Second Chapter
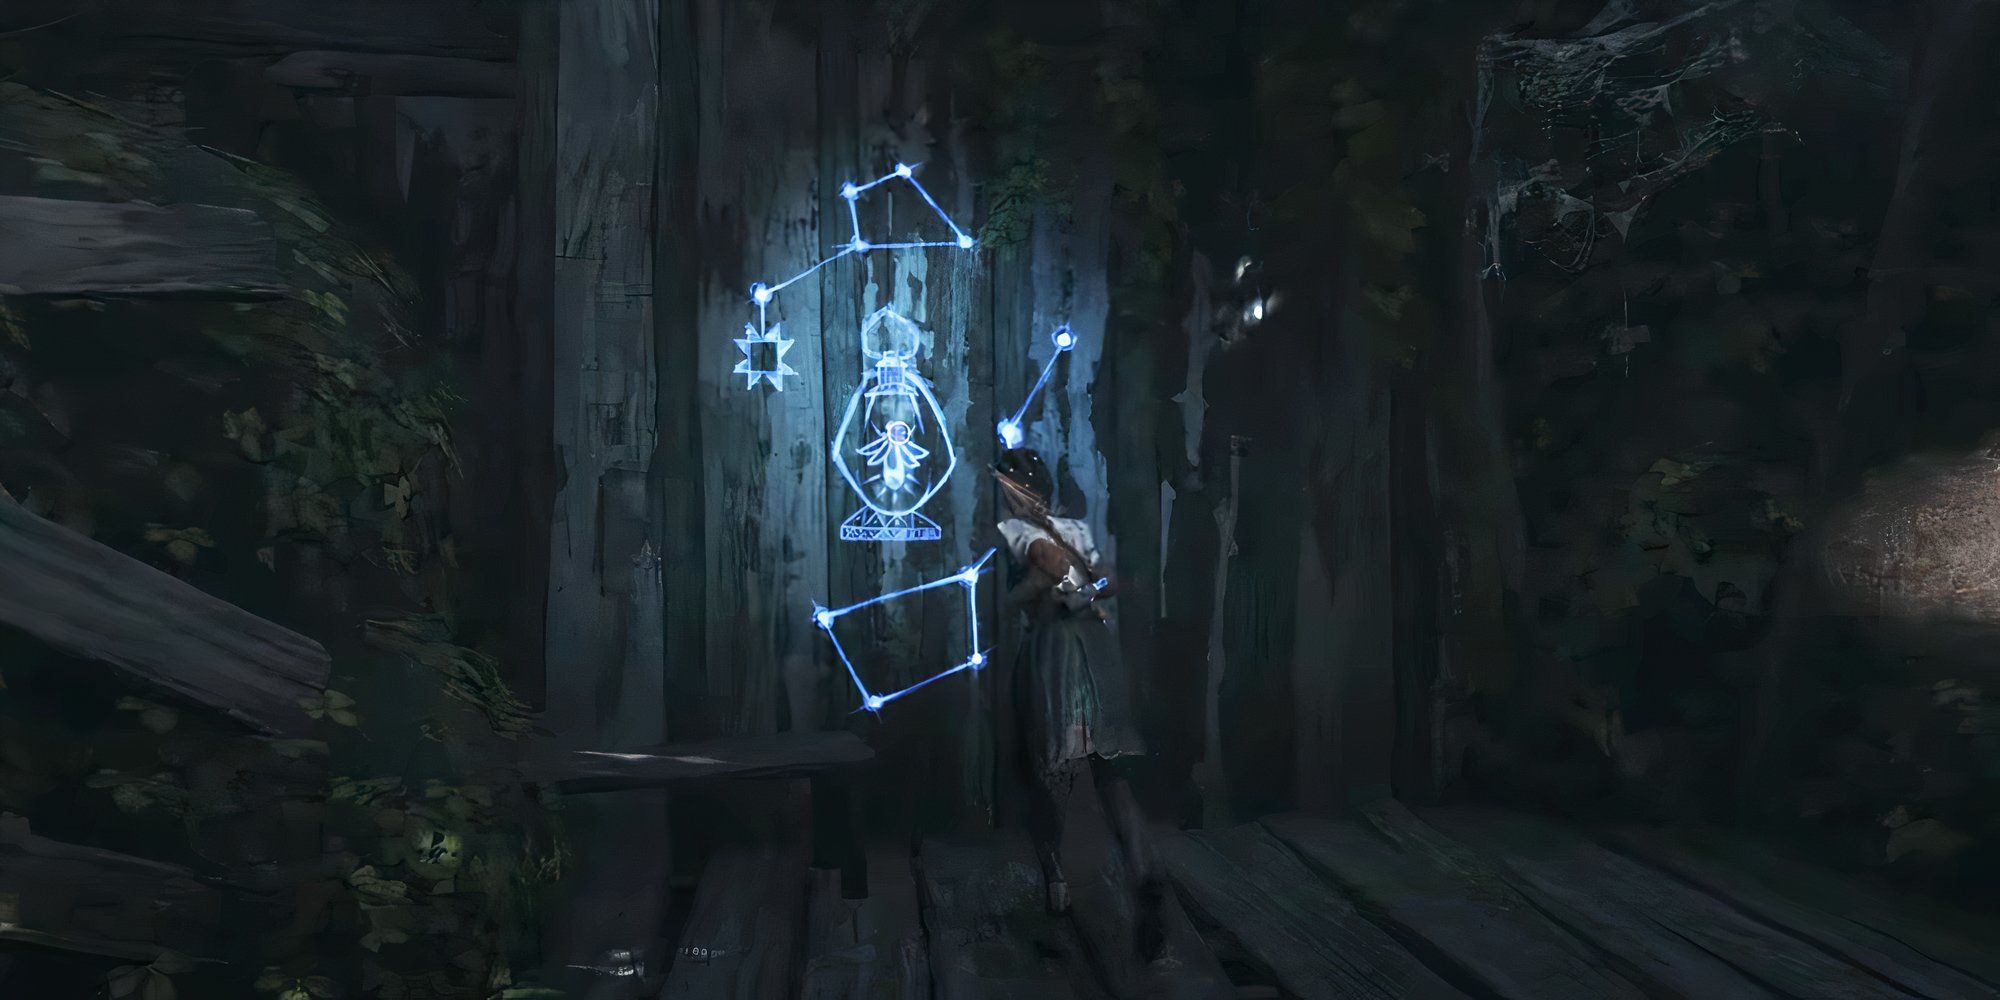
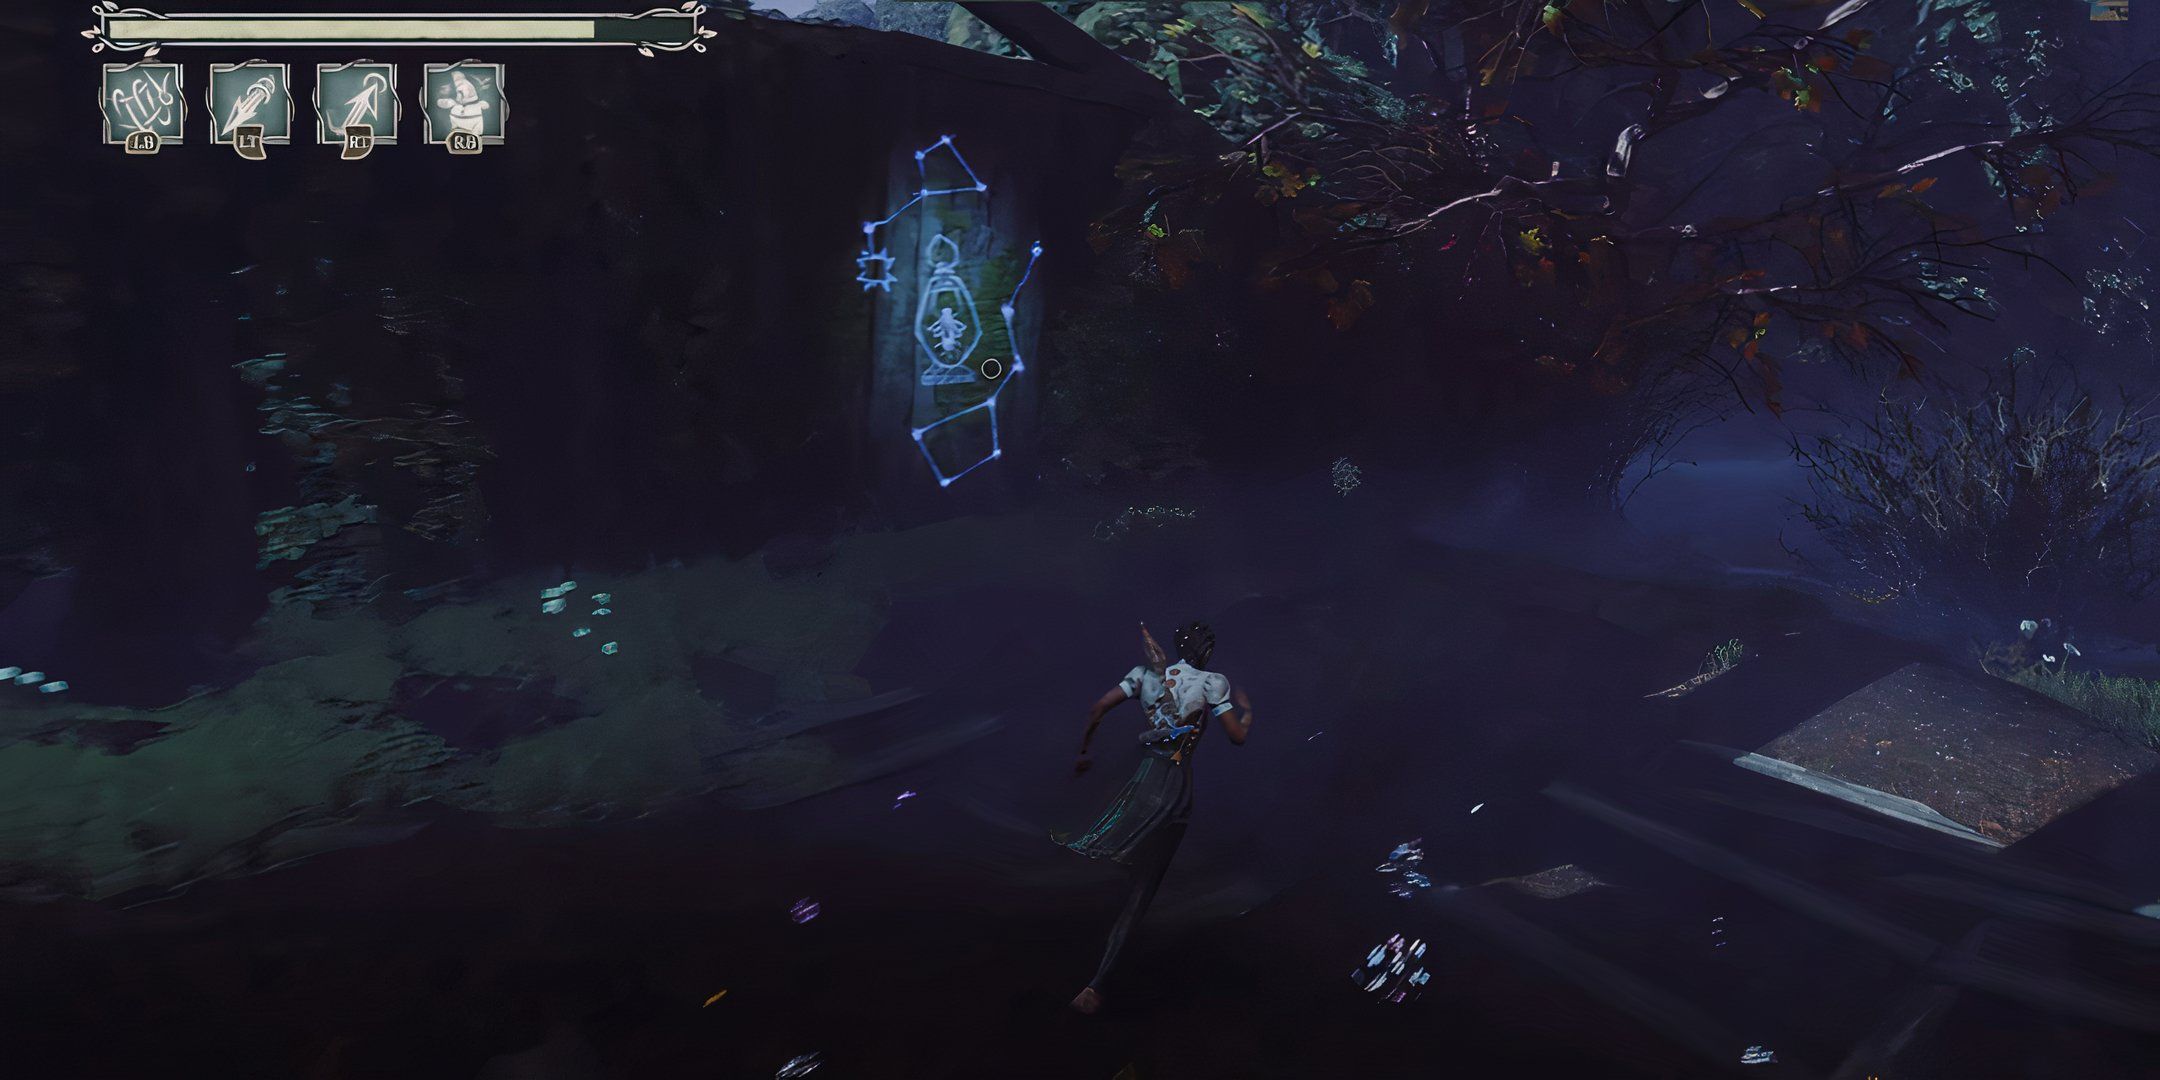
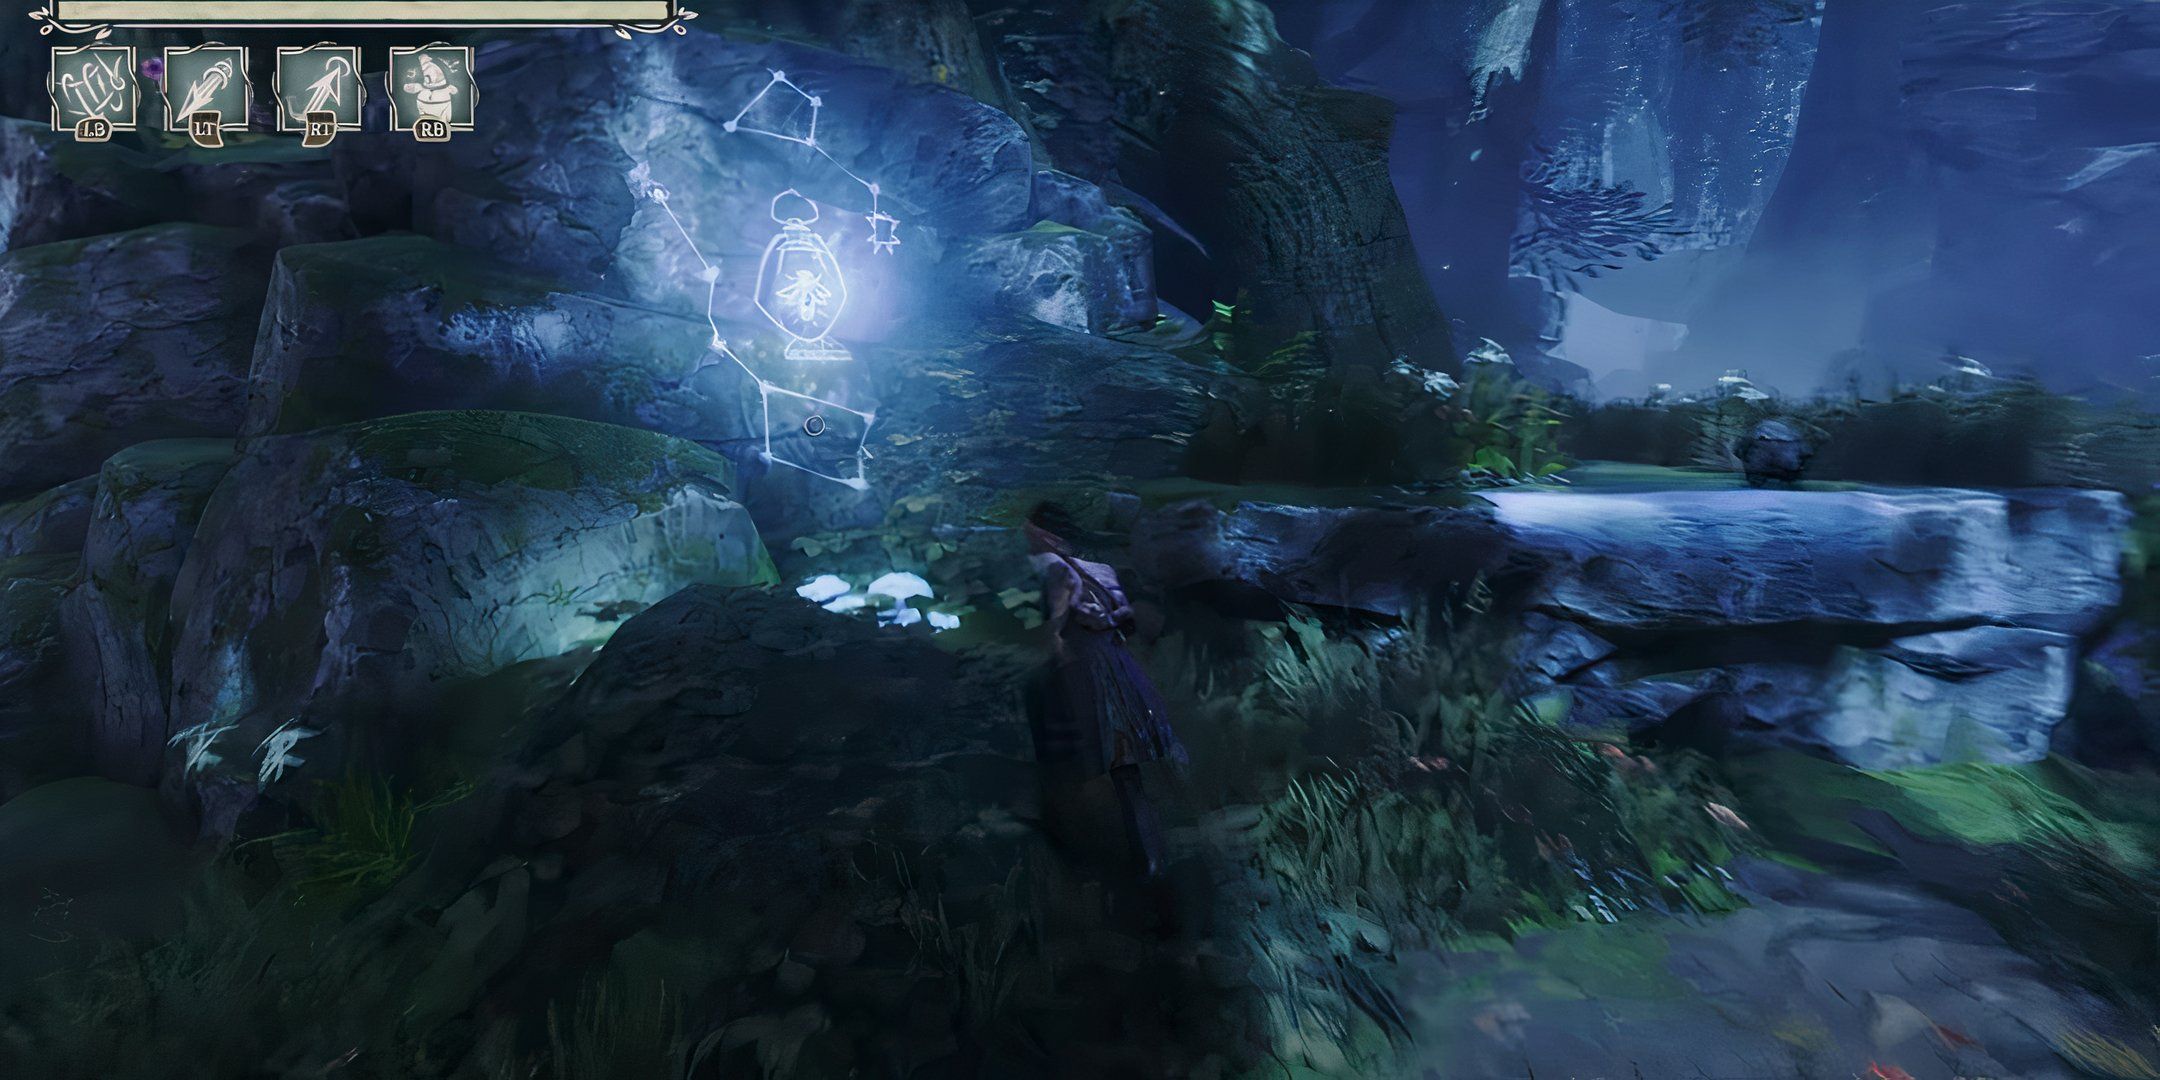
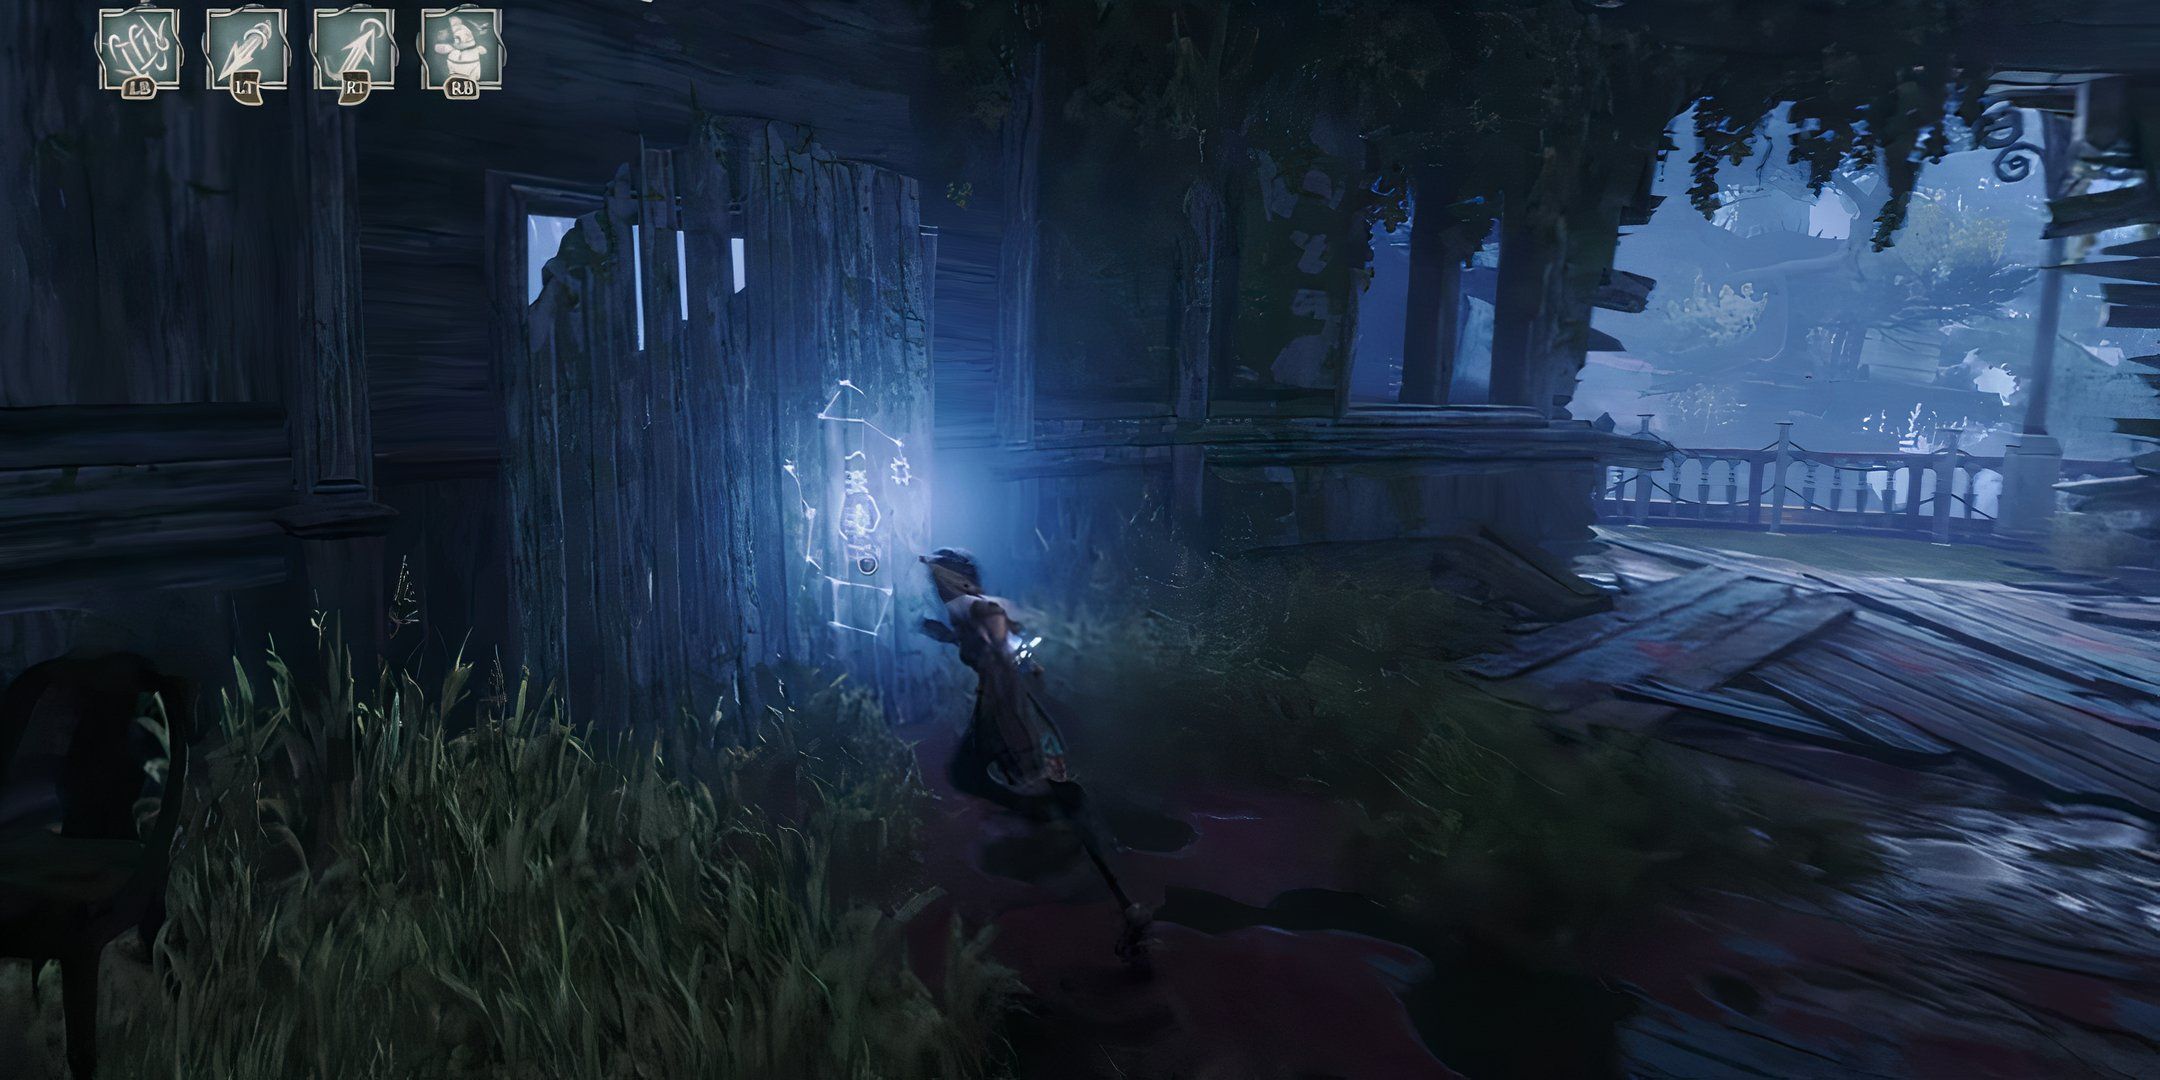
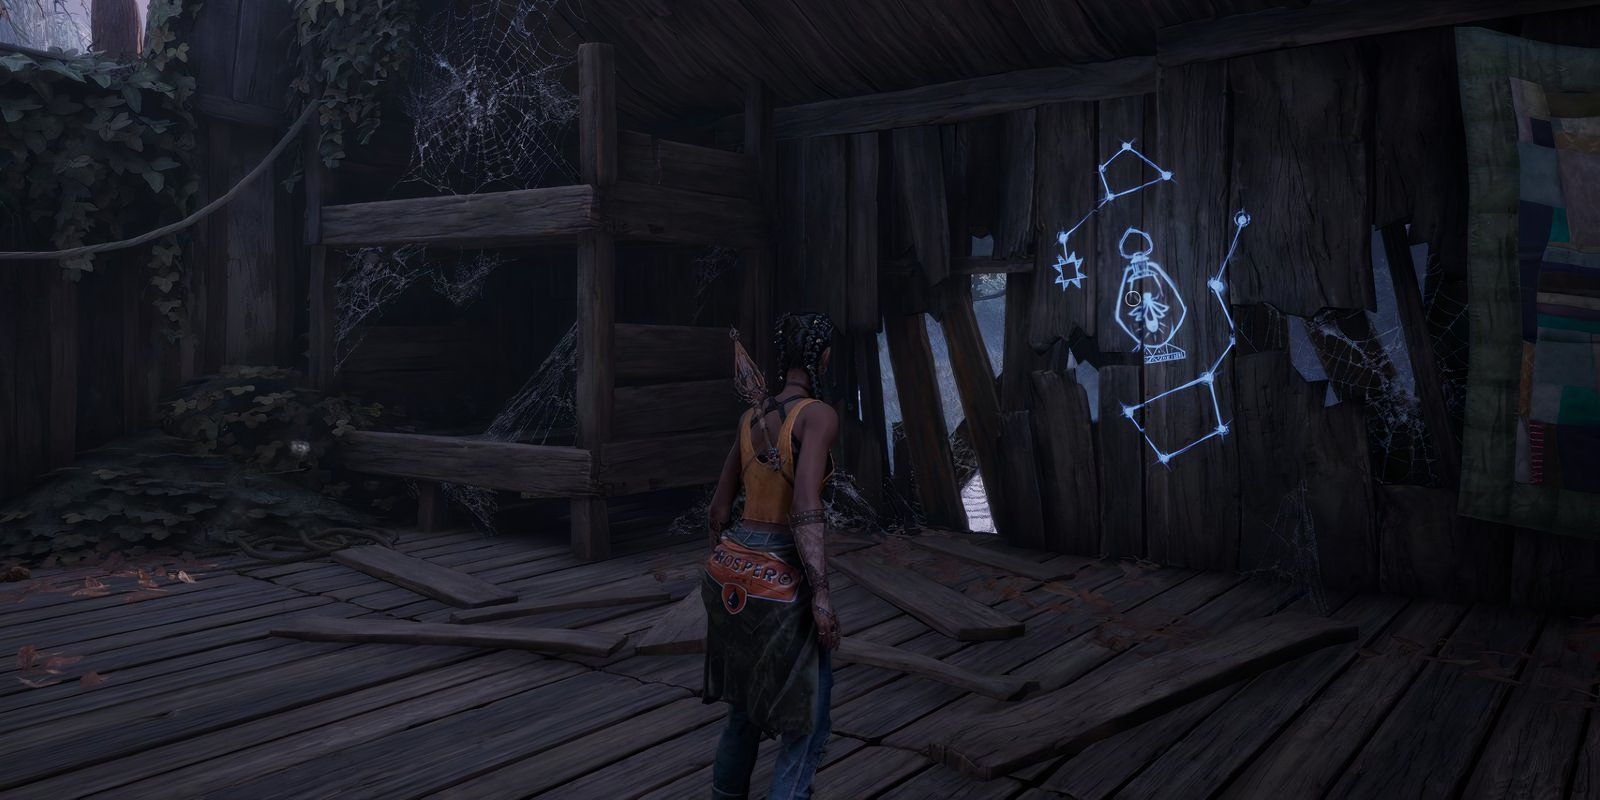
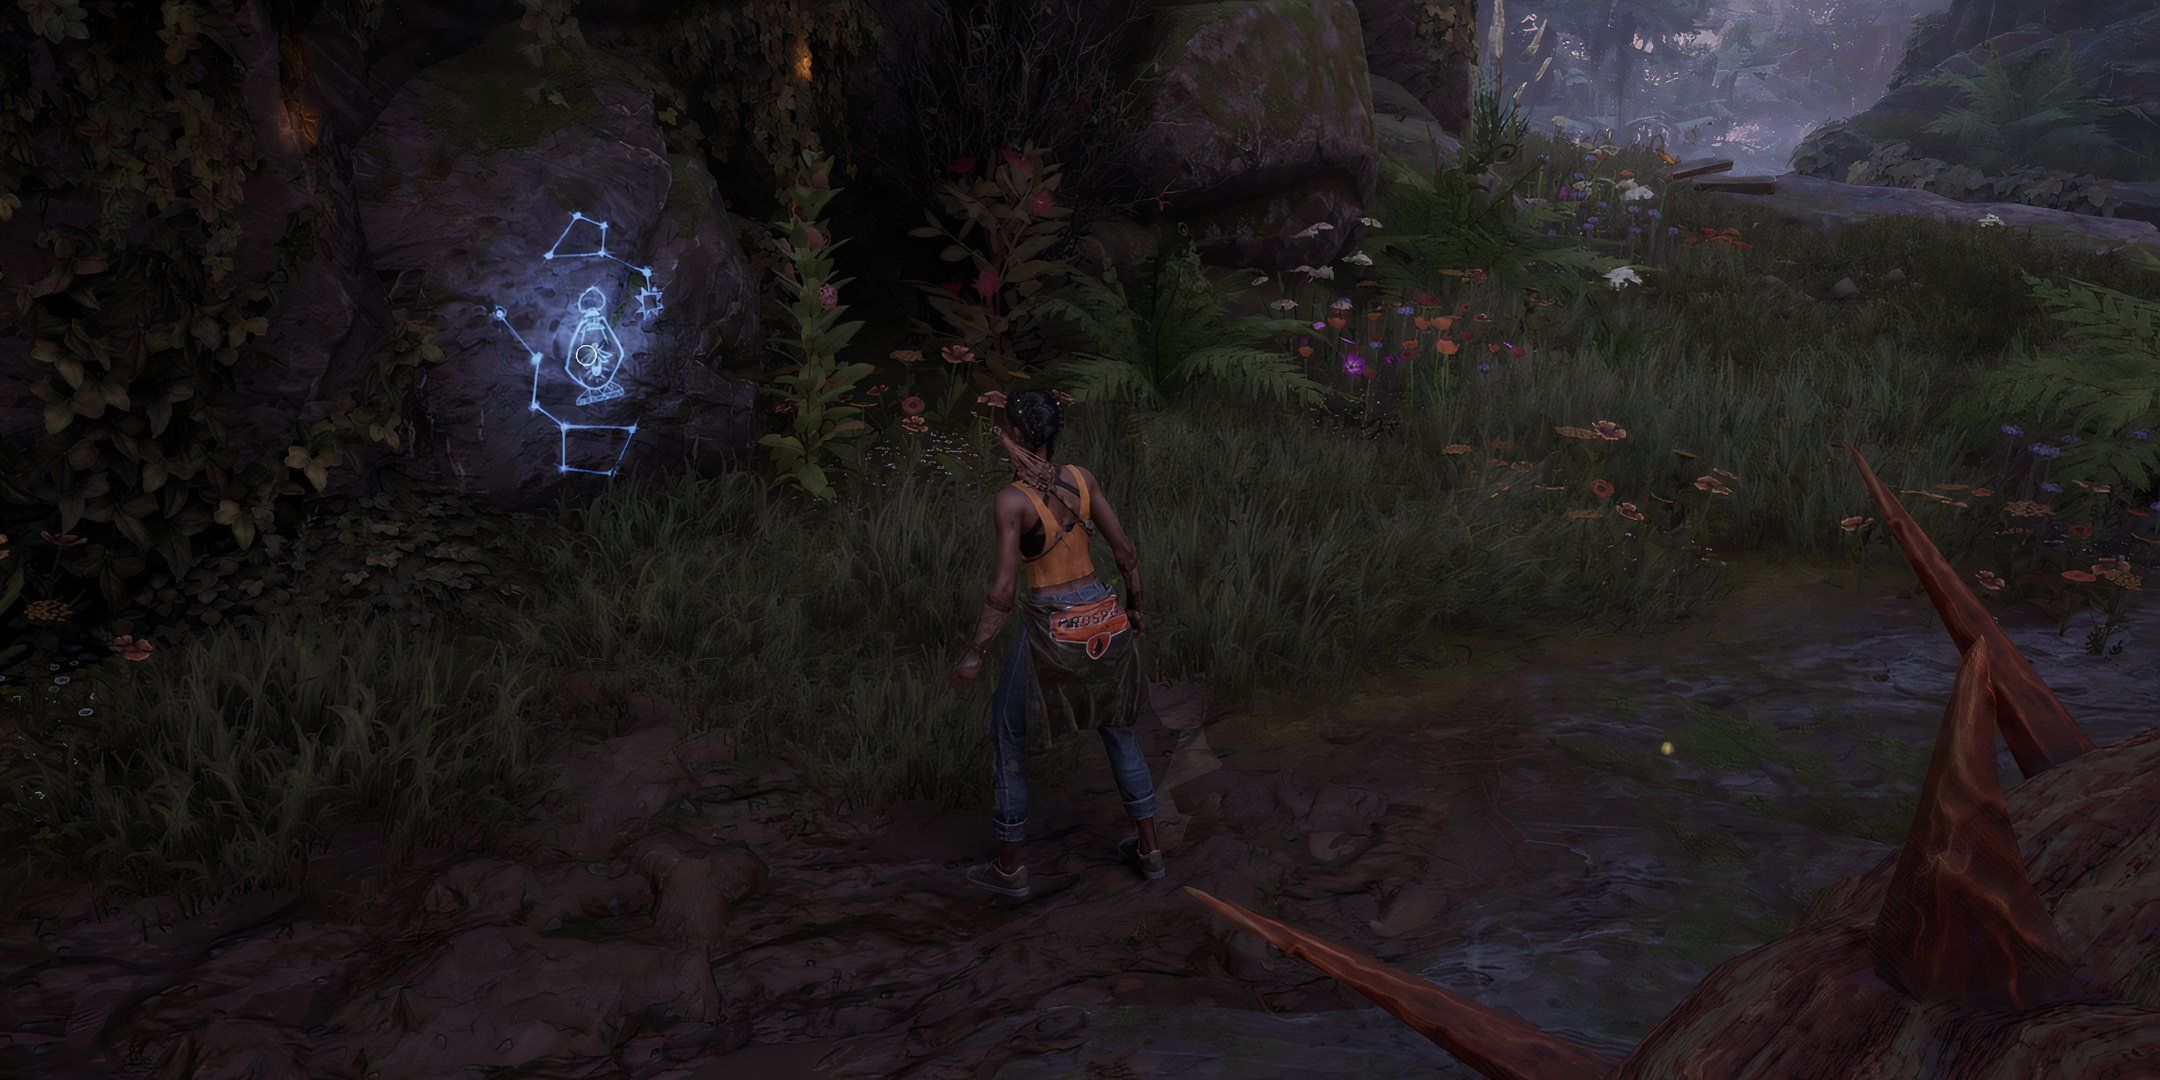
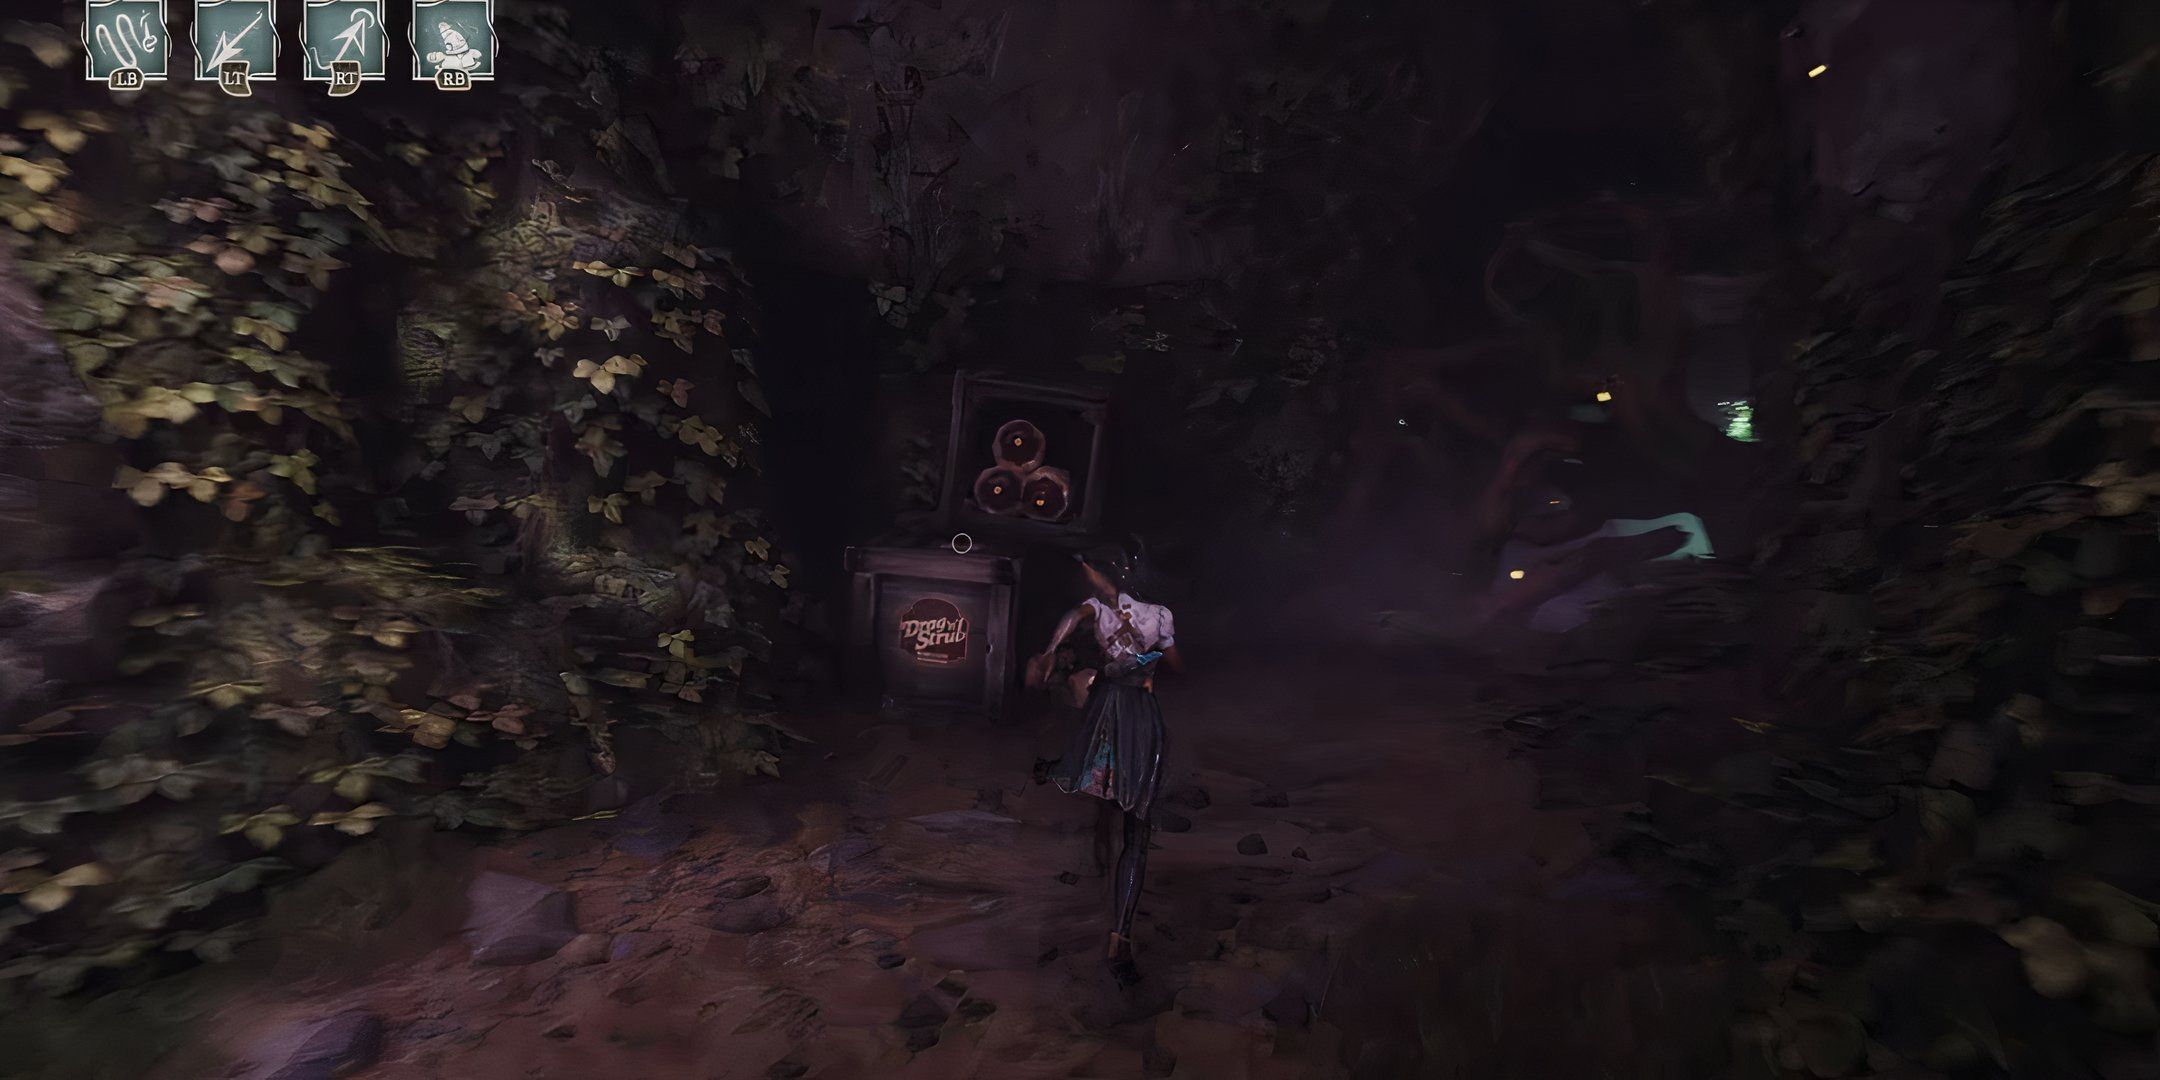
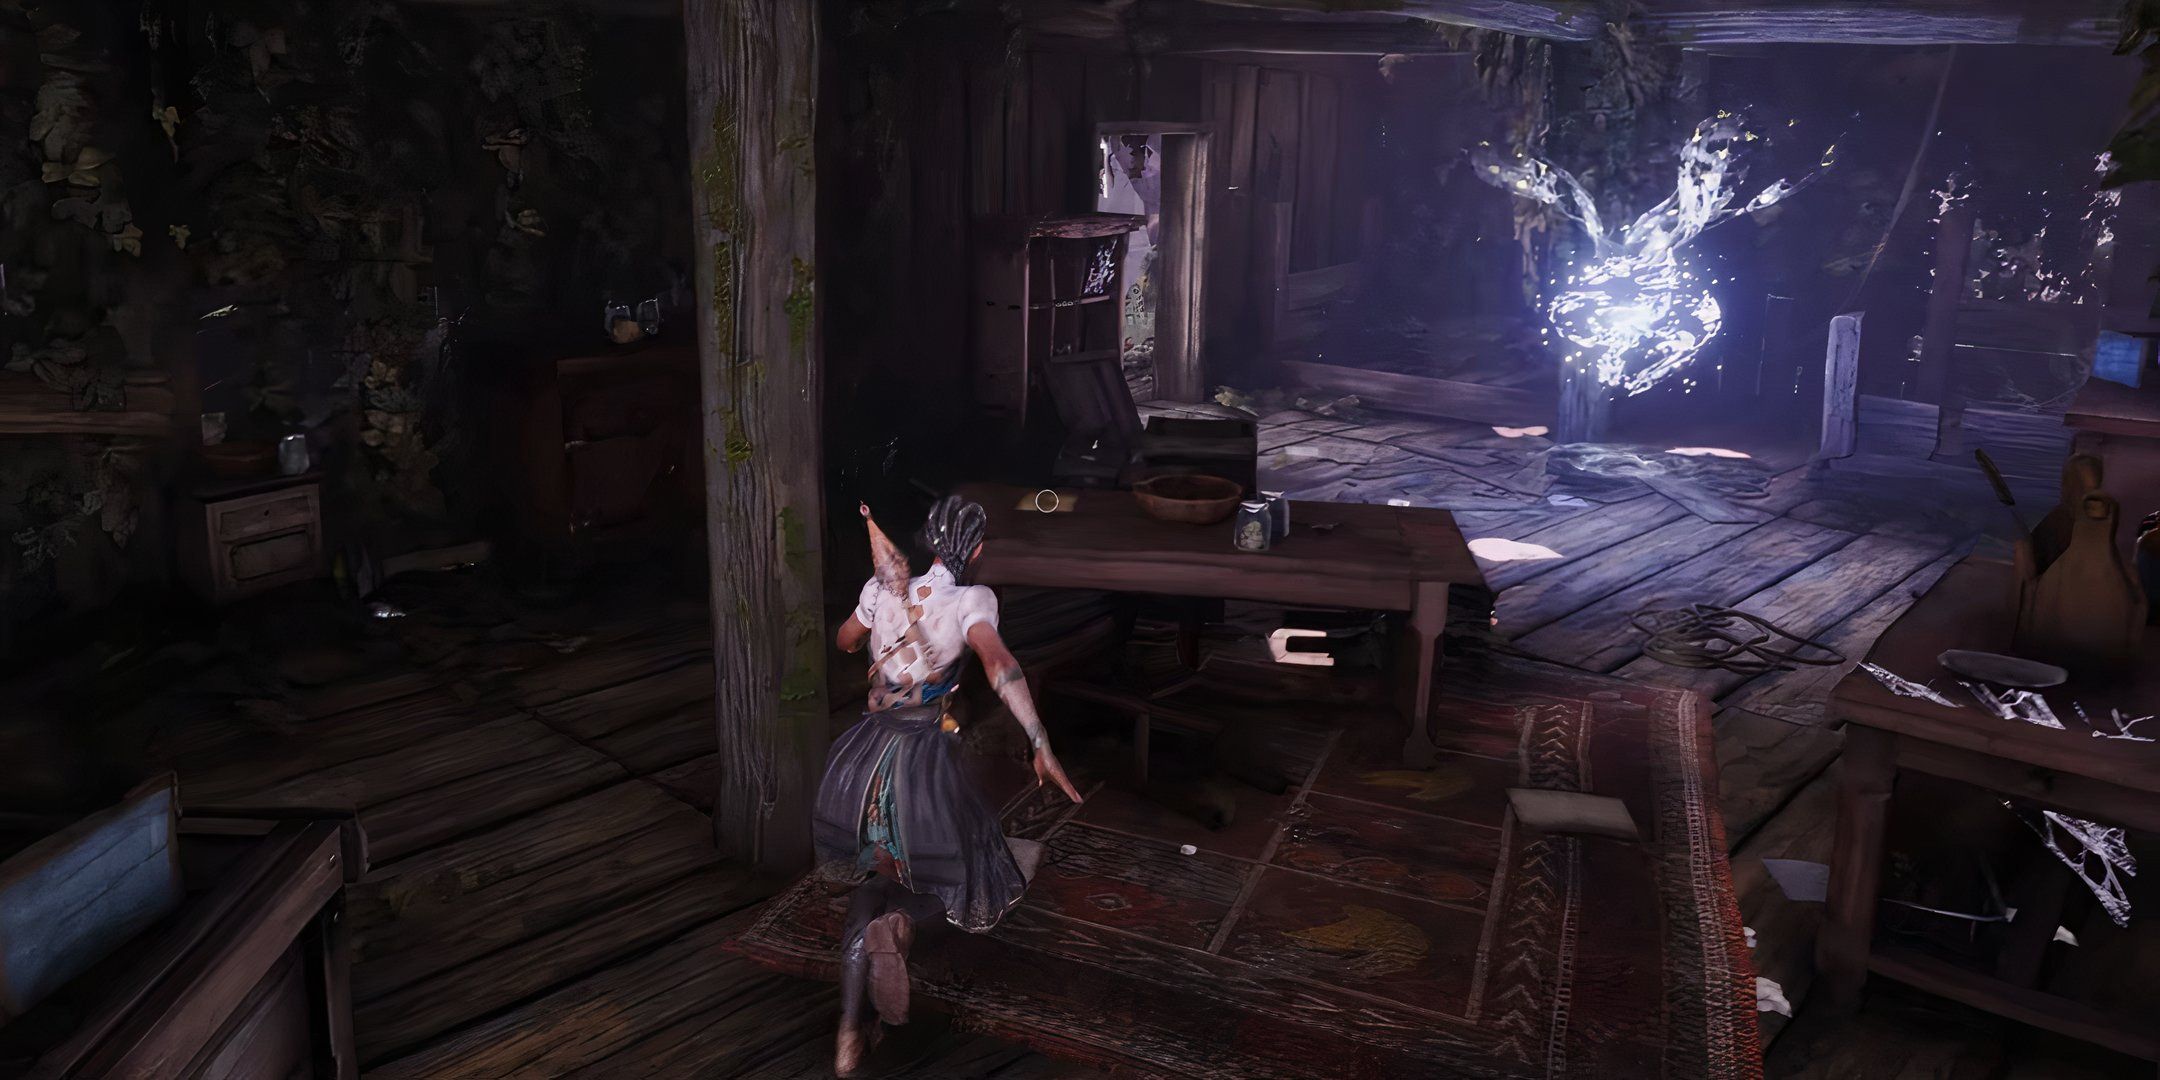
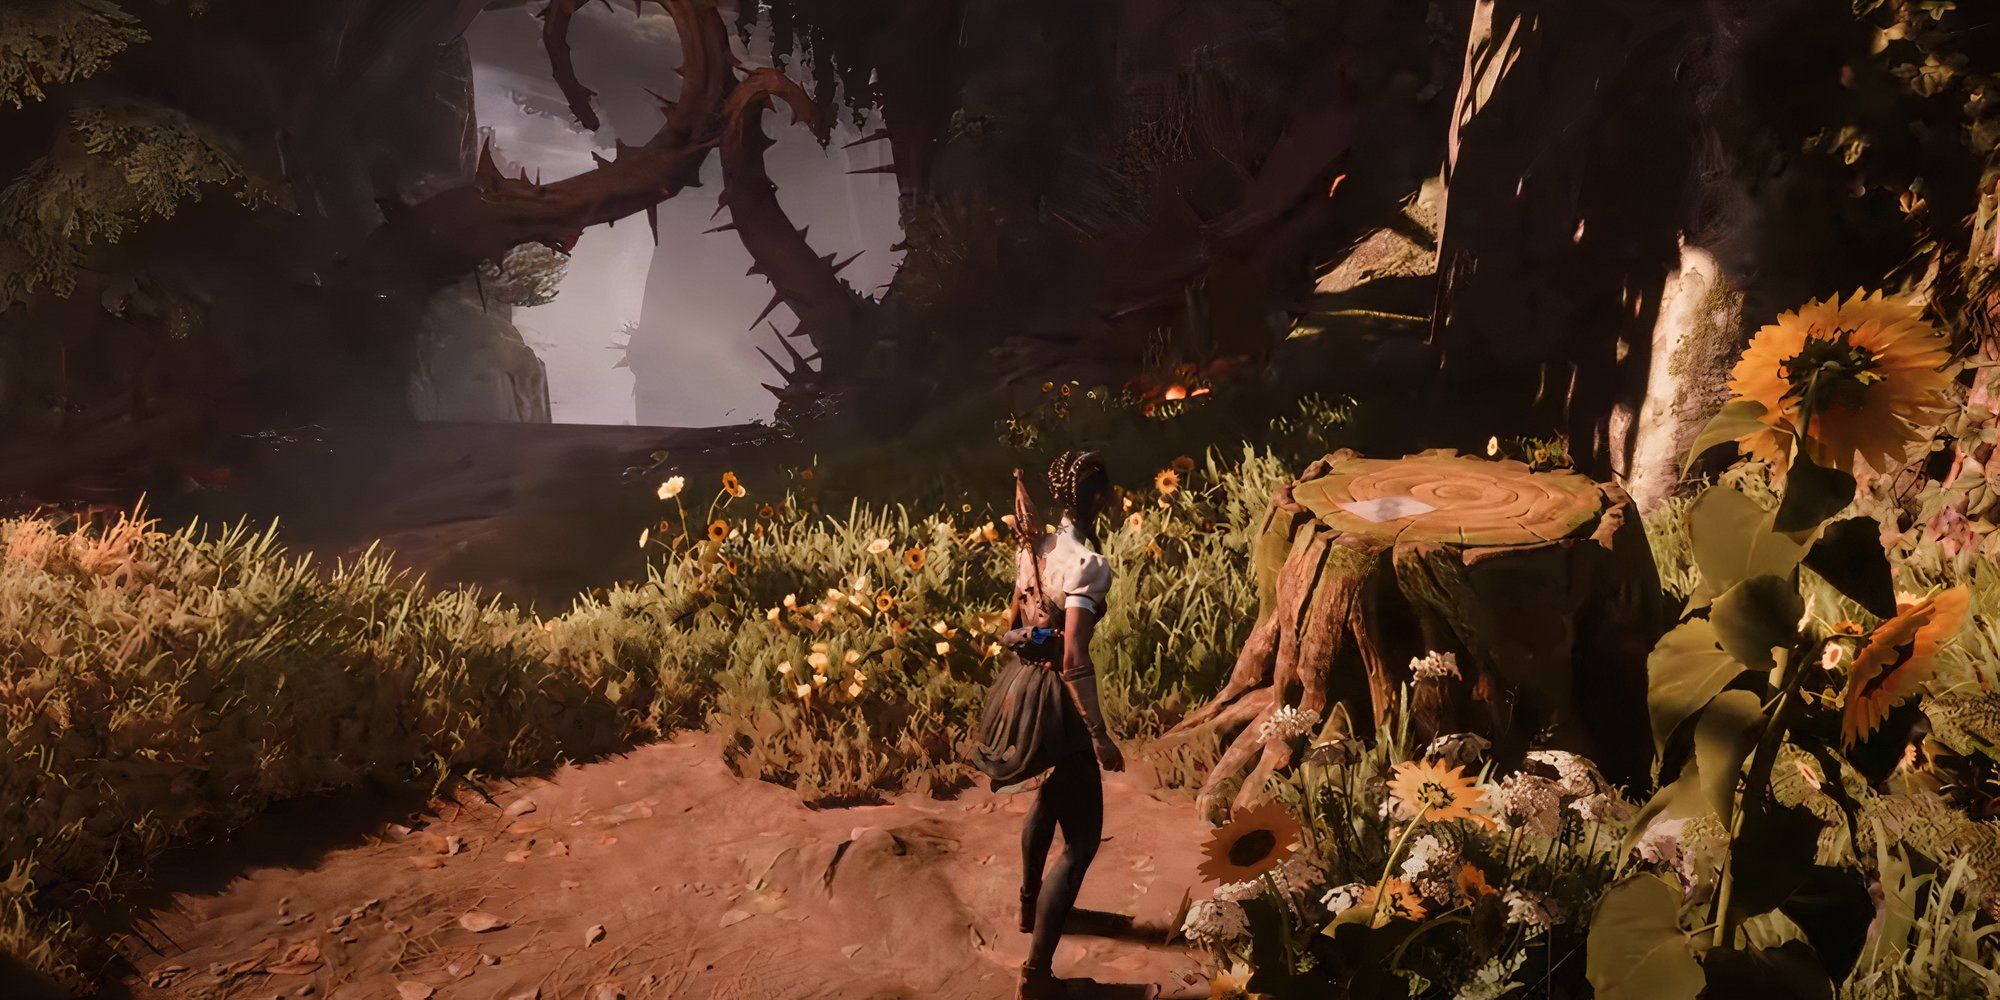
There are four entire decipherable collectible in Chapter 2 , and this is when you first take up to find readables in the form of glyph on the side of bulwark . Keep an eye out for these , as they ’re typically easy to blob thanks to their glowing blue high spot . The third clear in this chapter is well-fixed to miss , so be trusted to look into the hidden area to the left of the mine handcart before you Strand commit it out to cross the interruption where the touch escaped .
The Weaver ’s Call
In a shed near where you first see the spectre
Spirits , talk To Me !
In the barn after learning Strand Pull
Please Speak To Me …
When you see the ghosts before moving the mine cart , push the logs to access a hidden area to the left
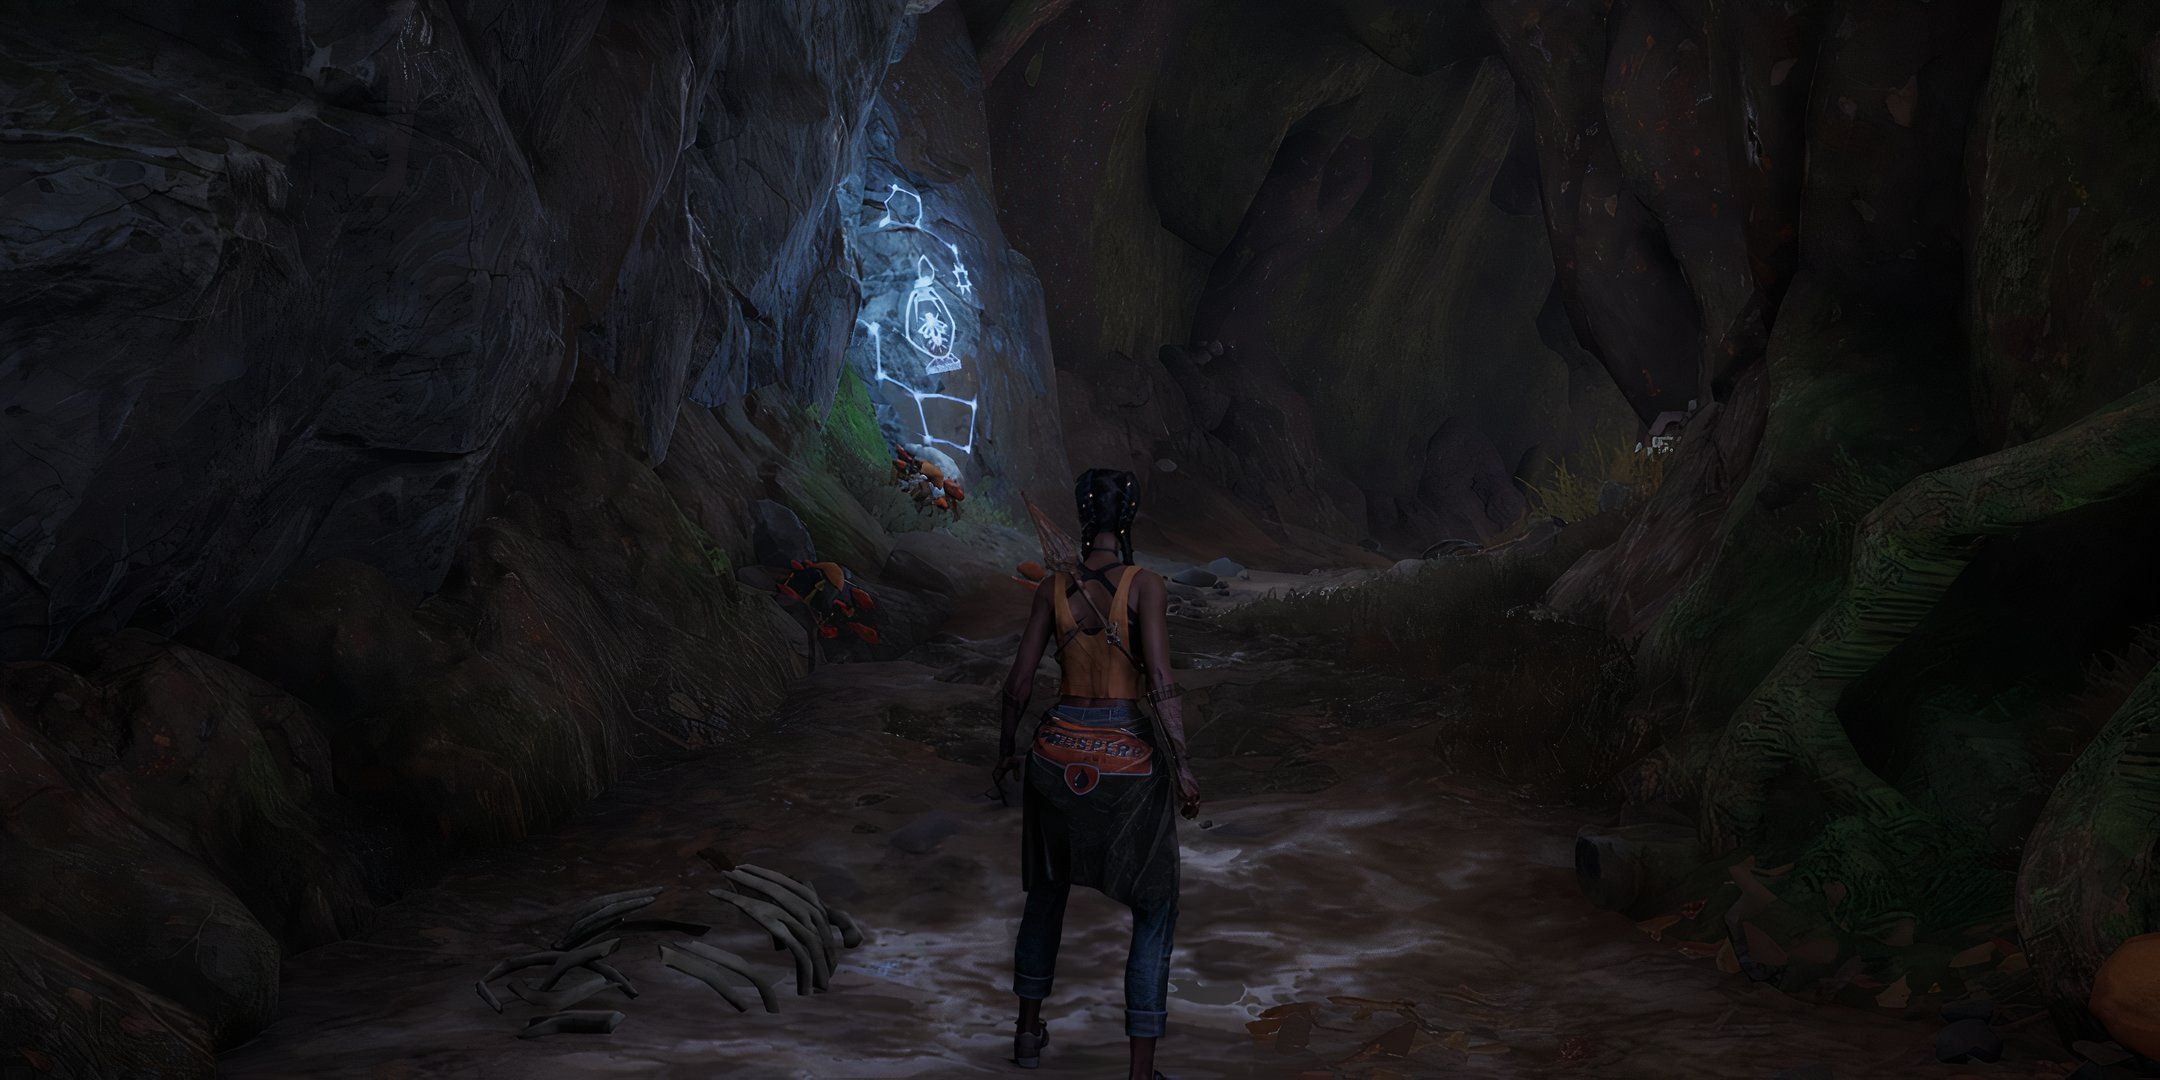
Stigma and Sorrow
In the cave after adopt the ghosts
All Readables In Chapter 3: A Big Fish
Meet The Giant Catfish & Track Down Seven Readables
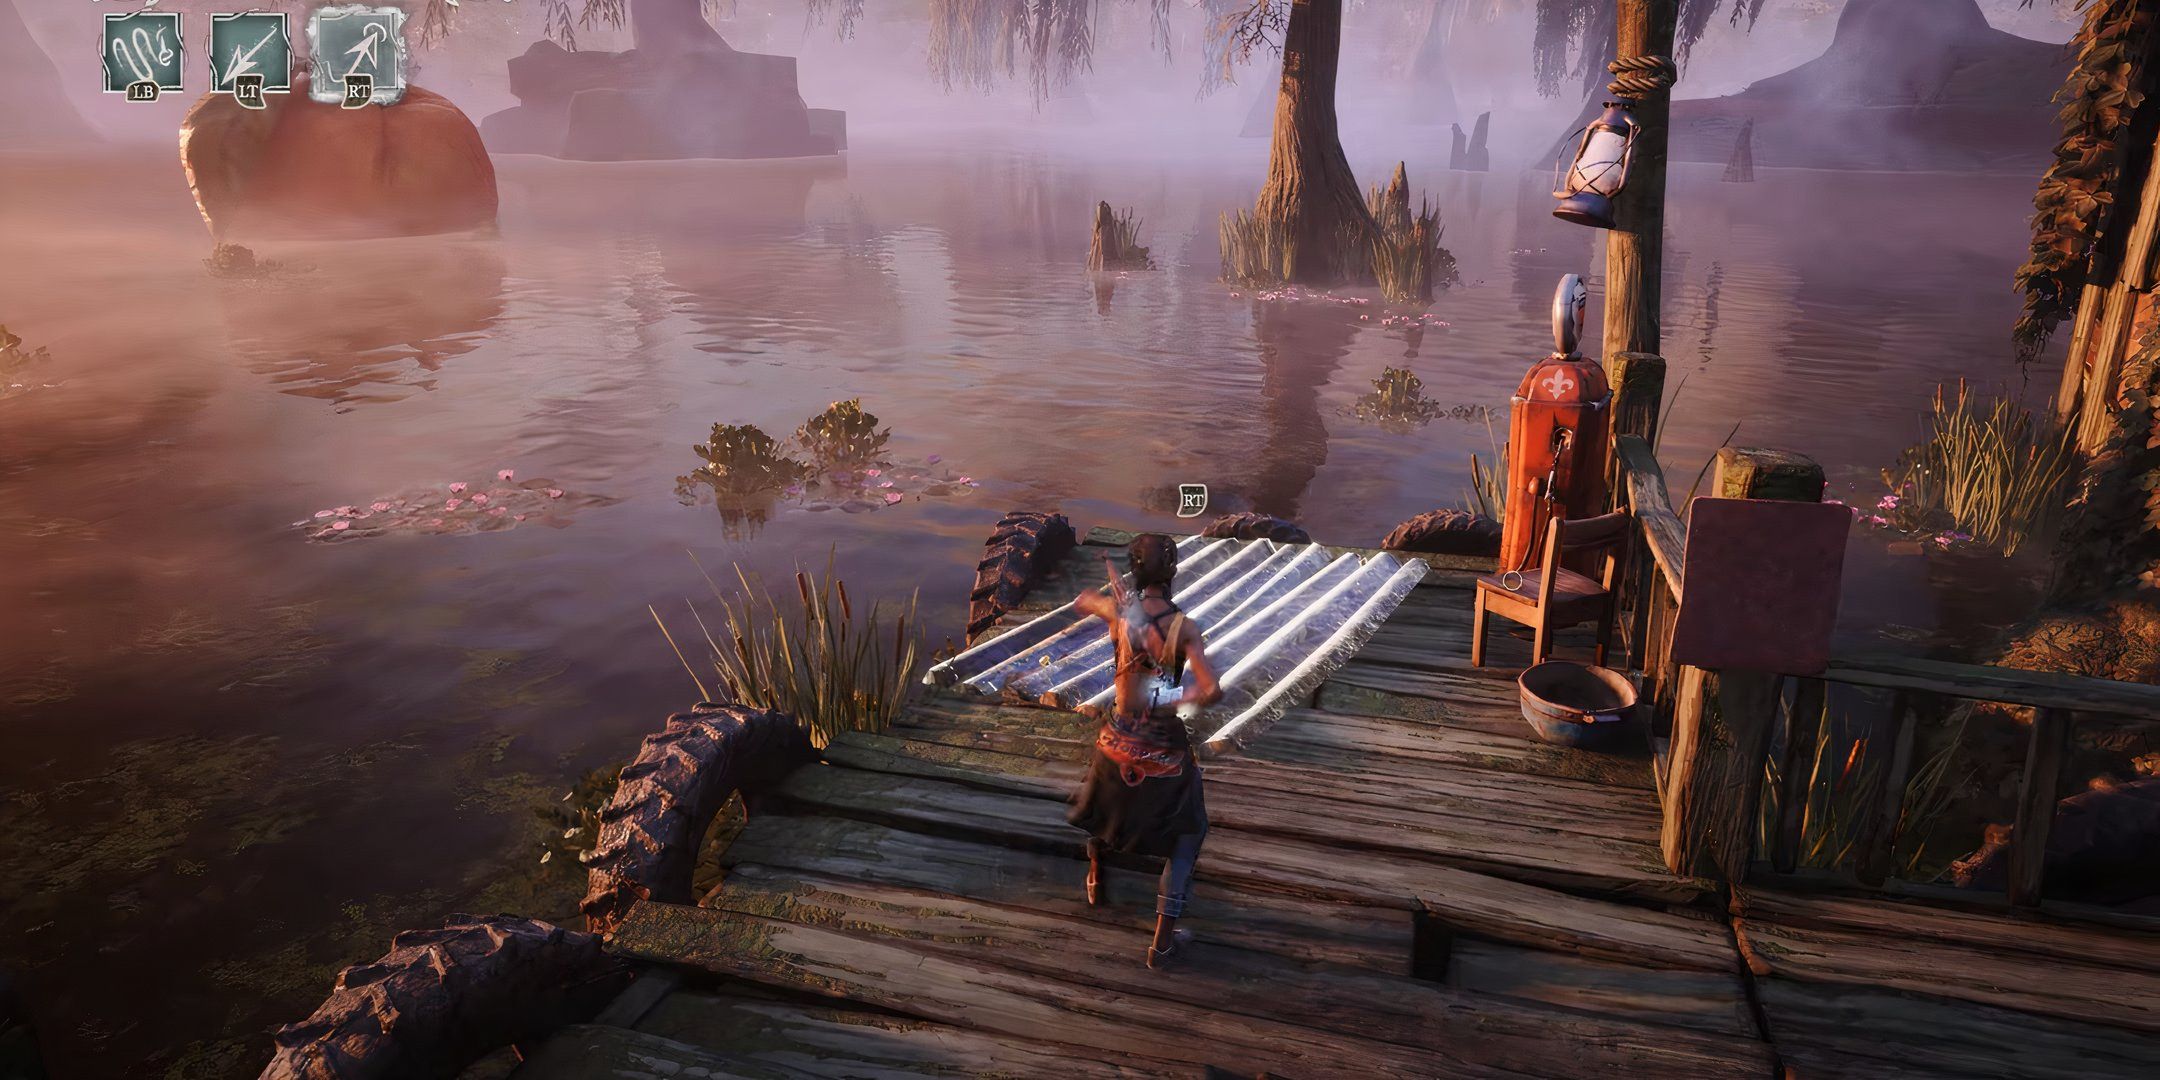
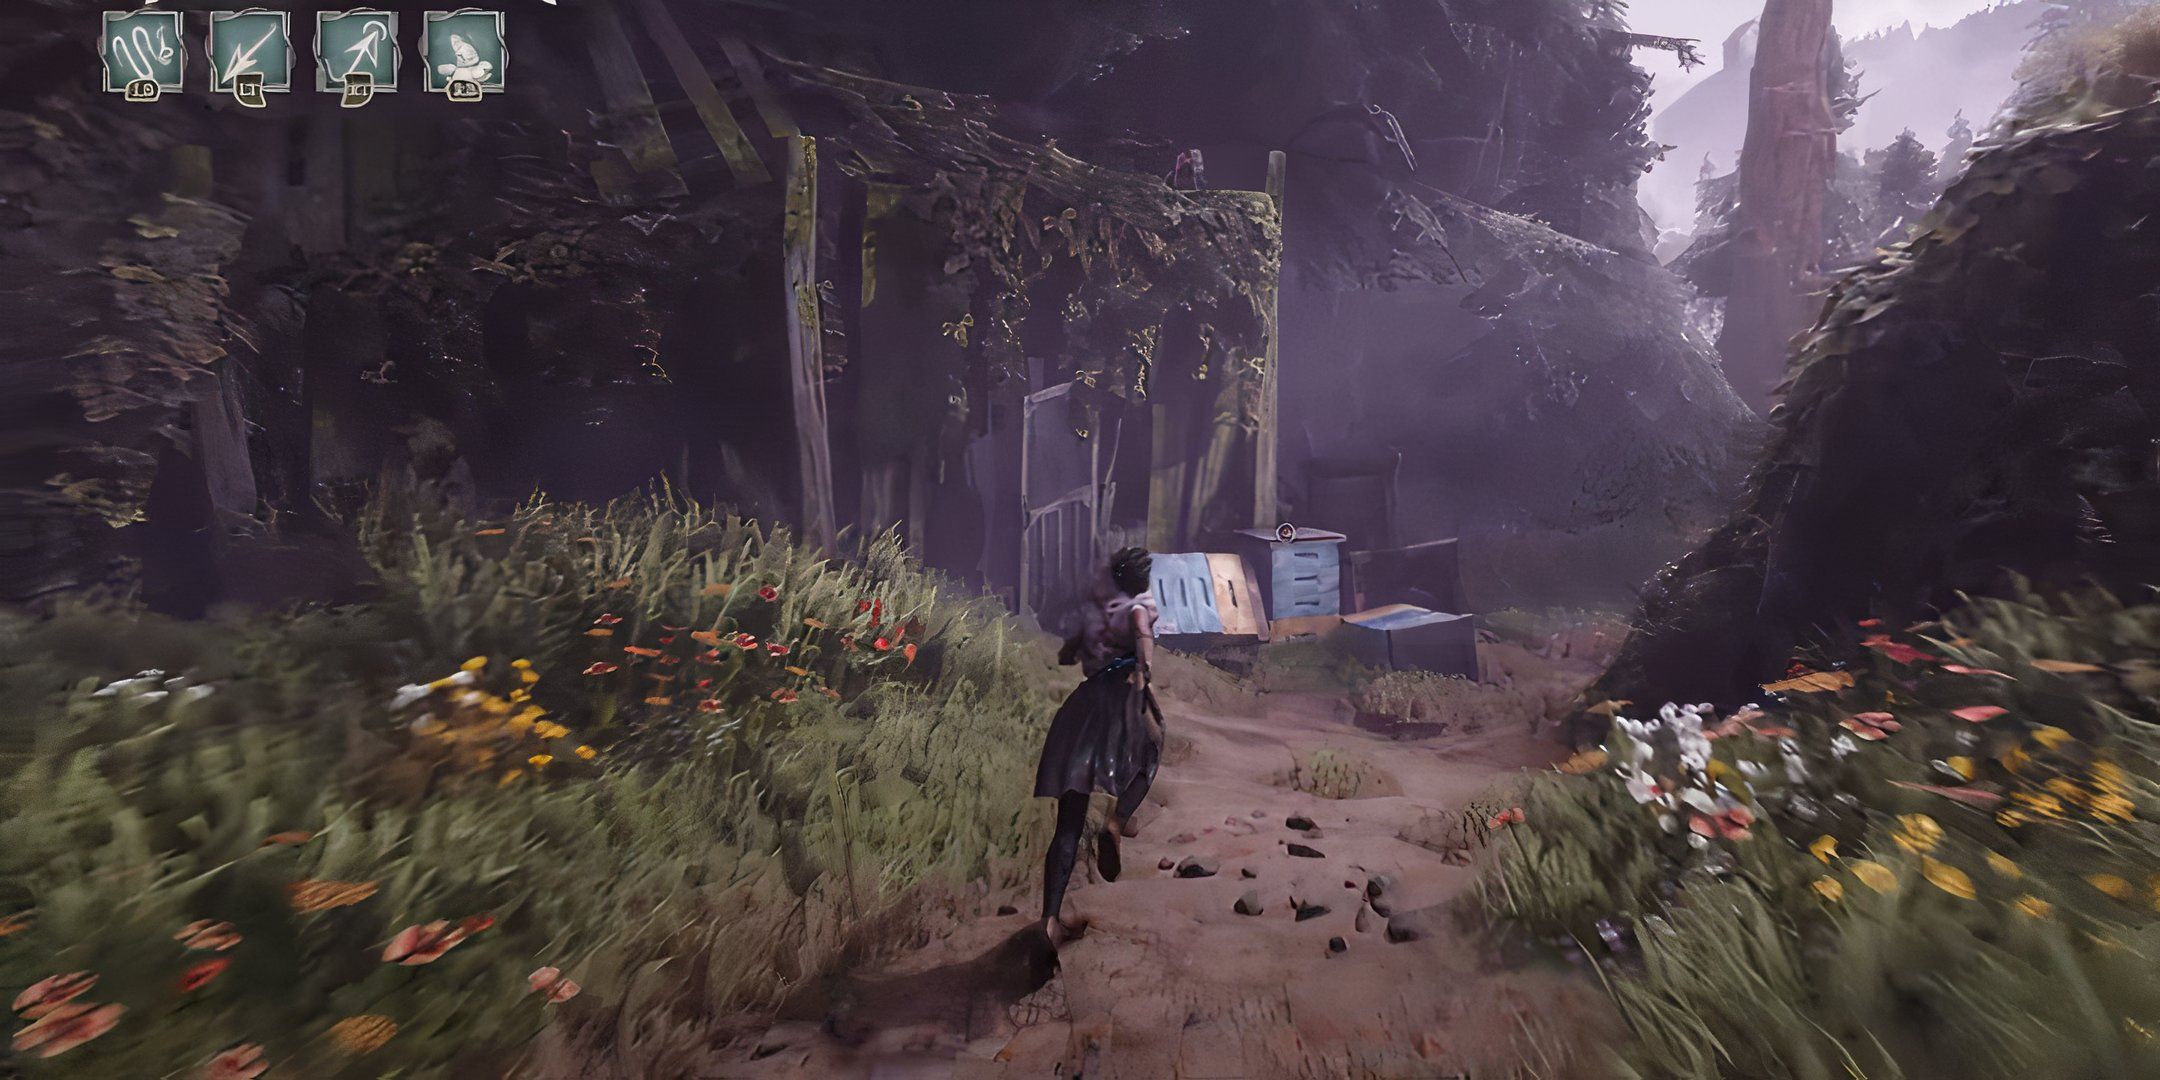
Chapter 3 is your first veridical test of patience with the intimidating act ofcollectibles inSouth of Midnight , as there are seven readable collectible in improver to multiple tin flips and Floof locations . You’re potential to omit at least one of these if you are n’t paying attention . For me , that was"A Gift From Corrine,“as I whole overlooked the area the first time and had to replay the level to track it back down . you’re able to rehear all the levels from the Load Game projection screen in the main startup menu , which you might end up hold to do if you ’re not a keen observer .
The happy Day
spoil the gap on the main track , there ’s a glyph on the other side
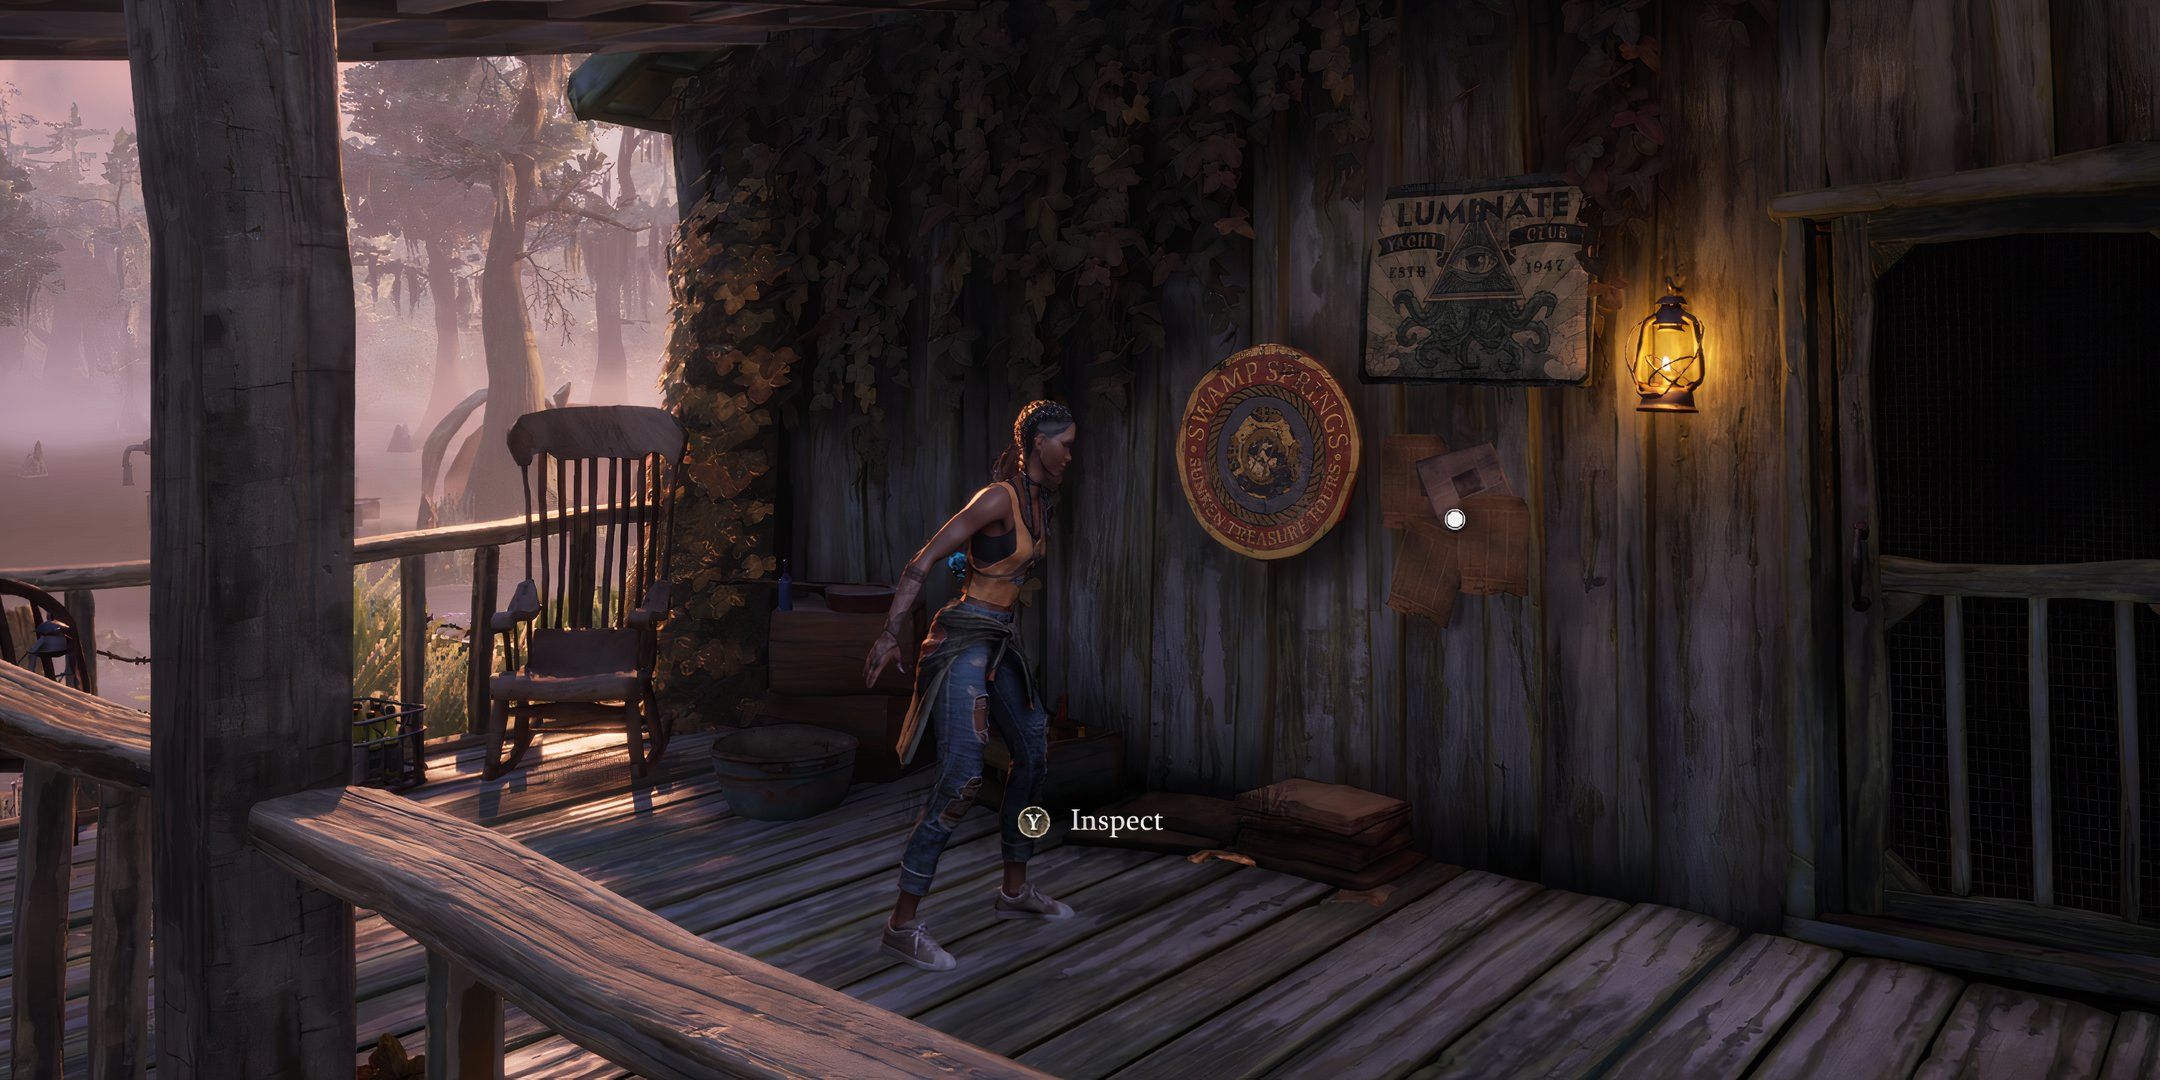
The St. Sylvain Bulletin
In front of the Swamp Springs go building
At the end of a pier next to a Floof spot , gas tank , and boat
Ai n’t Wanted Here
Just inside one of the buildings on the primary way of life on a side table at the door
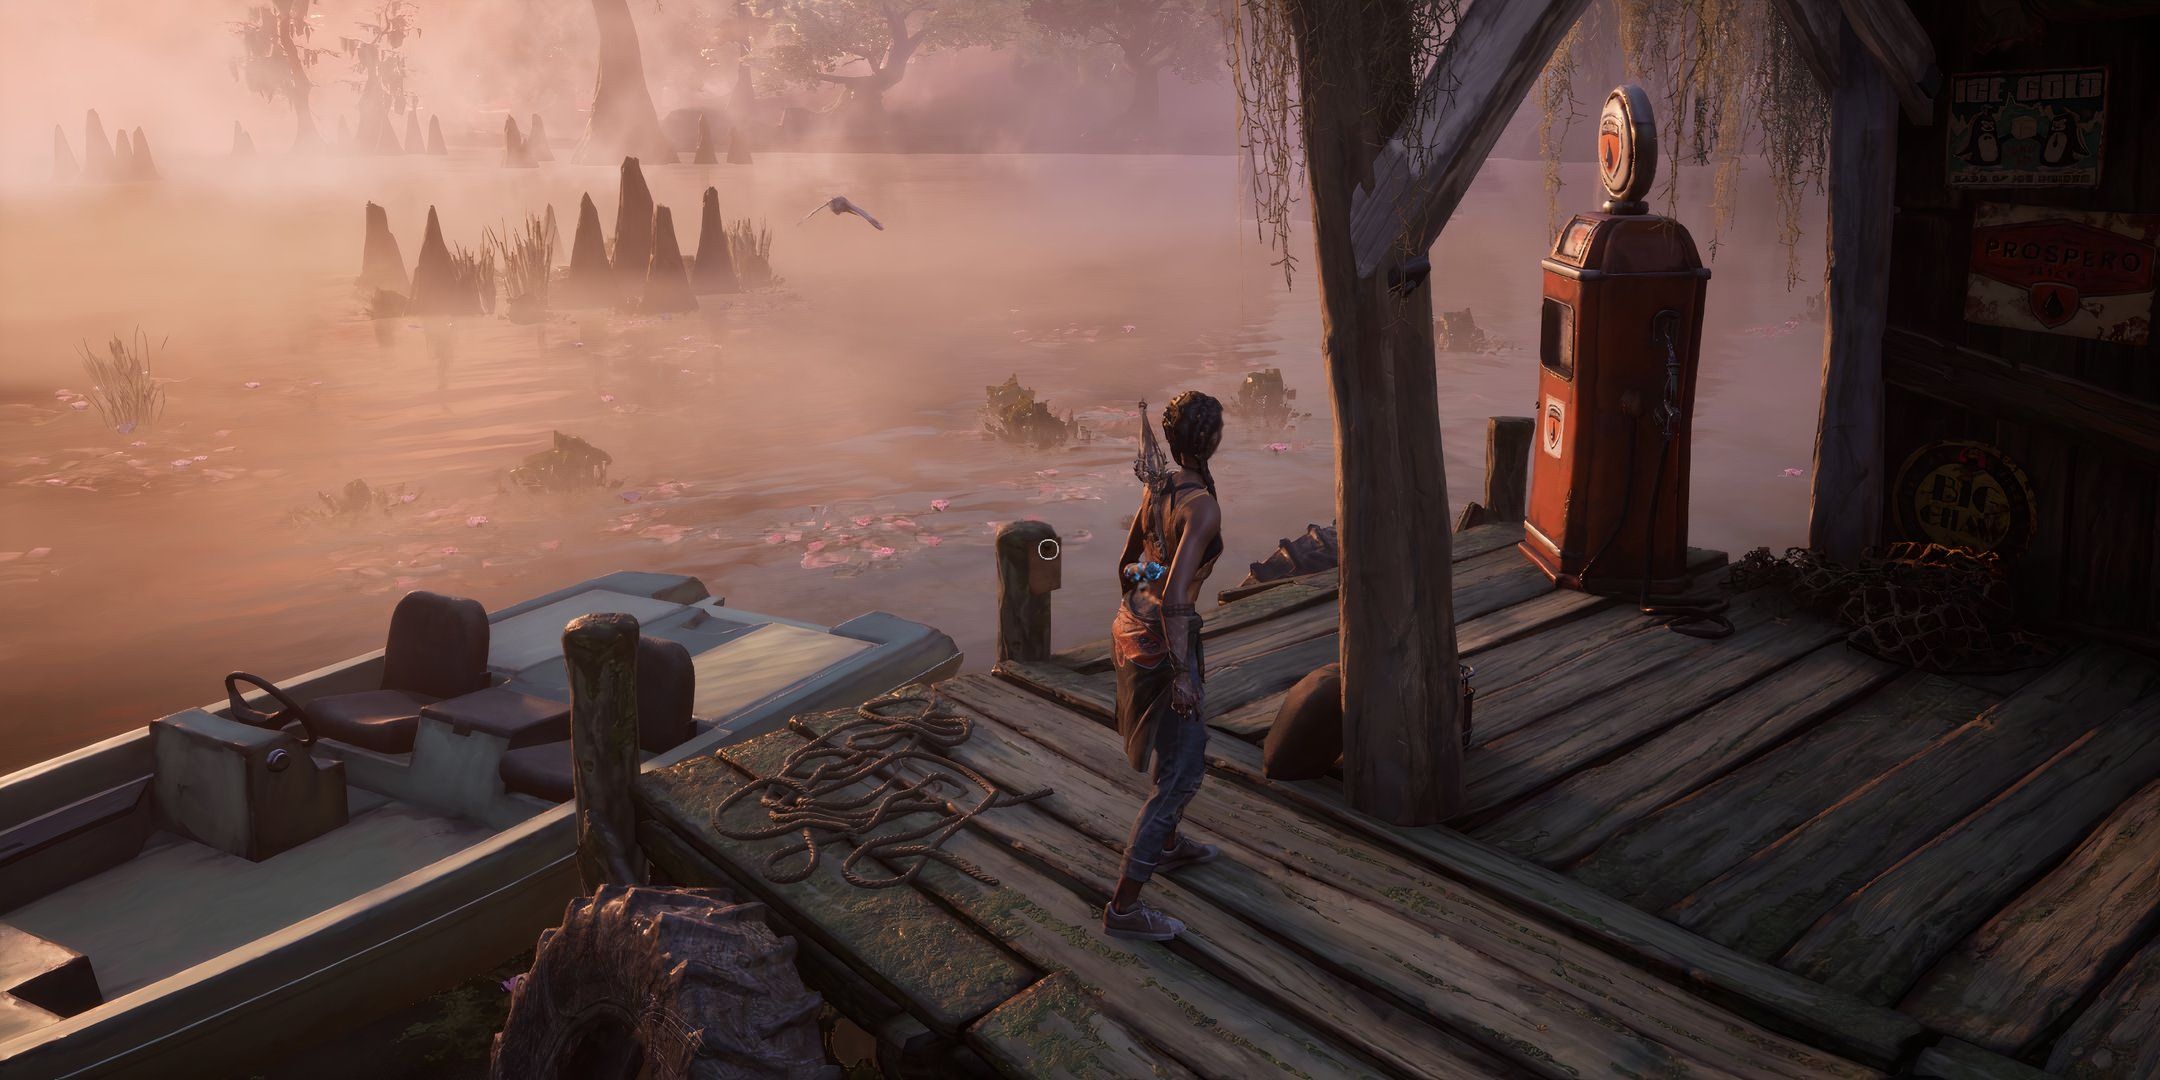
A Gift From Corrine
In the building with the spook steps , on the pier out back next to the tin toss
Beggin ' Your Pardon , Mayor .
Inside the large building near the end of the level , on the kitchen table
amount One , come in All !
On the top base of the same edifice , immobilise to a post
All Readables In Chapter 4: Wicked Temper
A Little Break From The High Volume Of Readables
You ’ll get a little break from the abundant readable collectibles during Chapter 4 , with only three of them to go after down . The only one you ’re potential to miss is the terminal readable,“Burrowers - Lord ’s Day”,which is establish in an area behind the church service after fighting a mathematical group of Haints .
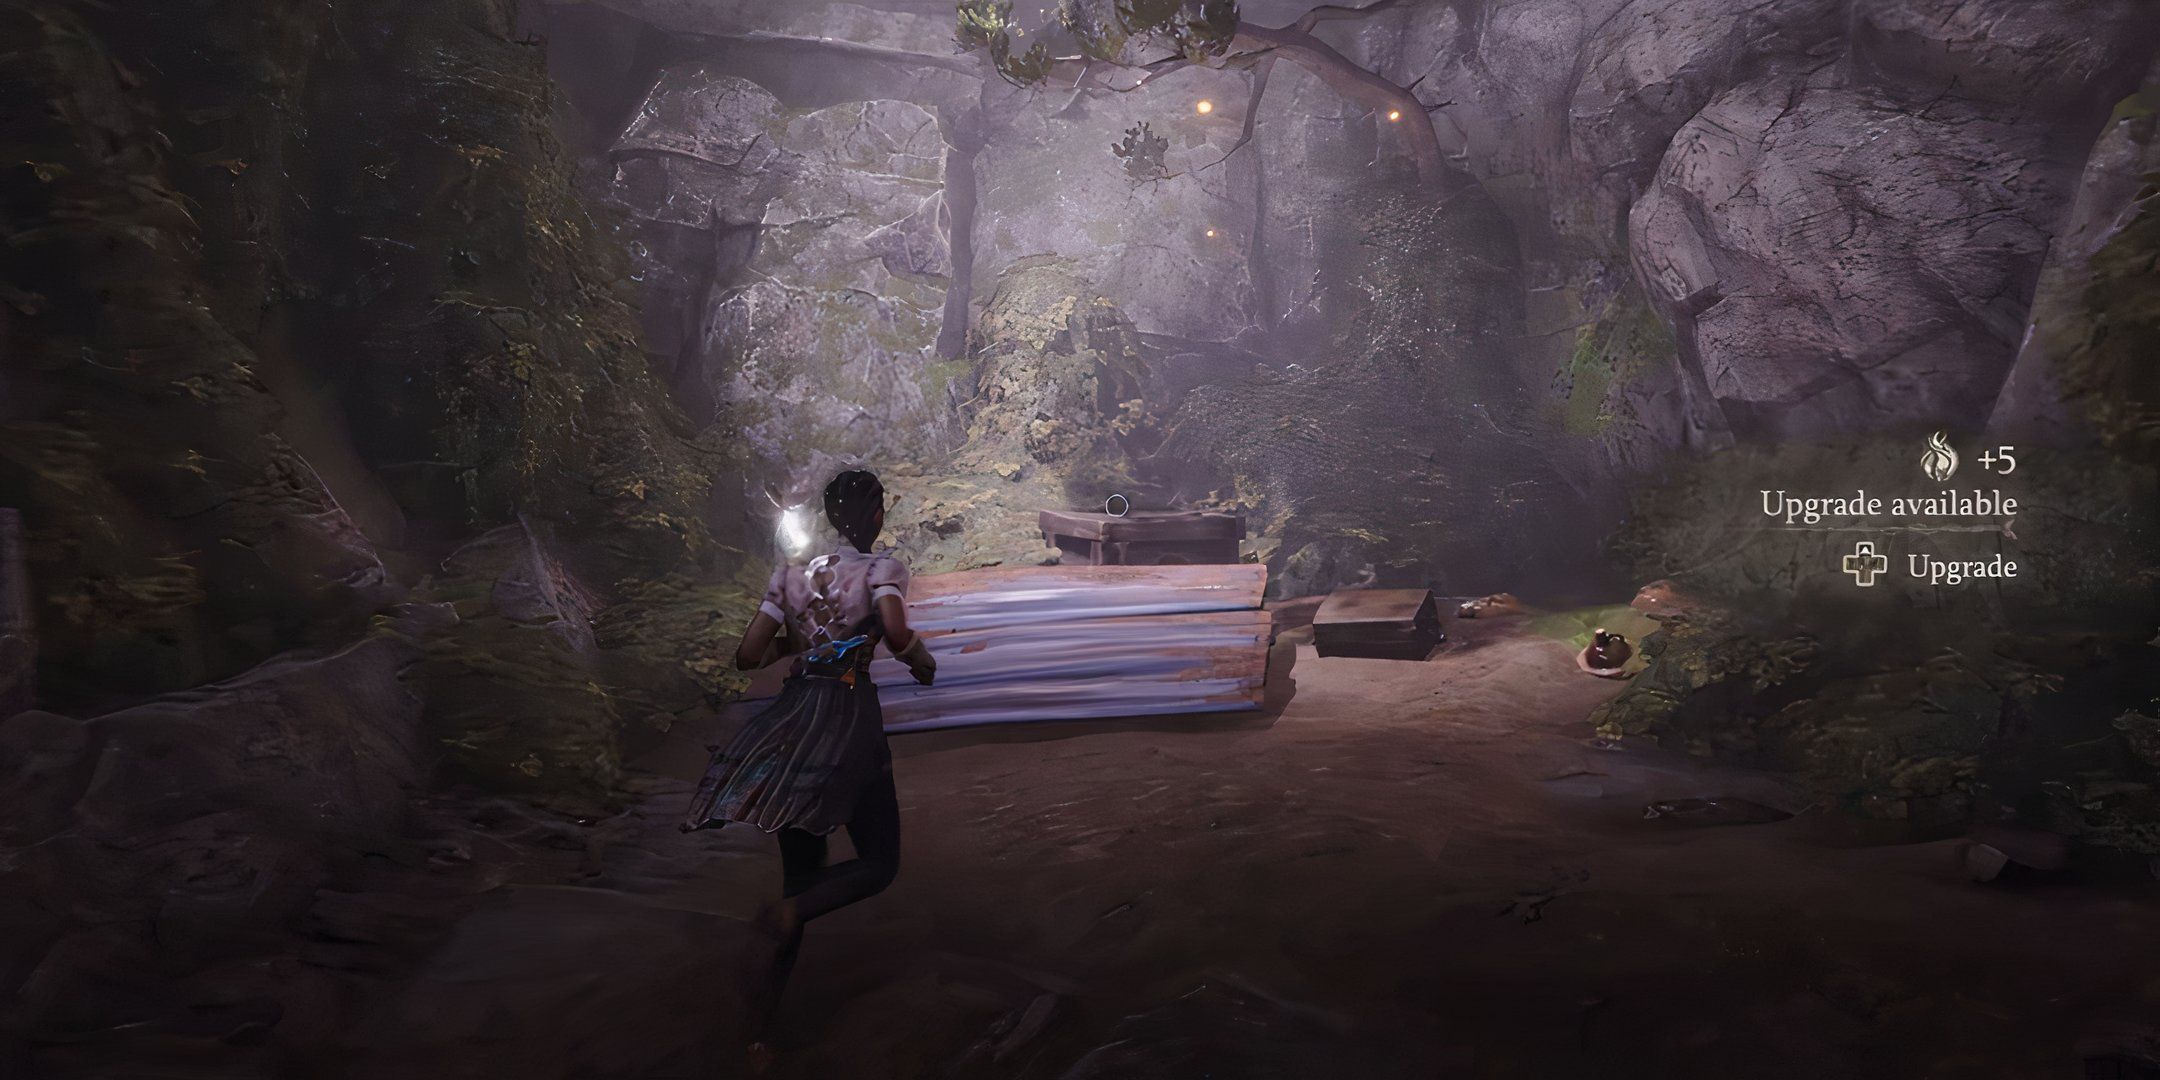
wellness Filaments in South of Midnight are collectibles you could line up to increase Hazel ’s max health as you explore various tale Chapter localisation .
You ’ll necessitate to go back into the graveyard , and it’sinside a dead tree stump back there . I recommend grabbing this before resound the bell to the church , or you ’ll end up having to do the whole level over again .
Lay Off , Buddy
After the first set of Haints , to the leftfield through the branches , on a bed in the shack
Grocery leaning
Leave the above shack and head right , grip around , readable is next to the Floof
Burrowers - Lord ’s Day
Before ring the gong to the church , manoeuver to the back and light up the Haints - varsity letter is inside a tree diagram stump next to a crypt
All Readables In Chapter 5: Everything That Rises
Back To The Grind For Another Eleven
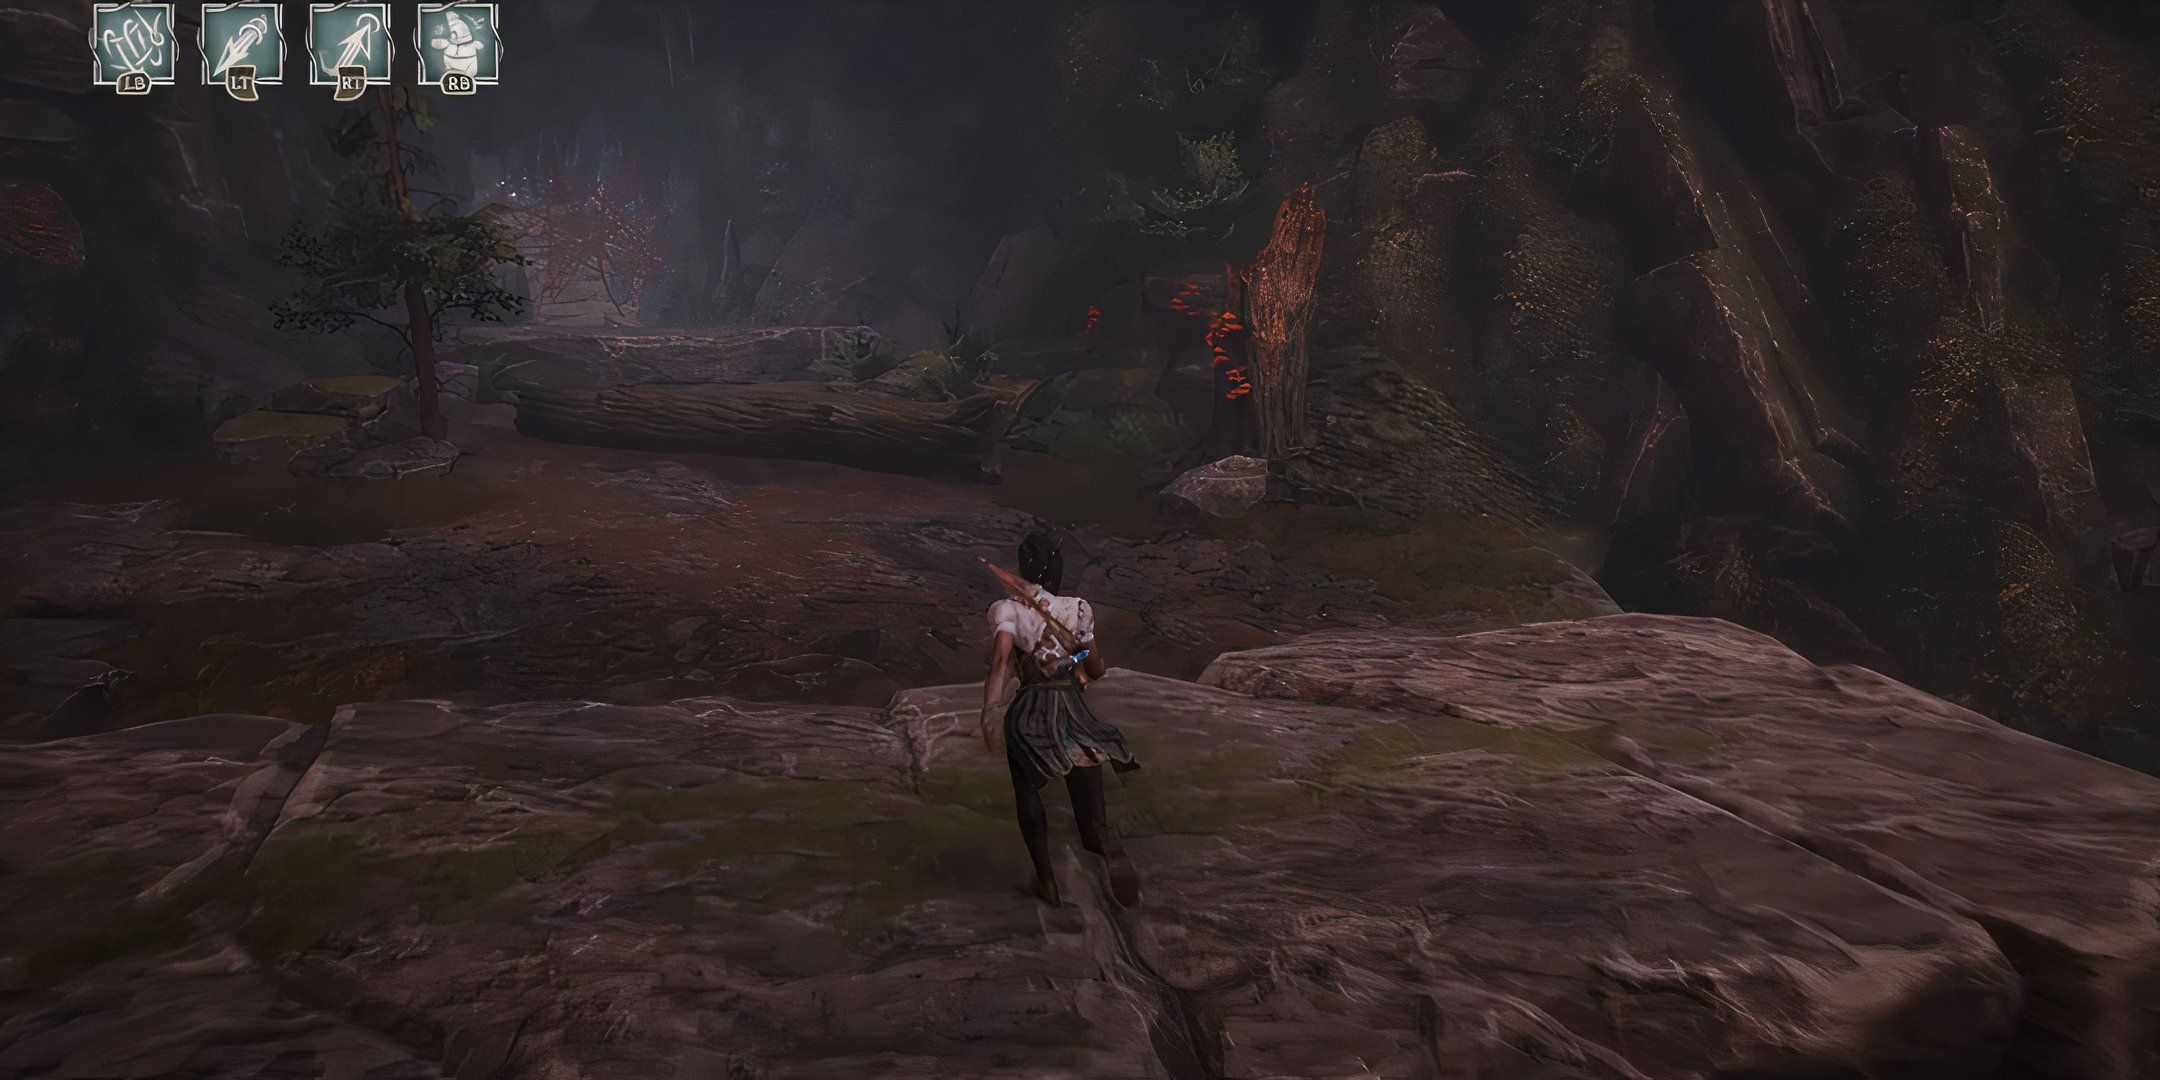
While the last chapter might have been a nice reprieve , Chapter 5 is going to be your first trial of willpower when it add up to decipherable collectibles . You ’ll have to grabeleven unlike readables in this chapter , and they ’re scatter into all the dark corner of the region , so keep your eye flake . Many of these are along the primary path , so that ’s helpful , but a few will ask a bit of search around the side areas by the elephantine statue .
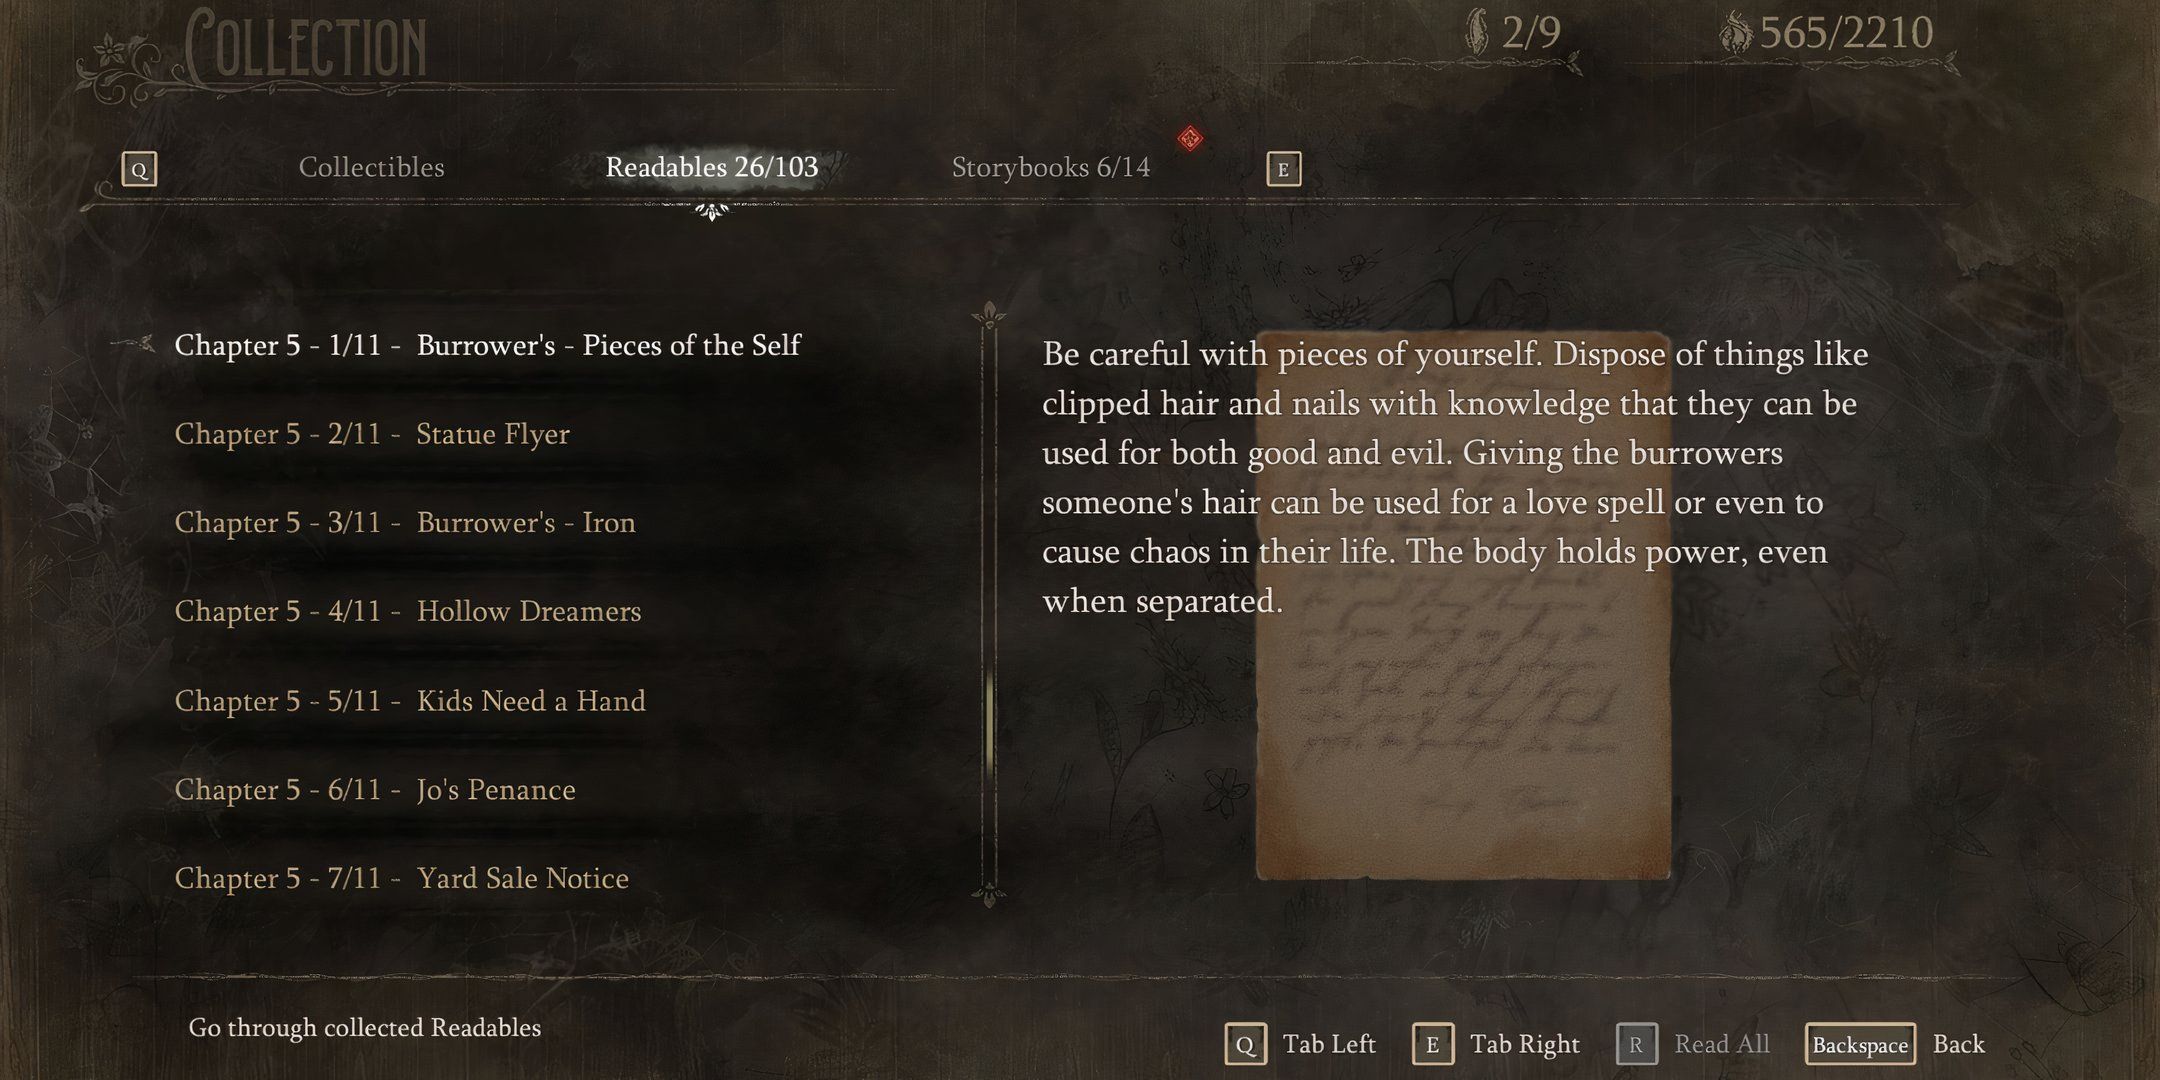
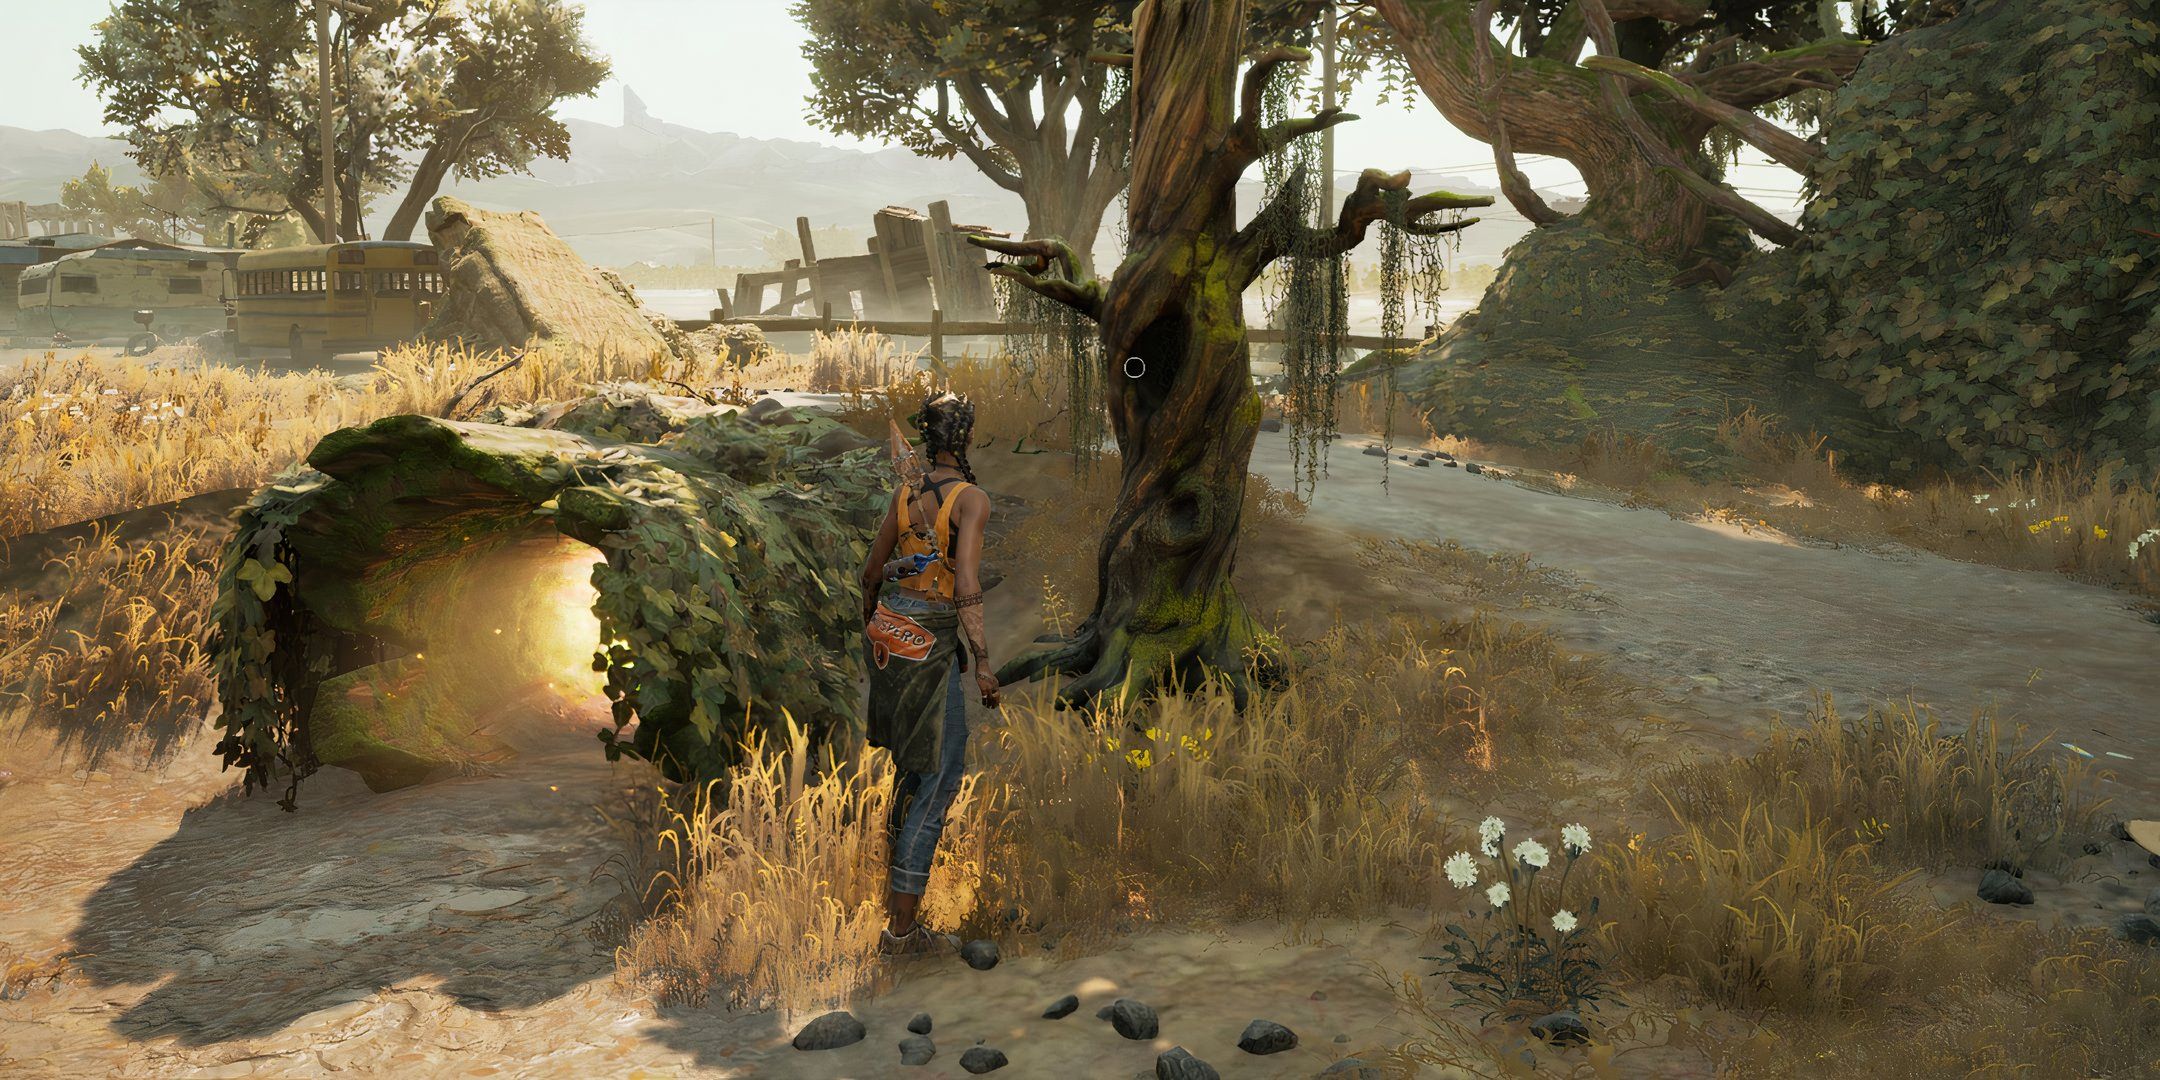
Burrowers - Pieces of the Self
Right next to the first Crouton burrow on a tree diagram
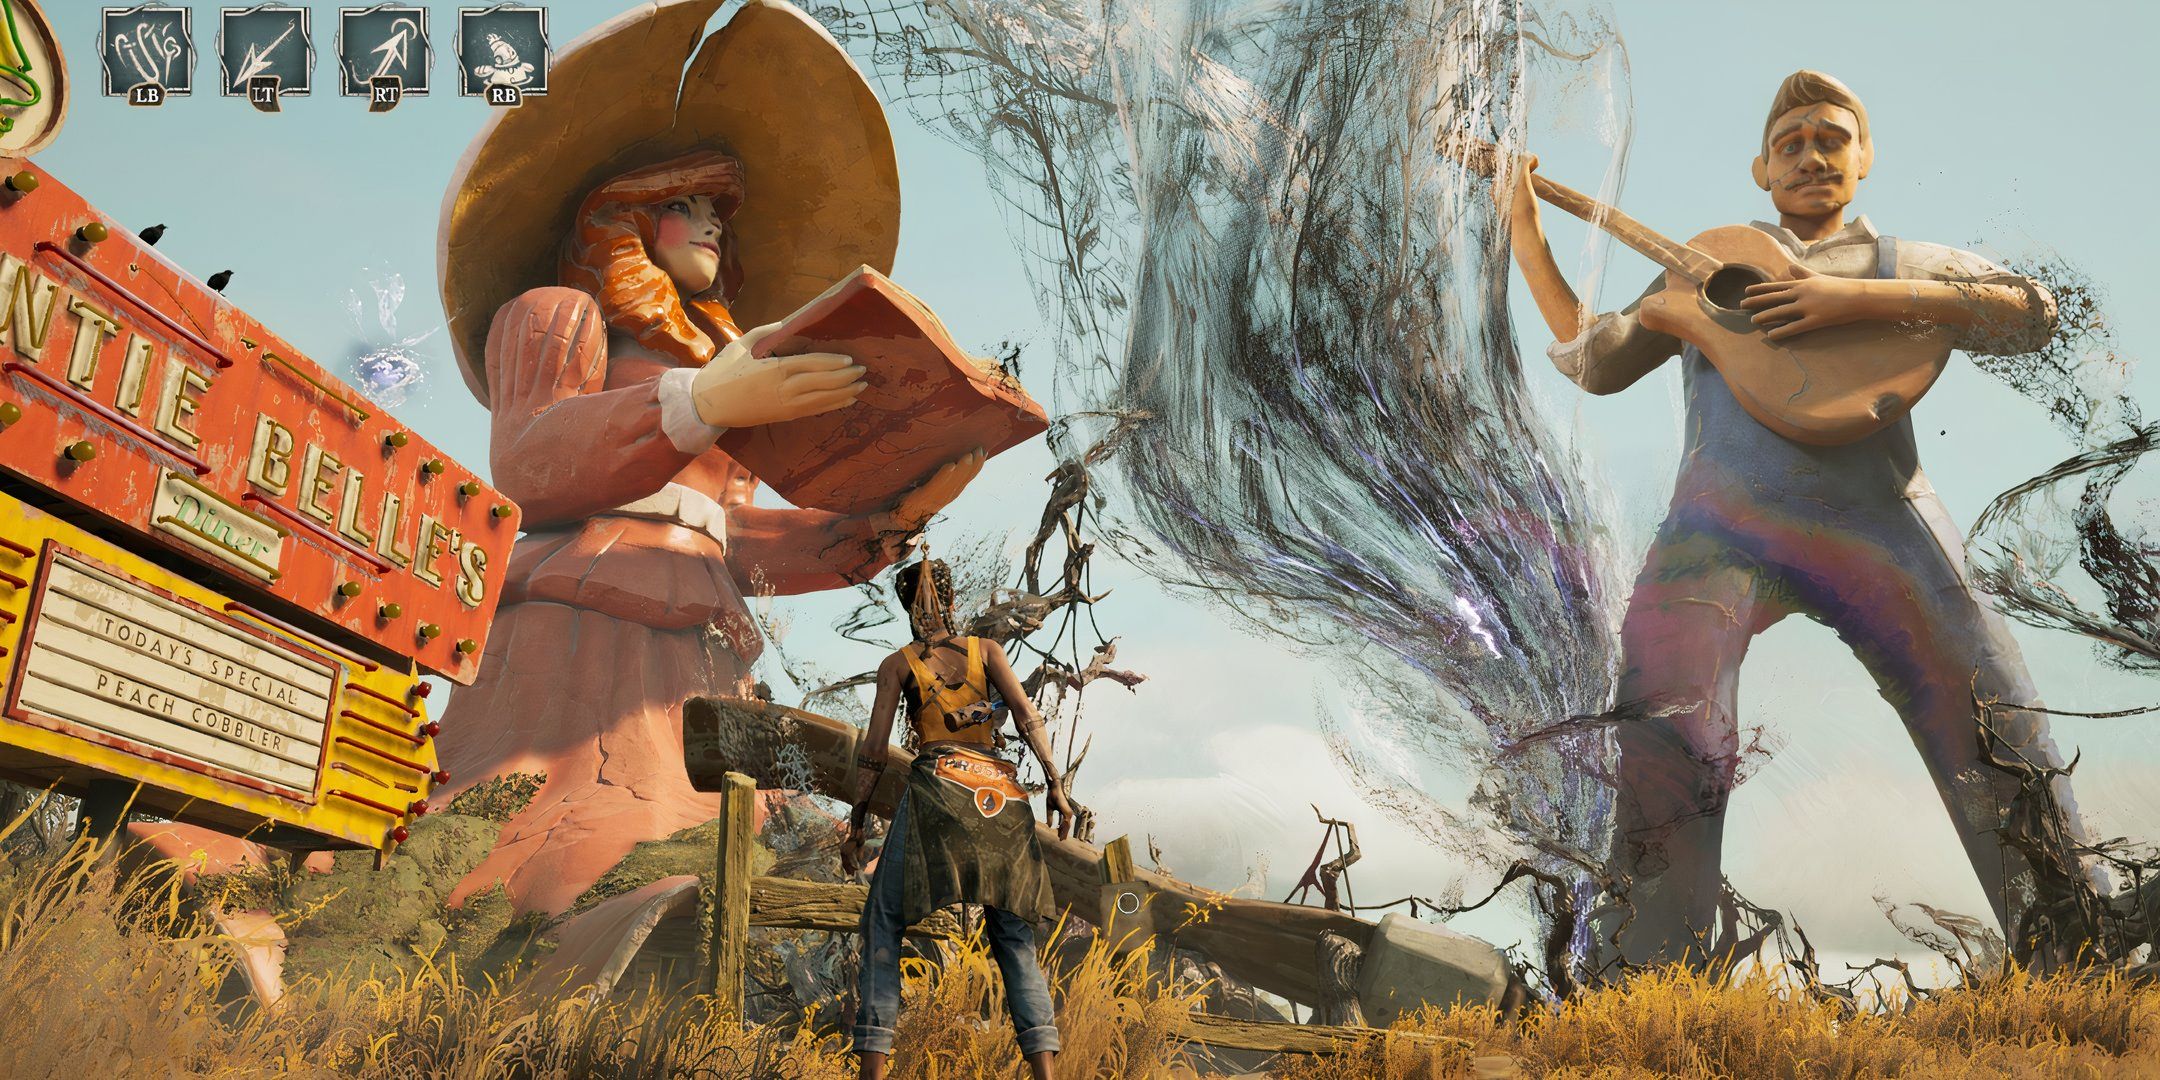
Statue Flyer
On a fence post in front of the giant statue of a man playing guitar and a woman reading a book
Burrowers - Iron
After meeting Ms. Pearl , directly in front of you on a crateful
Hollow Dreamers
spoil the lake after the above readable to the small hovel wrapped in thorns
Kids Need A hired man
After watching the shade vision of Catfish and the Alligator , enter the house and look on the table
Jo ’s self-mortification
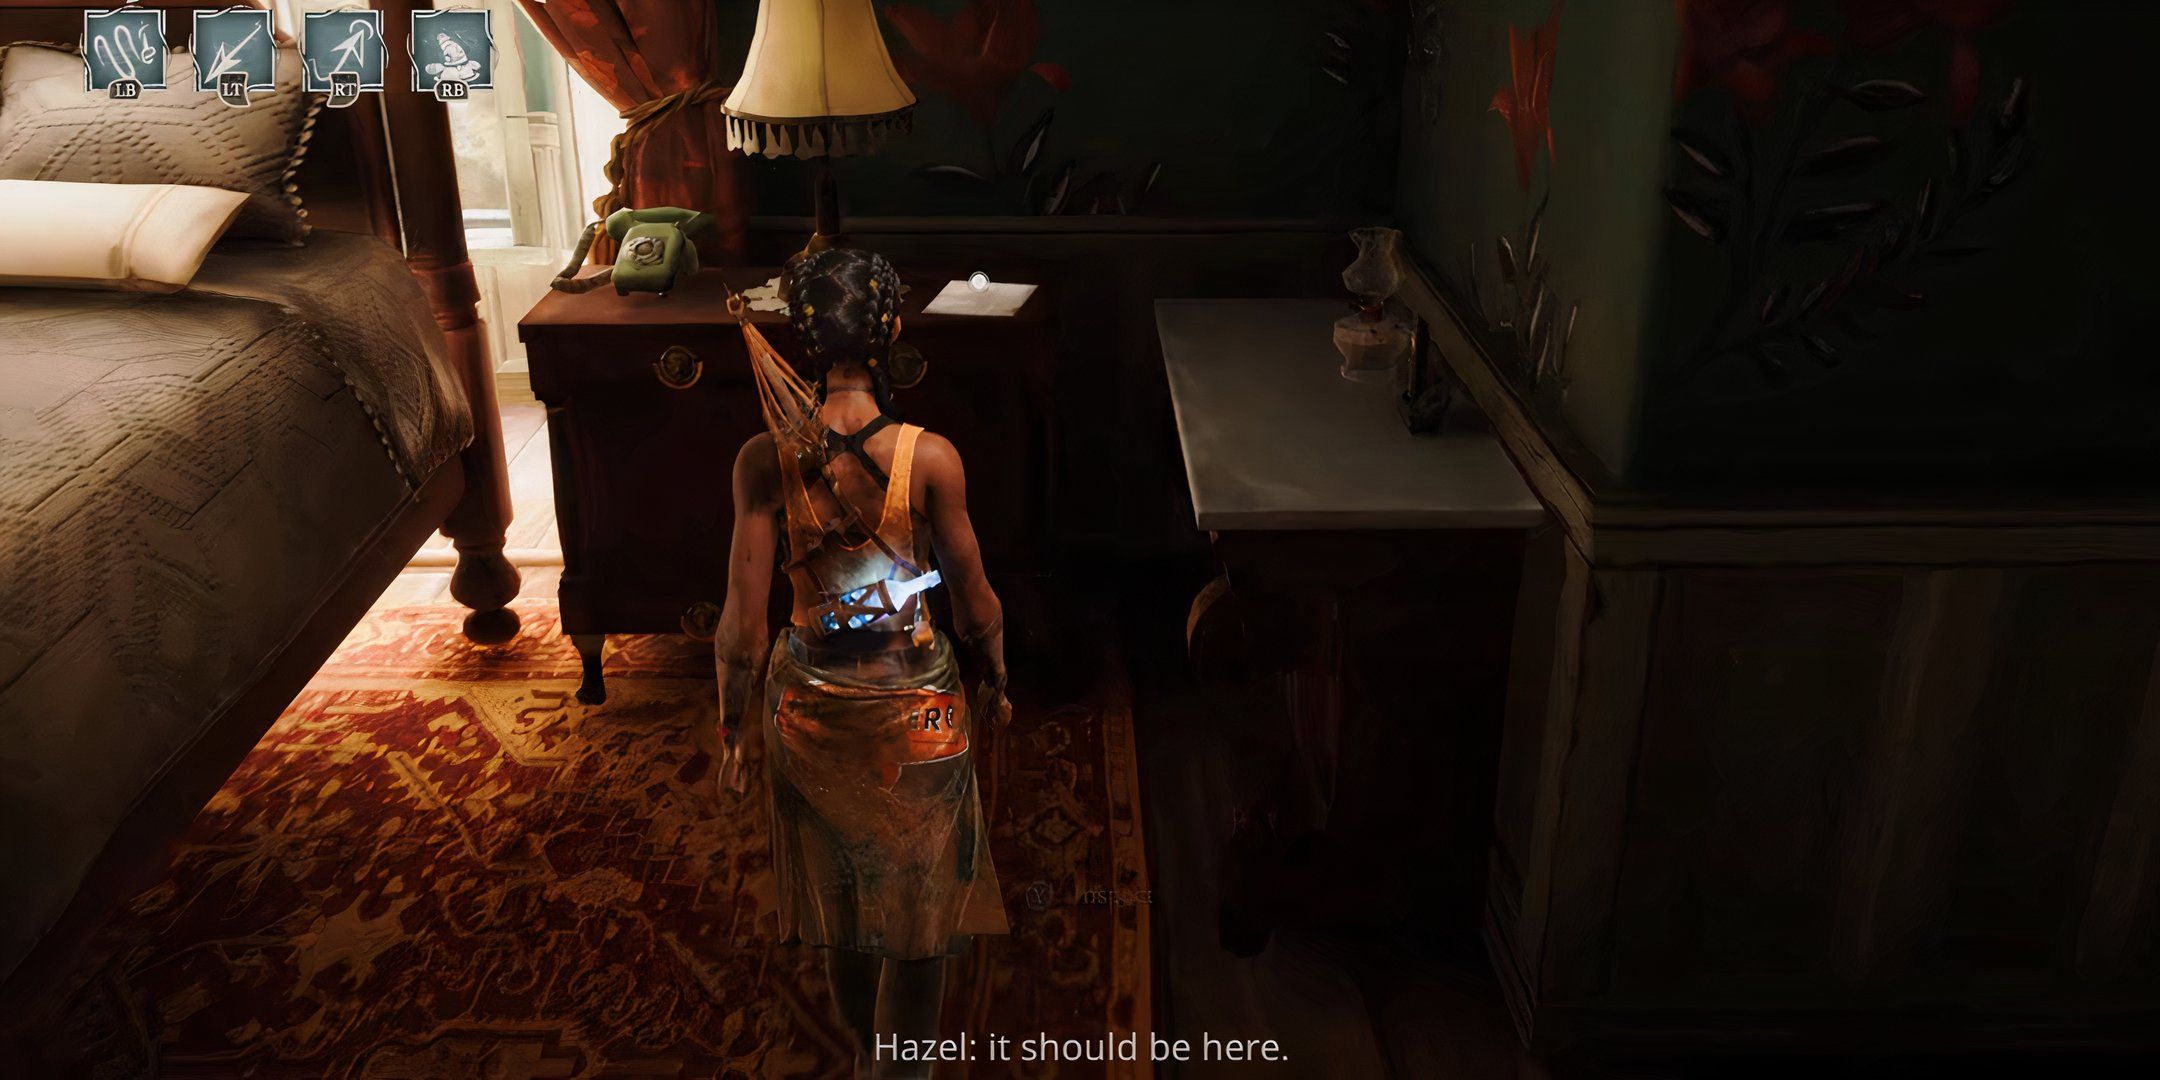
direct on a higher floor in the same house and count in the bedroom on the desk
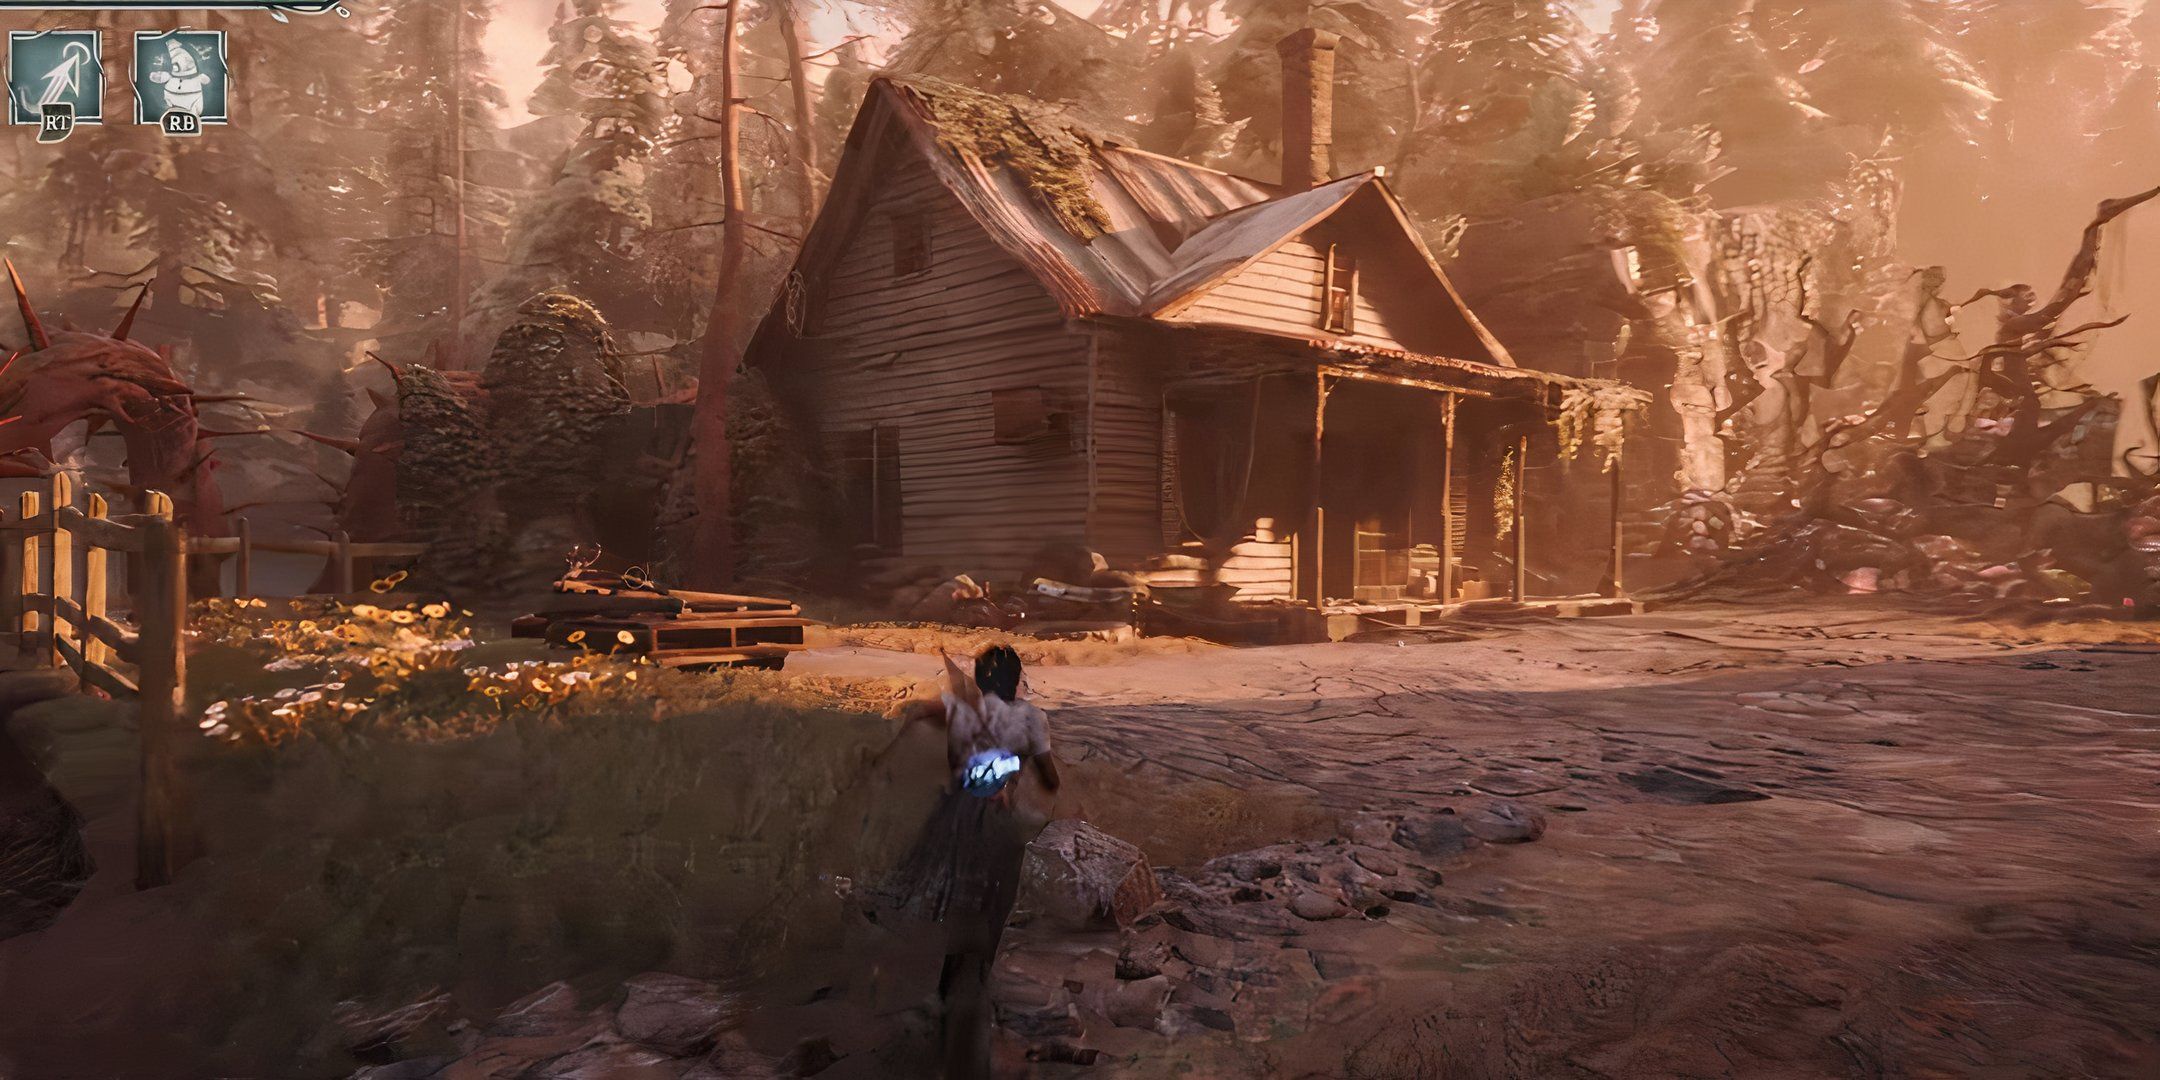
Yard Sale Notice
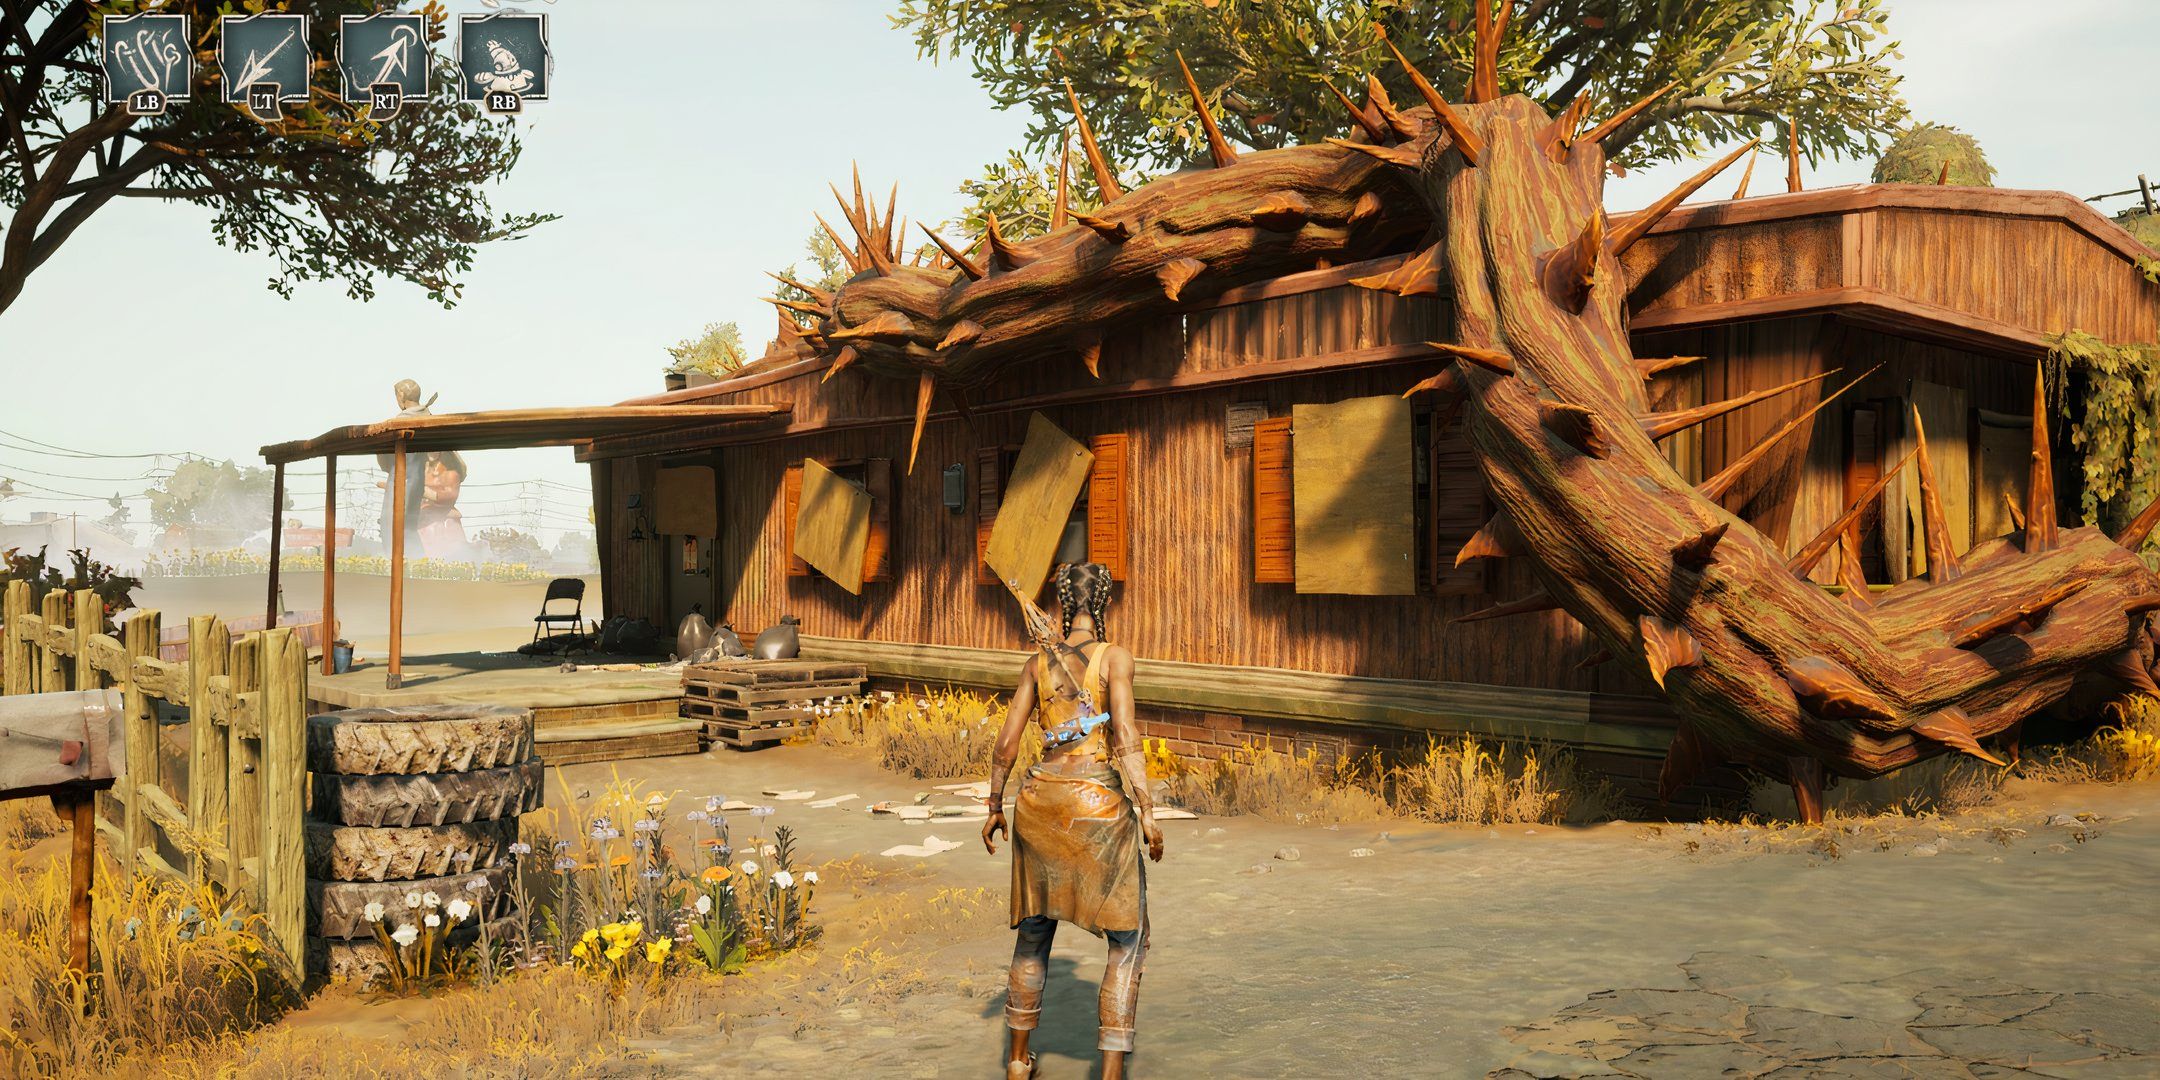
On the front porch of a mobile home wrapped in cherry vines
Honor Thy Father & Mother
Inside the house with the purple vine , in the life room on a coffee mesa
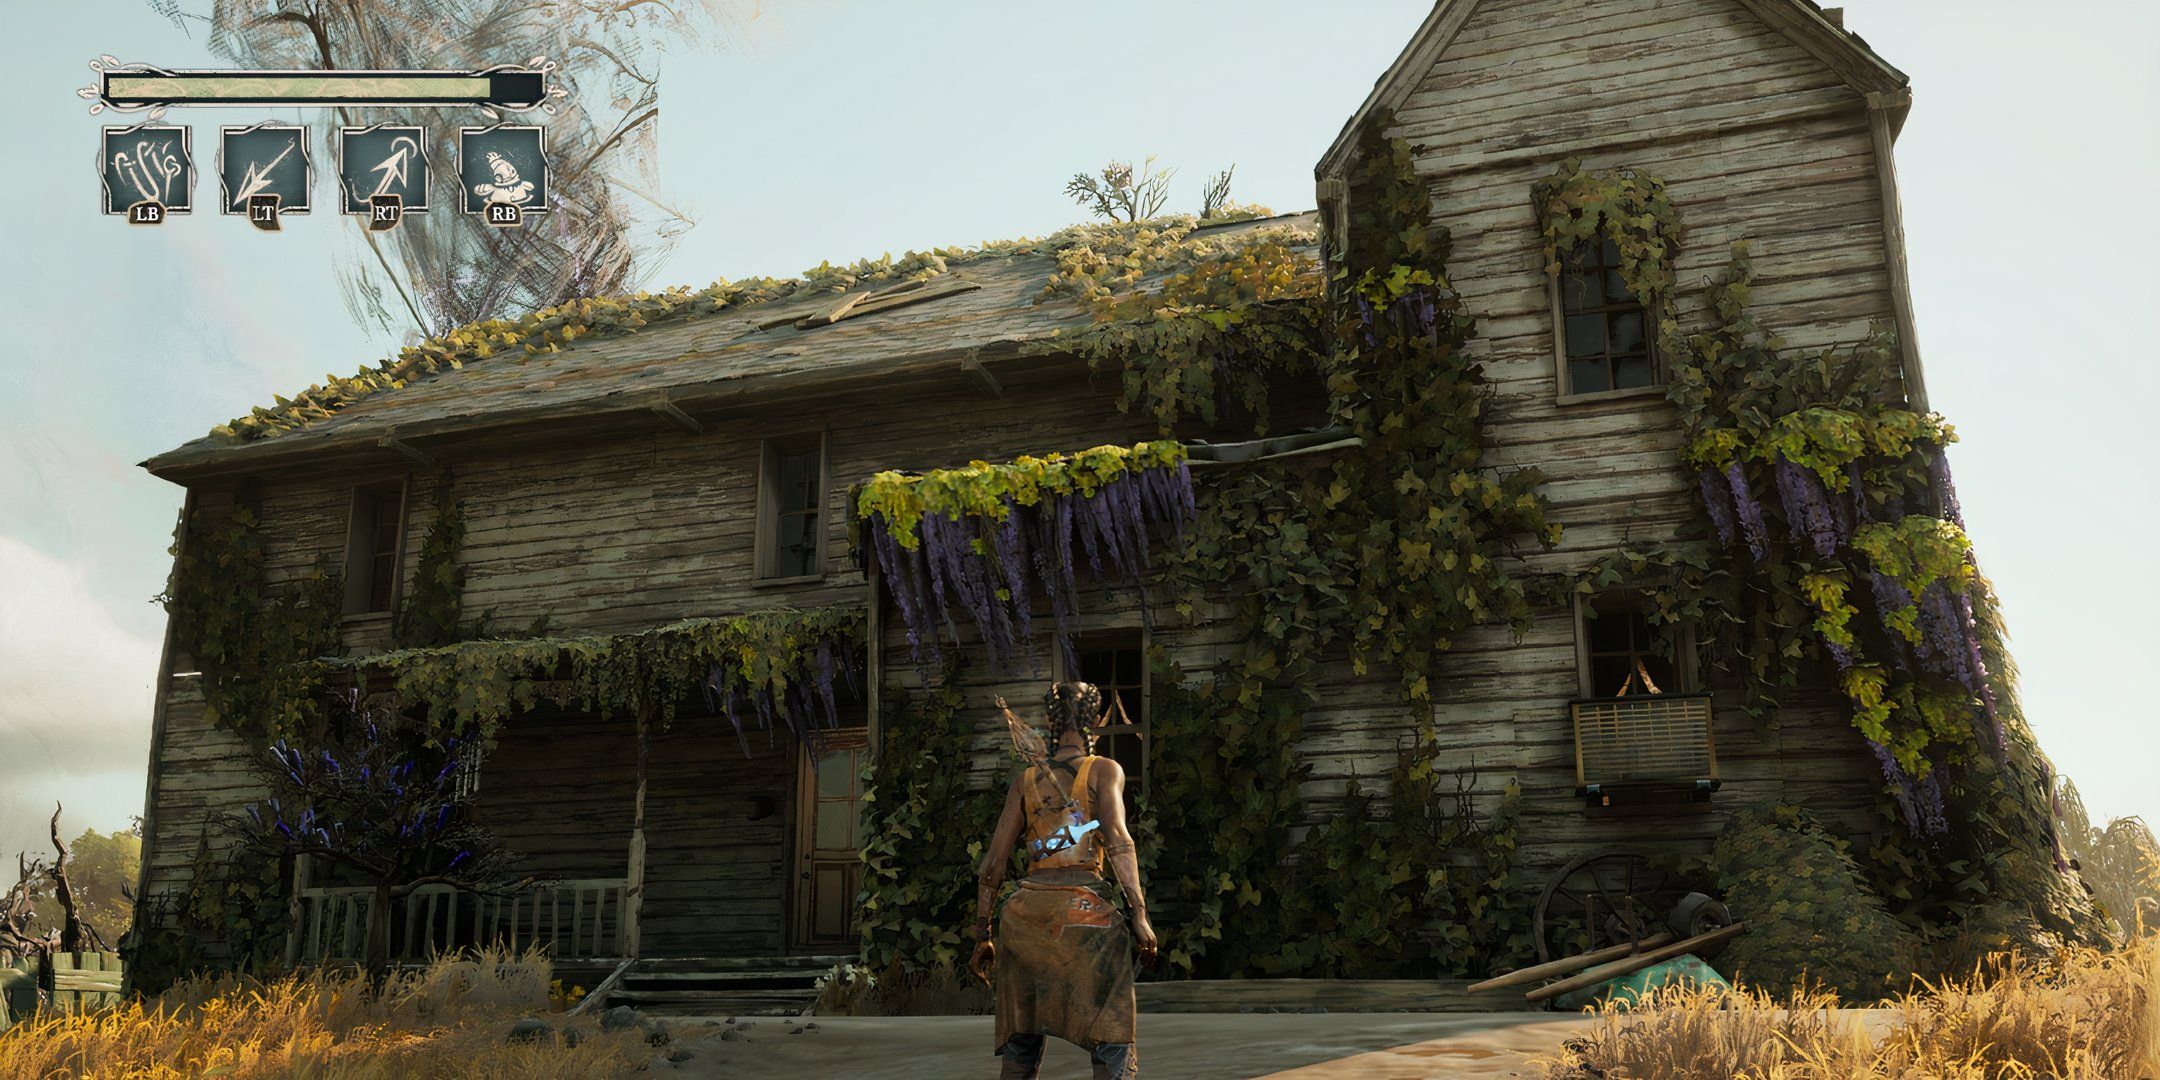
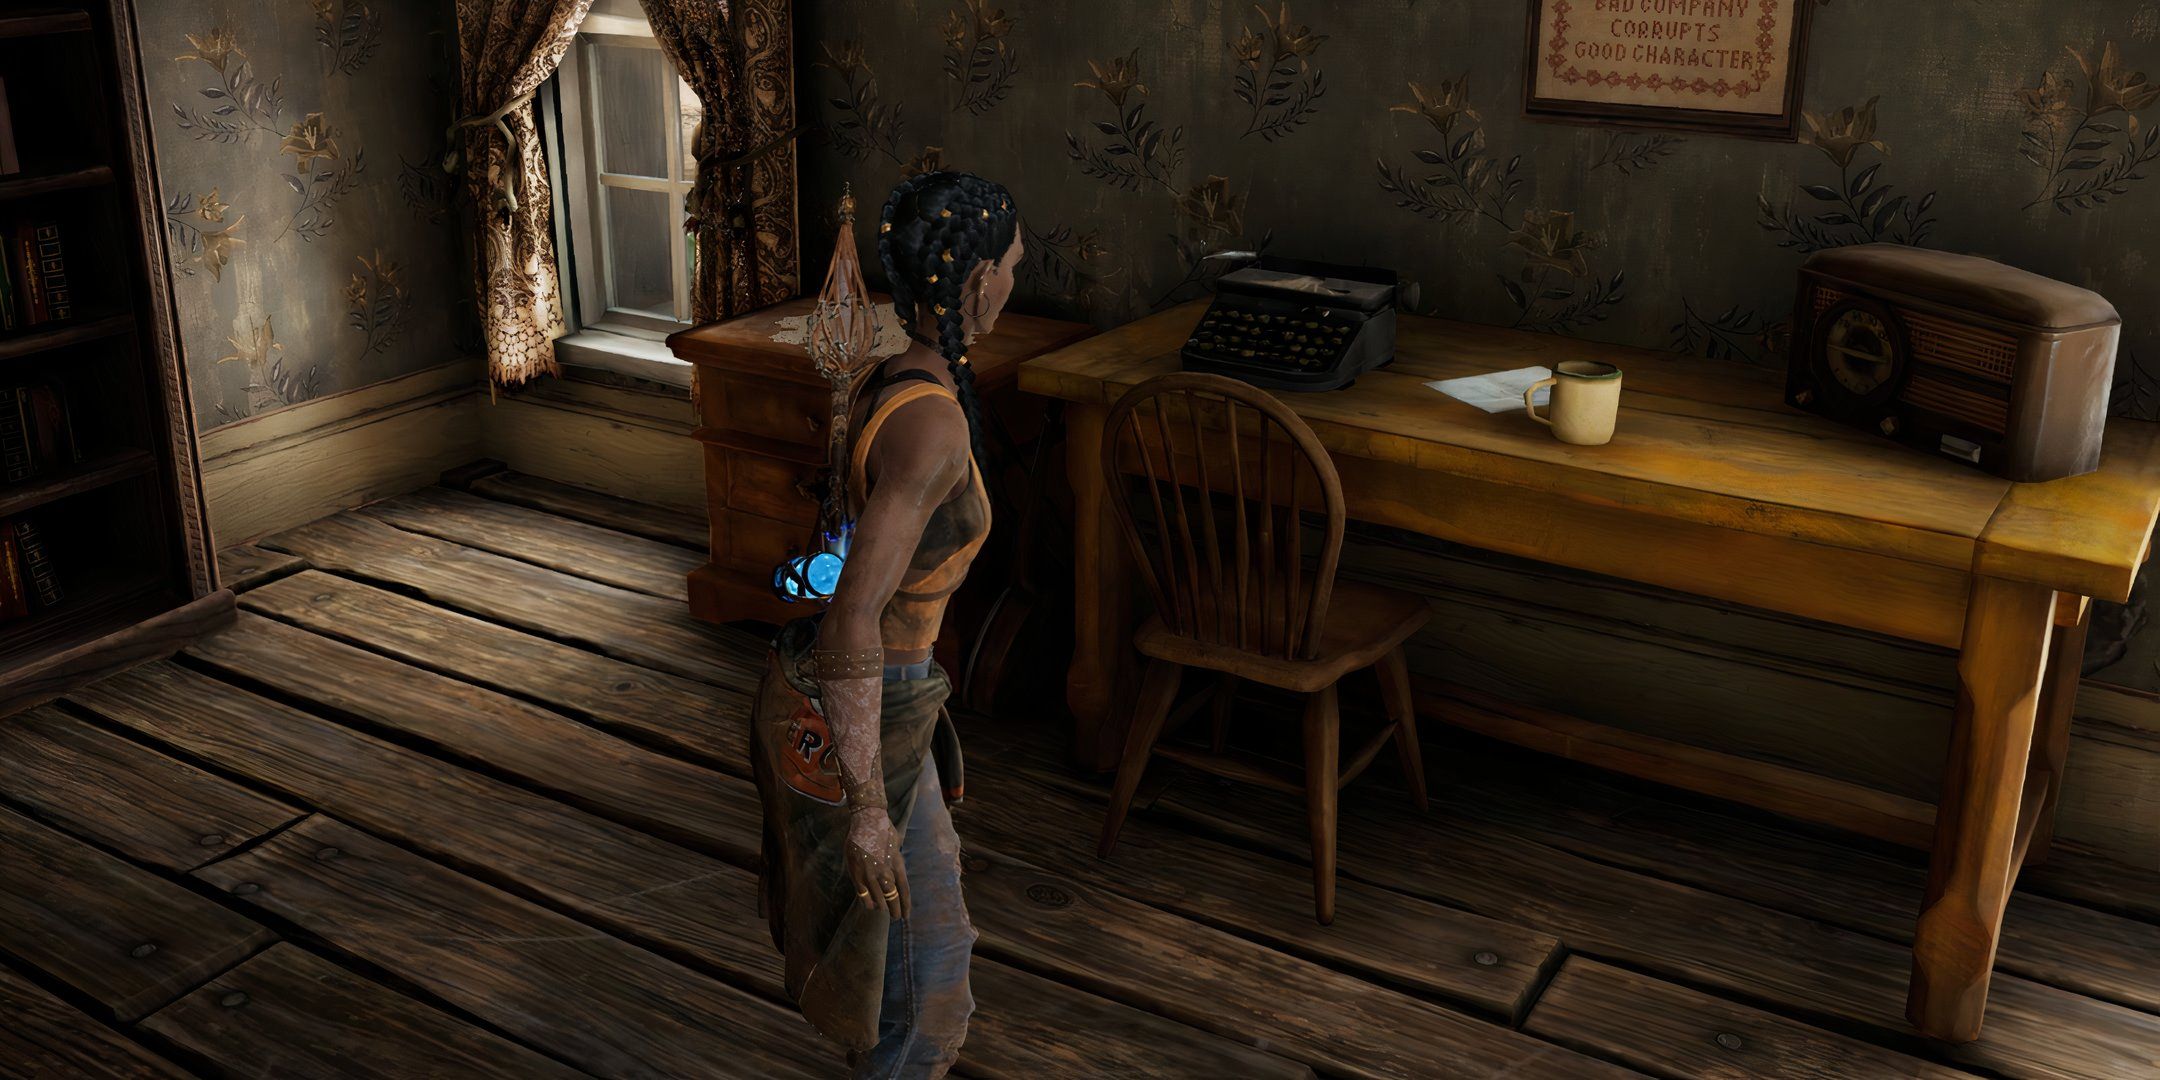
A blate Farmhand In The Setting Sun
Upstairs in the same house , to the room on the rightfulness on a desk with a typewriter
The Pigs Are A red ink
Inside the abattoir on a table before you move on to the goal of the spirit level
Sutter ’s Will & Testament
After getting immerse by Two - Toed Tom , go around the circle with the pig and go up up
All Readables In Chapter 6: Hush, Hush, Sweet Cherie
There’s Another Ten Readables To Track Down In Chapter Six
Chapter 6 includes another ten readable collectibles , but four of those are in reality situate in the same house , so it ’s a little less running around than it seems . Be sure to pull the hare electrical switch on the bookshelf once you recruit the master chamber of the chief firm , as there ’s a hidden elbow room back there with the"Missing tyke List"readable .
Keep Out Sign Materials
After alternate off the crashed tugboat , on a crate
Abernathy ’s Lament
In the dome of the Old Smokey b next to the Health Filament
Burn After Reading
remove the Haints and look along the main track for a crate
Correction request
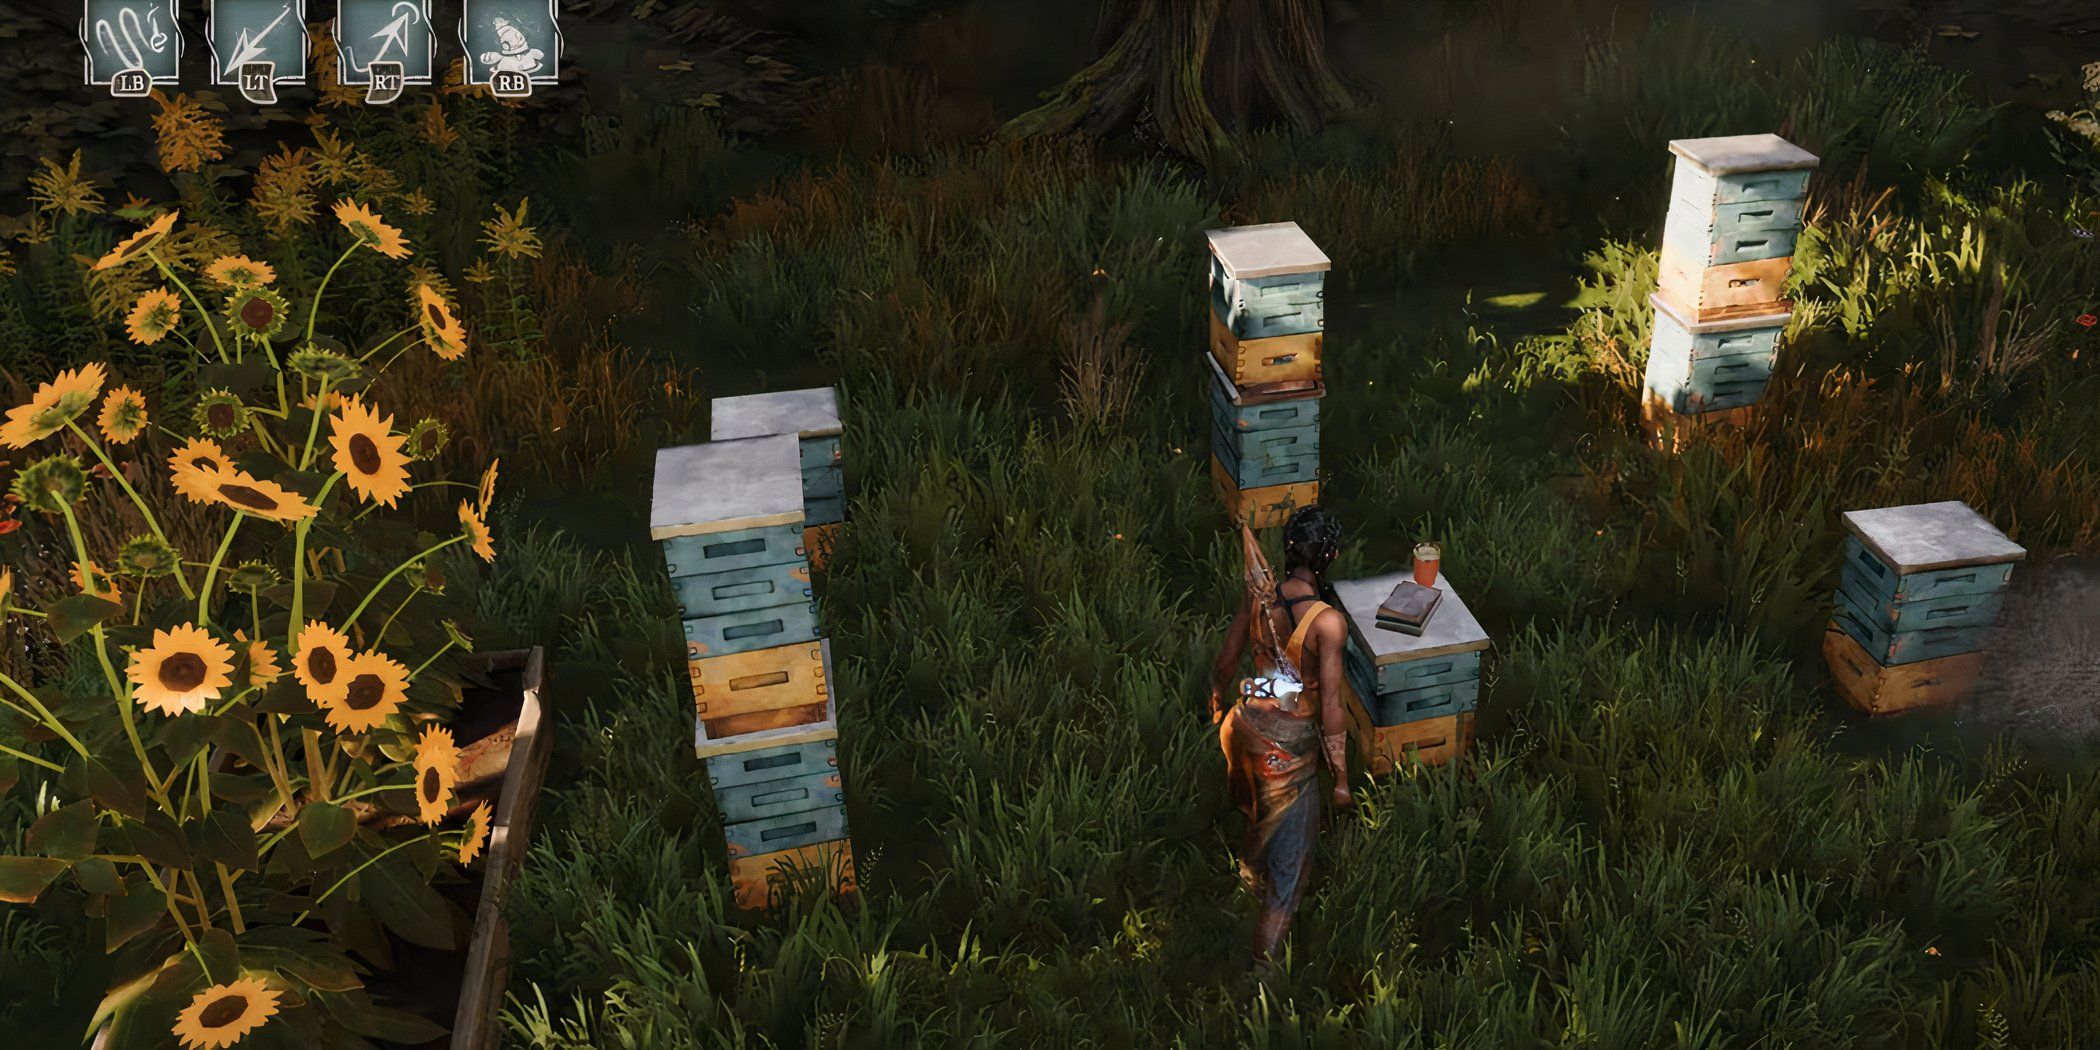
In a garden among some beehive
Notes On The Rougarou
Inside the sign on the estate with laundry out front , on the coffee tree table inside
note on Dreams & Fog
Upstairs in the same house in the bedroom , right side end mesa
Bunny ’s Journal
Same sleeping accommodation as above , on the unexpended death board
Missing Children List
utilise the privy rabbit lever on the bookshelf to enter the hidden room
Burrowers Hate A Liar
Along the master path forward , in a tree stump
Huggin ' Molly Sightings
After crystallize the stigma , alternate up the ledge for the greenback on the crate
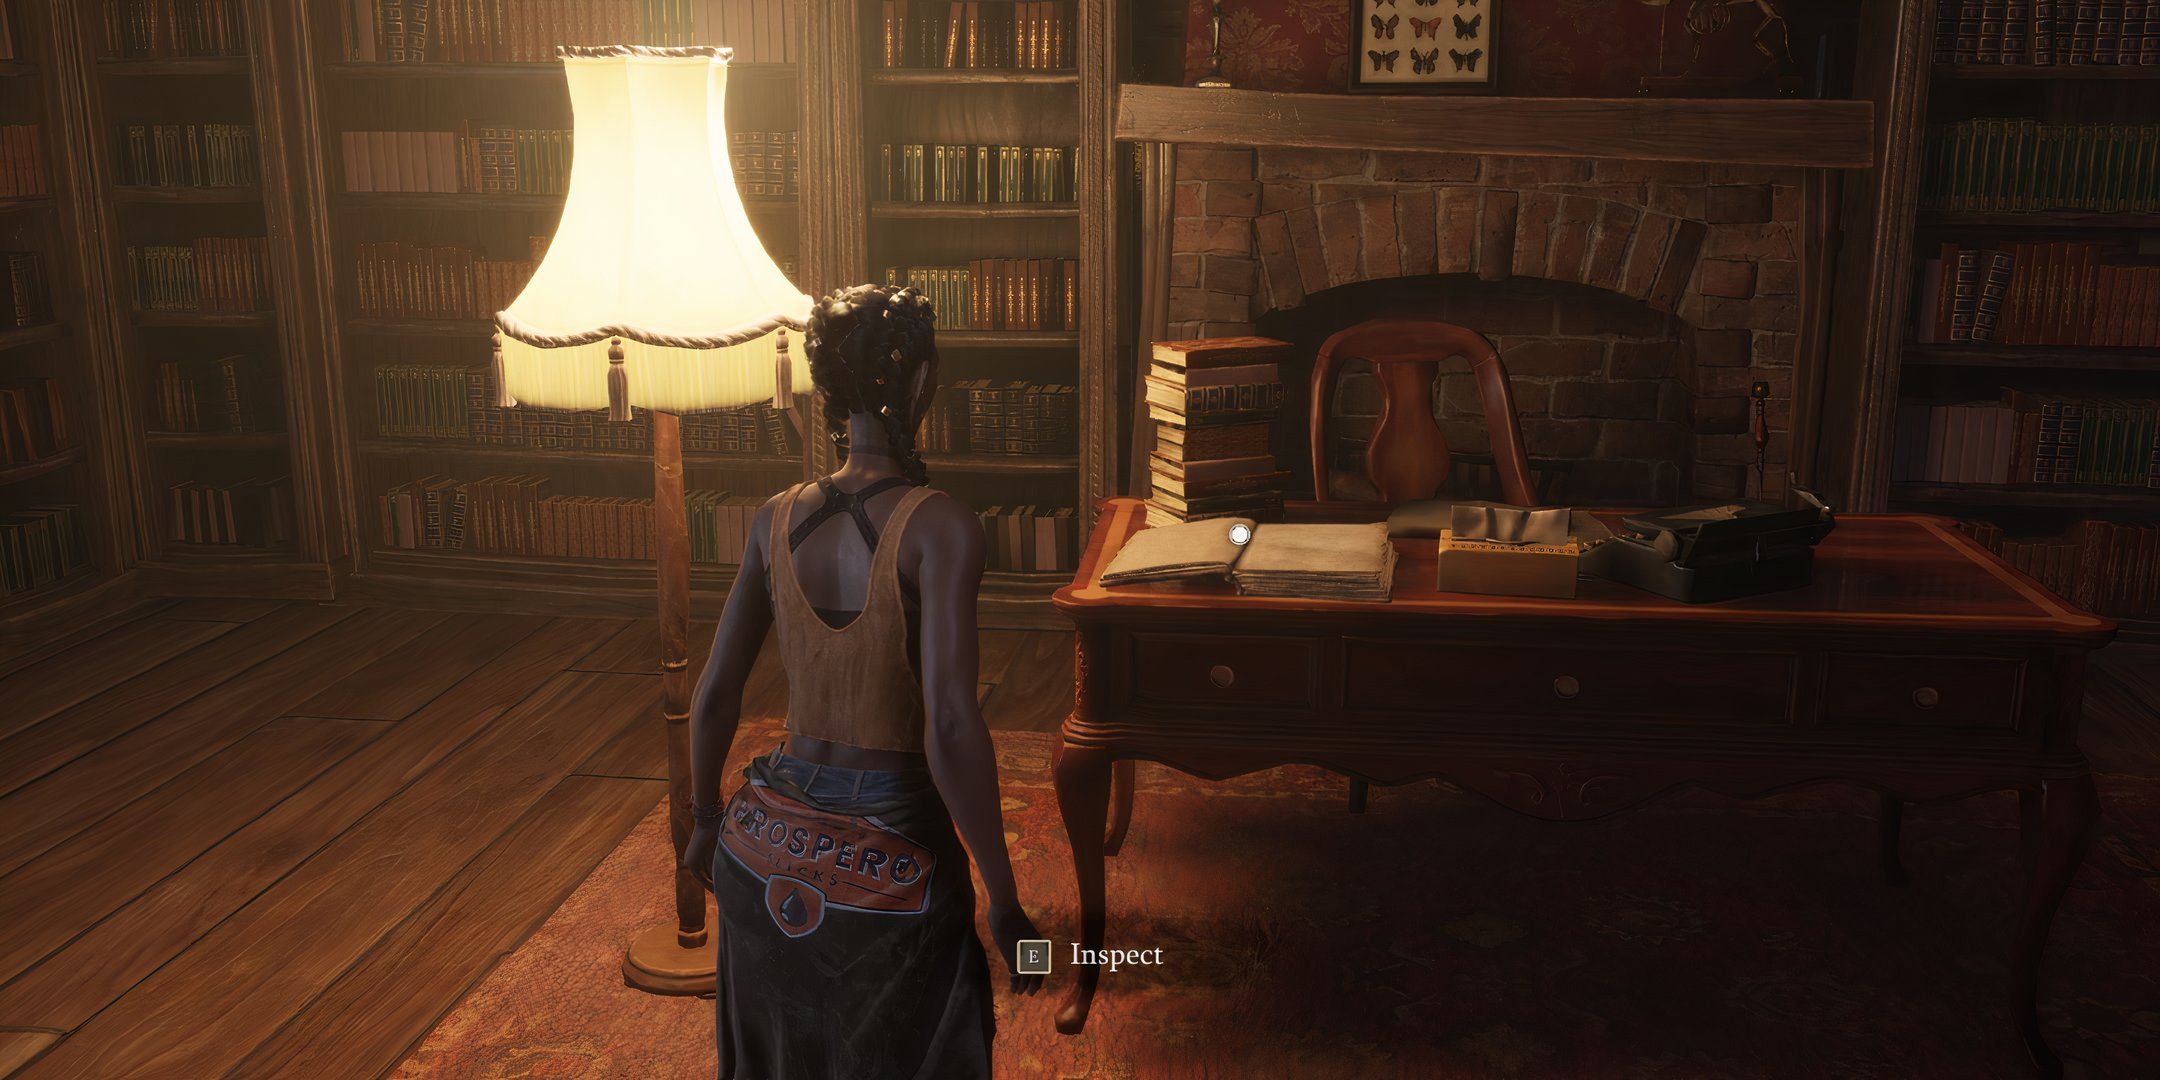
All Readables In Chapter 7: A Barman Is Hard to Find
Get Ready For A Whopping 15 Collectibles In Chapter Seven
Chapter 7 includes a monumental amount of readables , with 15 in sum . A fistful of these are mate in the same location , making thing a small fleck more convenient , but the absolute majority require searching off the beaten path . ensure you flip the cannister near"The Babblin ' Boy"readable , and do n’t forget to chink the upstairs of one of the main houses you pass through on the primary path for the"Heart of Lace"readable .
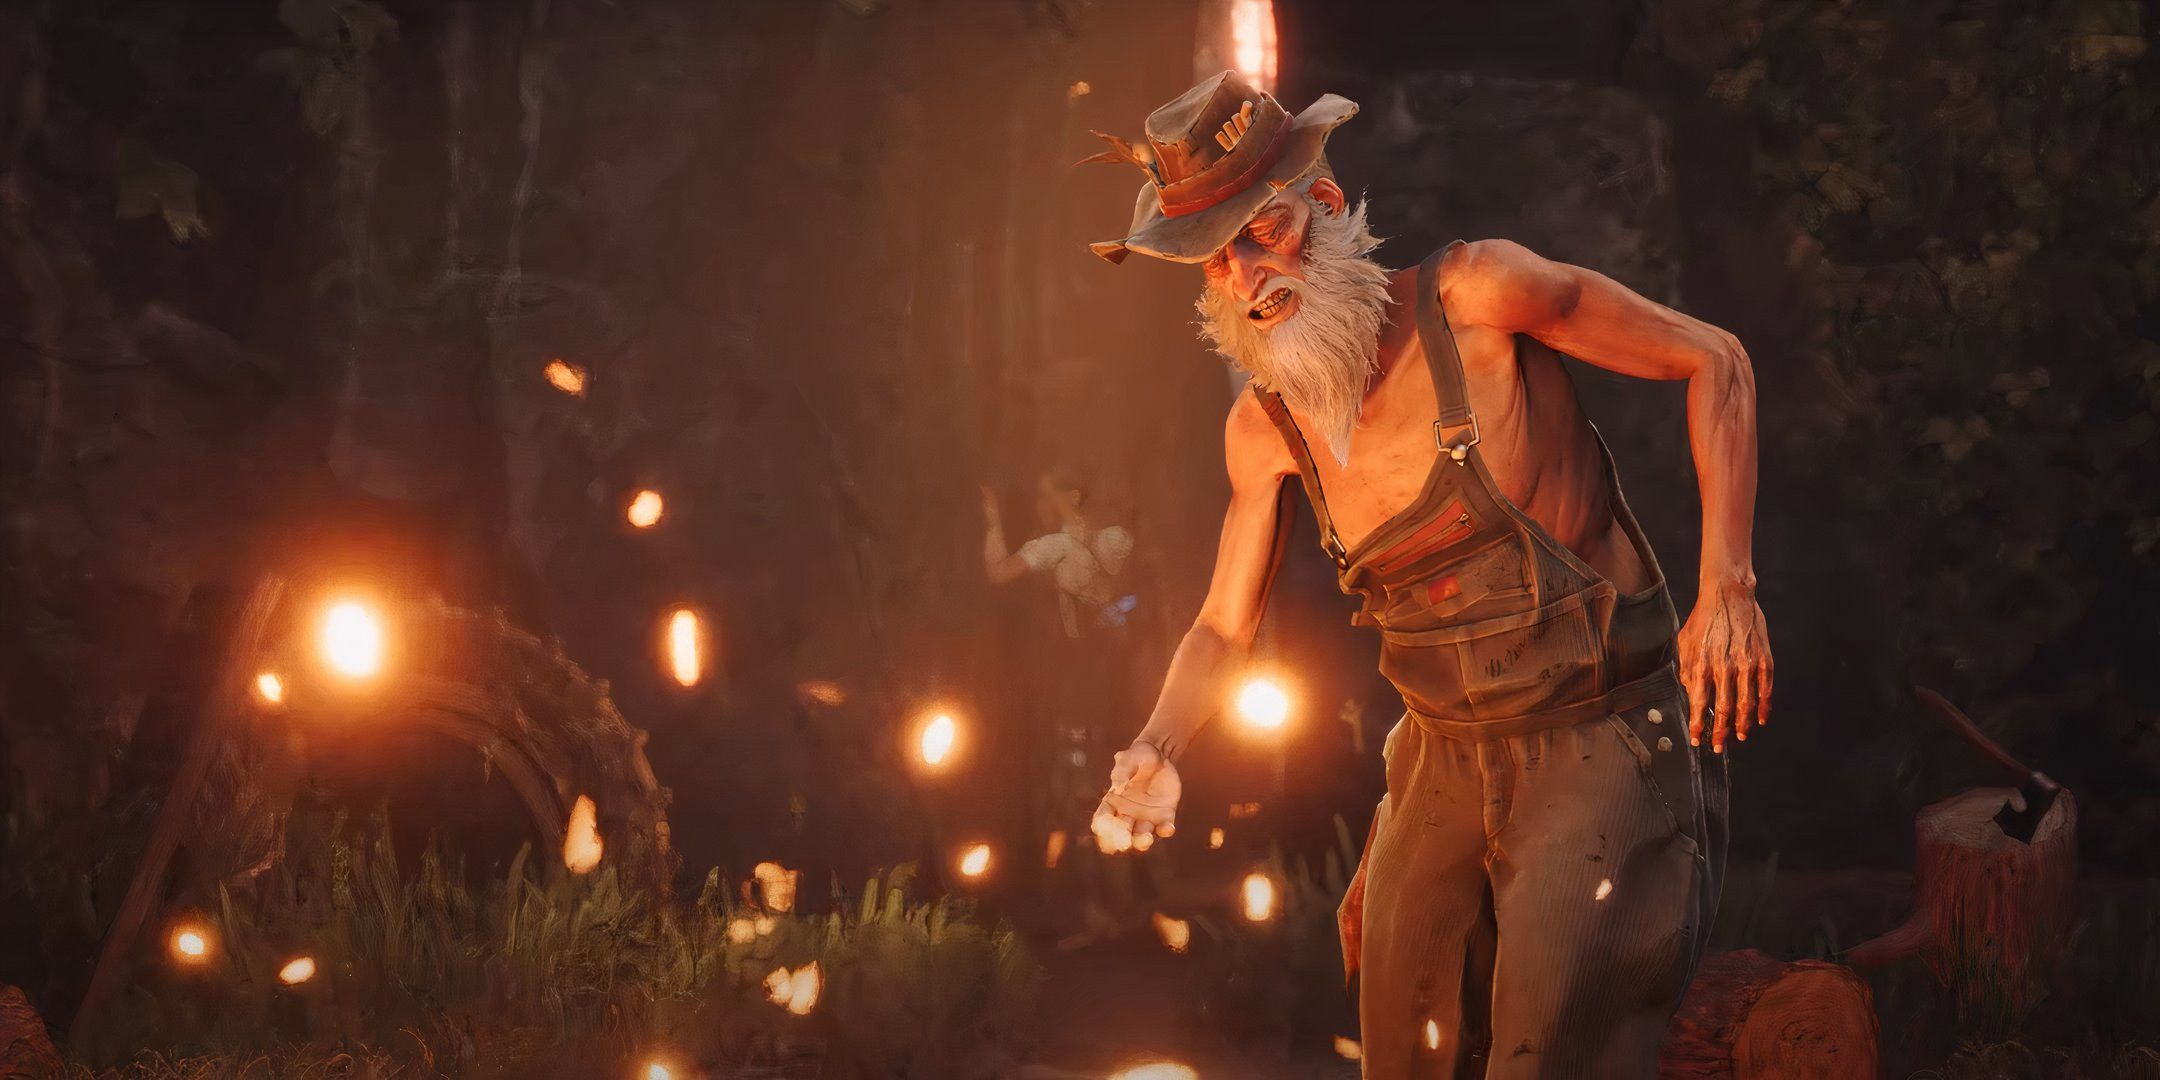
South of Midnight only has five bosses , and even though they share mechanical similarity , they diverge pretty wide in terms of difficulty .
If you did n’t notice by now , all theBurrowers readables are located inside the same type of tree rostrum , so if you see one of these , it ’s a clear sign of the zodiac there ’s a note of hand from a Burrower in there . This chapter also twin or group together many of the readables , such as the final two which are find in the lumbermill office near the end of the level .
The Lost Boy
Hop up to the ledge after collecting the Floof
Lost Liquor
After clearing the stigma , outside of an alcove with some breakable outgrowth
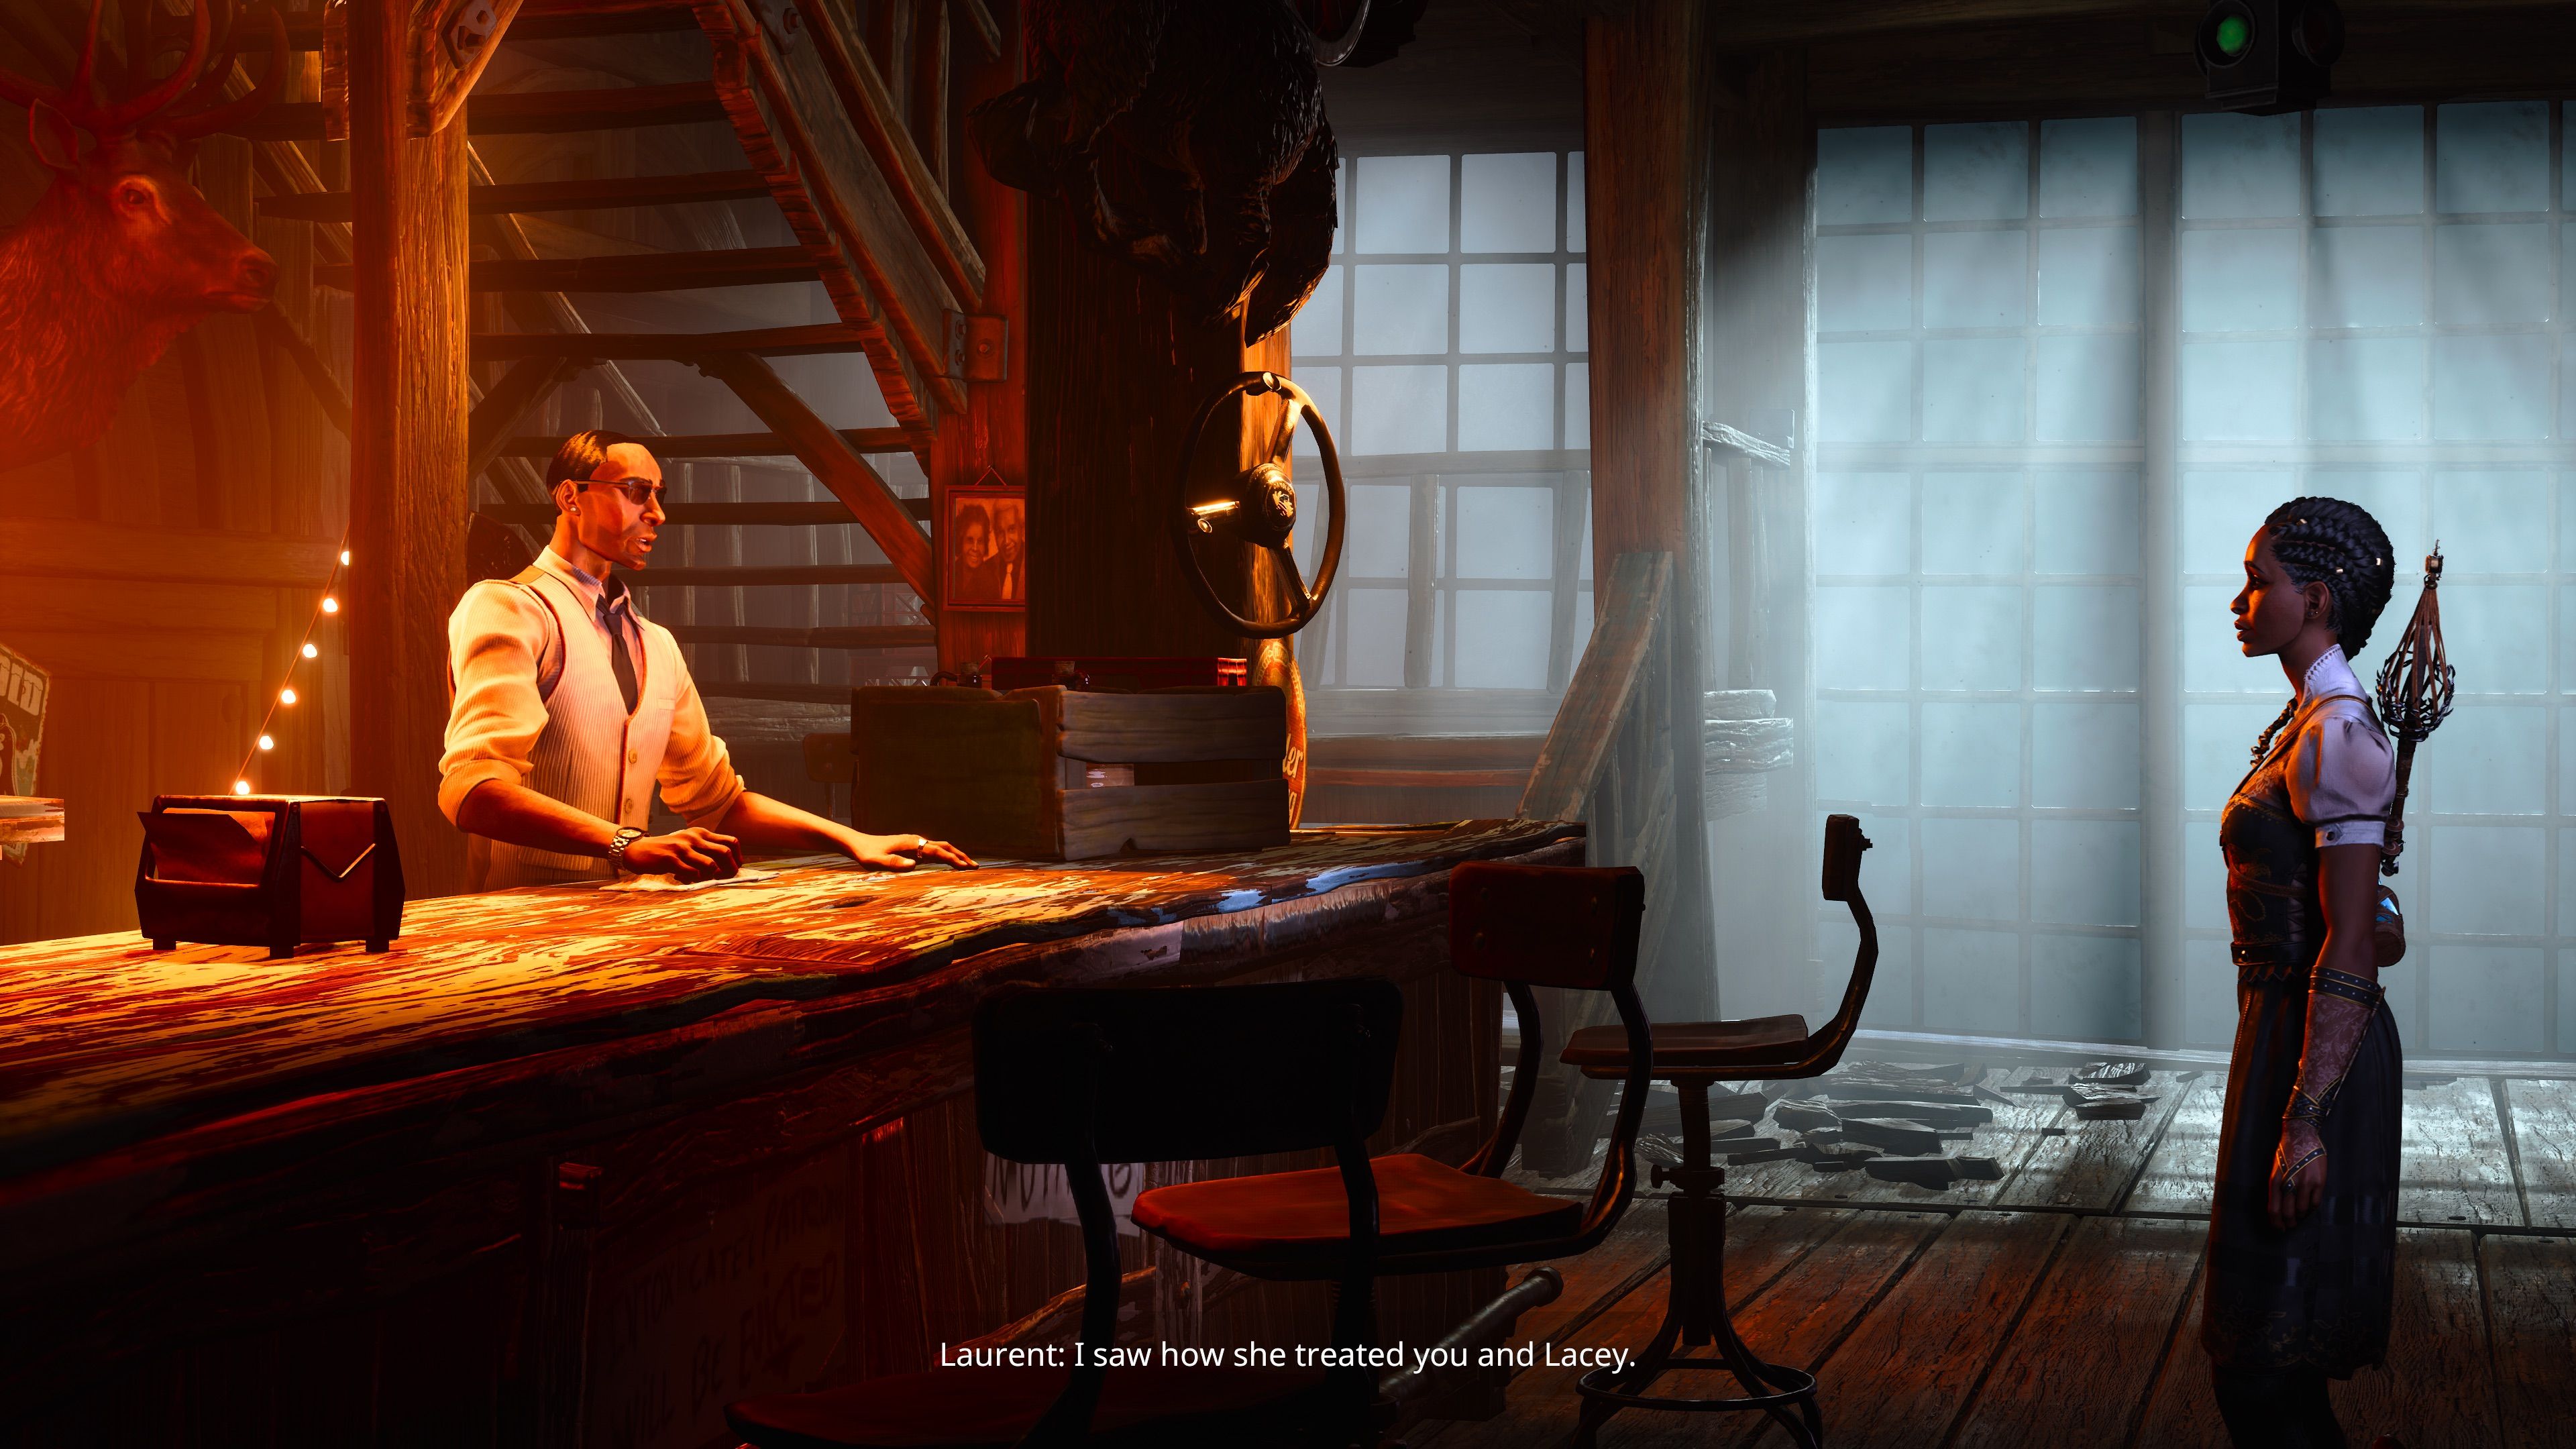
Lieutenant Laurent
Before you grab the storybook , to the right by some crate
The Babblin ' Boy
In a cave area behind some breakable branches with a cannister toss inside
Baby Faced Laurent
After jump across the river , look for a bear on a drop-off and go left rather of along the main path
Burrowers - Lil Drunkards
calculate for the burrower stump along the main pathway
End of forbiddance
Inside a tree burrow along the primary path
Boy Out Of prison term
Just after the above collectible when you leave the burrow , on some crates in the construction to the right field
Heart Of Lace
up the stairs in the bar on a table
Treatment
In a shanty along the independent path with a Floof spot
A Mother ’s Last Words
In the same building on a bedstead
Everything Helps
Inside the building along the main course with an erstwhile pickup out front
A Father ’s Job
On a table in the main area after you remove the first stigma
A Penny Saved
On the second floor of the lumbermill in the government agency on a table
Maintaining Productivity
In the next room over from the above readable
All Readables In Chapter 8: Their Eyes Were Watching
Another Breather Before The Lion’s Share
Chapter 8 only has four readable collectibles , give you another breather before a stretching of many readables in the arrive three chapters . Fortunately , Chapter 8 readables are all very straightforward and find along the principal path , so you in all likelihood wo n’t have to backtrack or replay this level if you ’re paying care . These are all Delta-346 readables , which set forth to provide a bit more perceptivity into the unusual happenings around Propsero .
Delta-346 - Missing Child
After landing from your first air current tunnel drive , on a stump
Delta-346 - uncanny occurrent
On a cliffside next to a Floof spot
Delta-346 - Red Yarn
Along the main track , look for a podium amid some sunflowers to your right
Delta-346 - Search shout Off
Before you excrete under a burrow under a yarn web , to your right by a logarithm
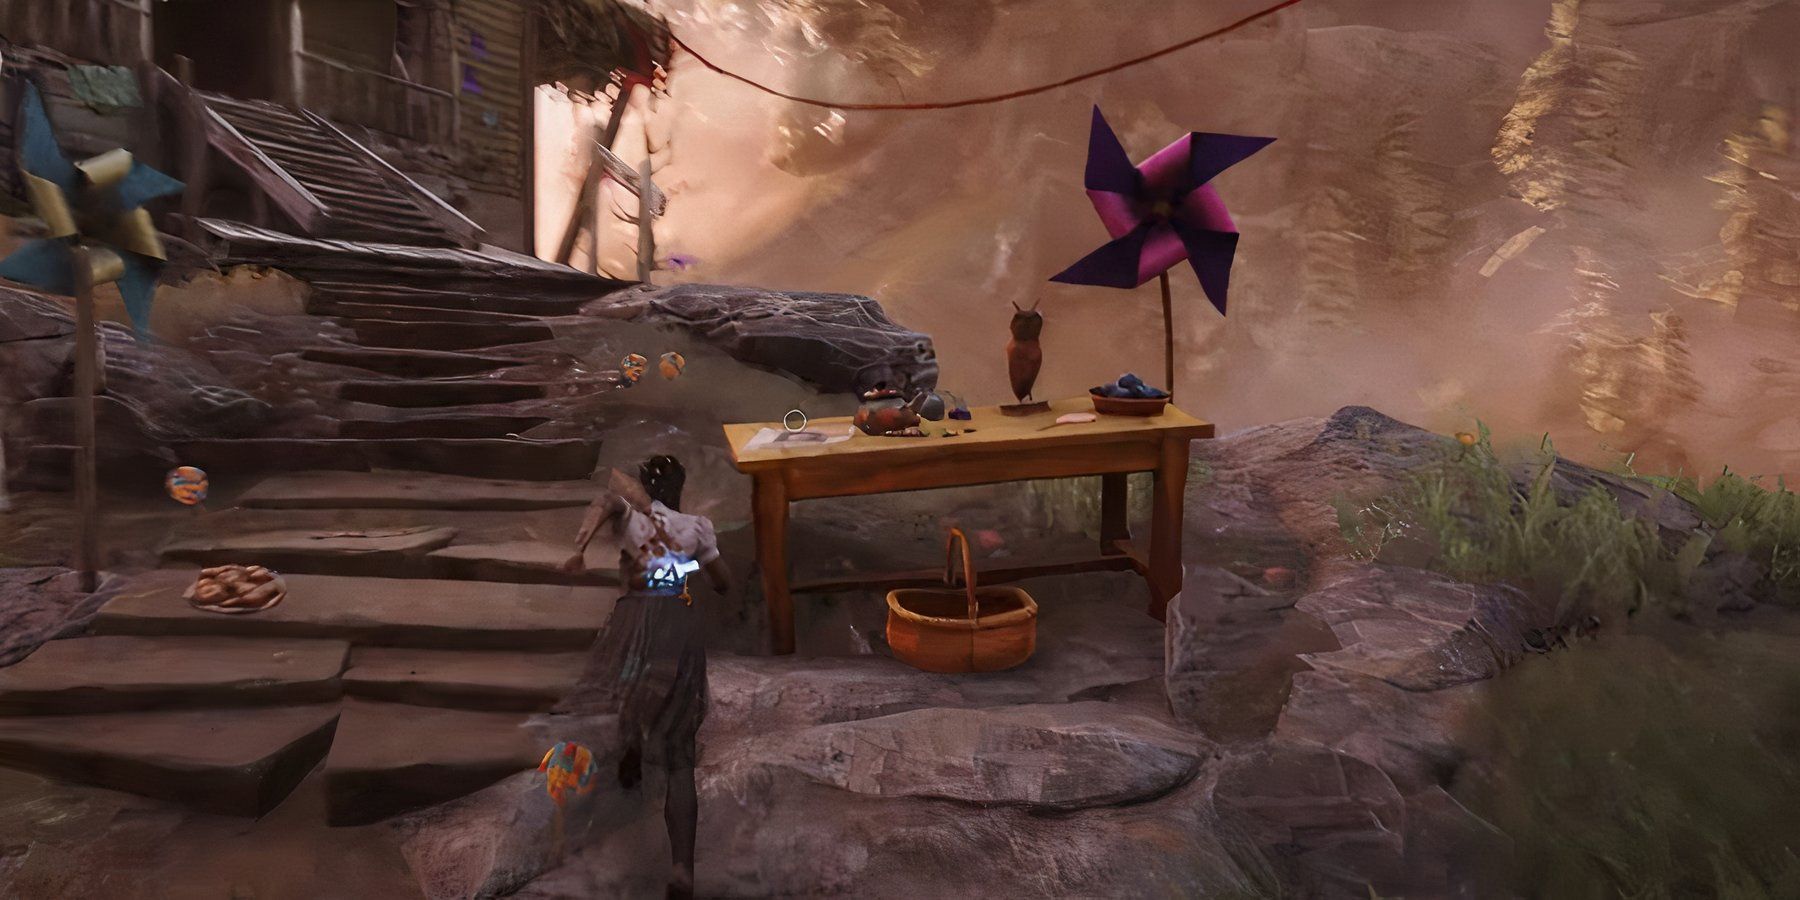
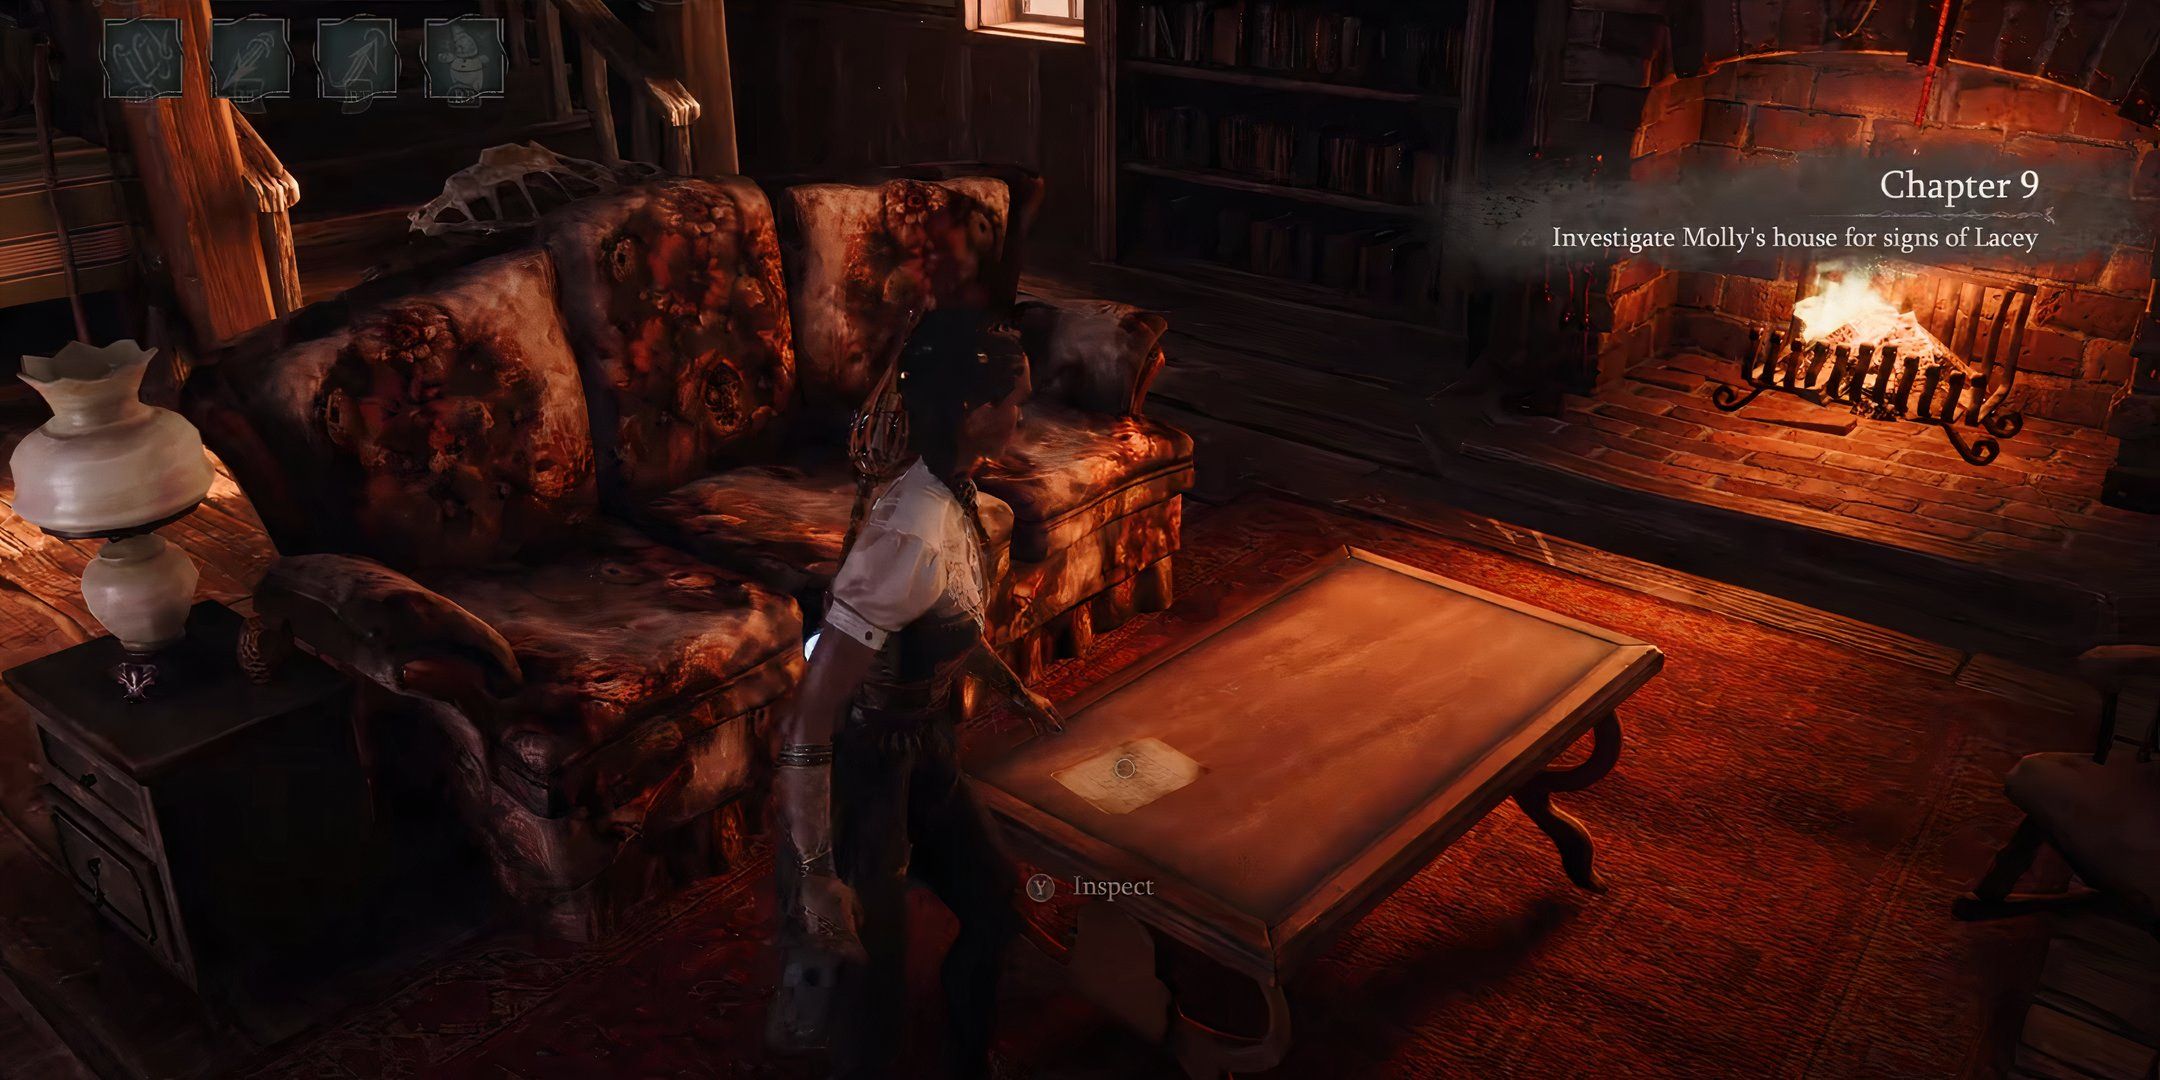
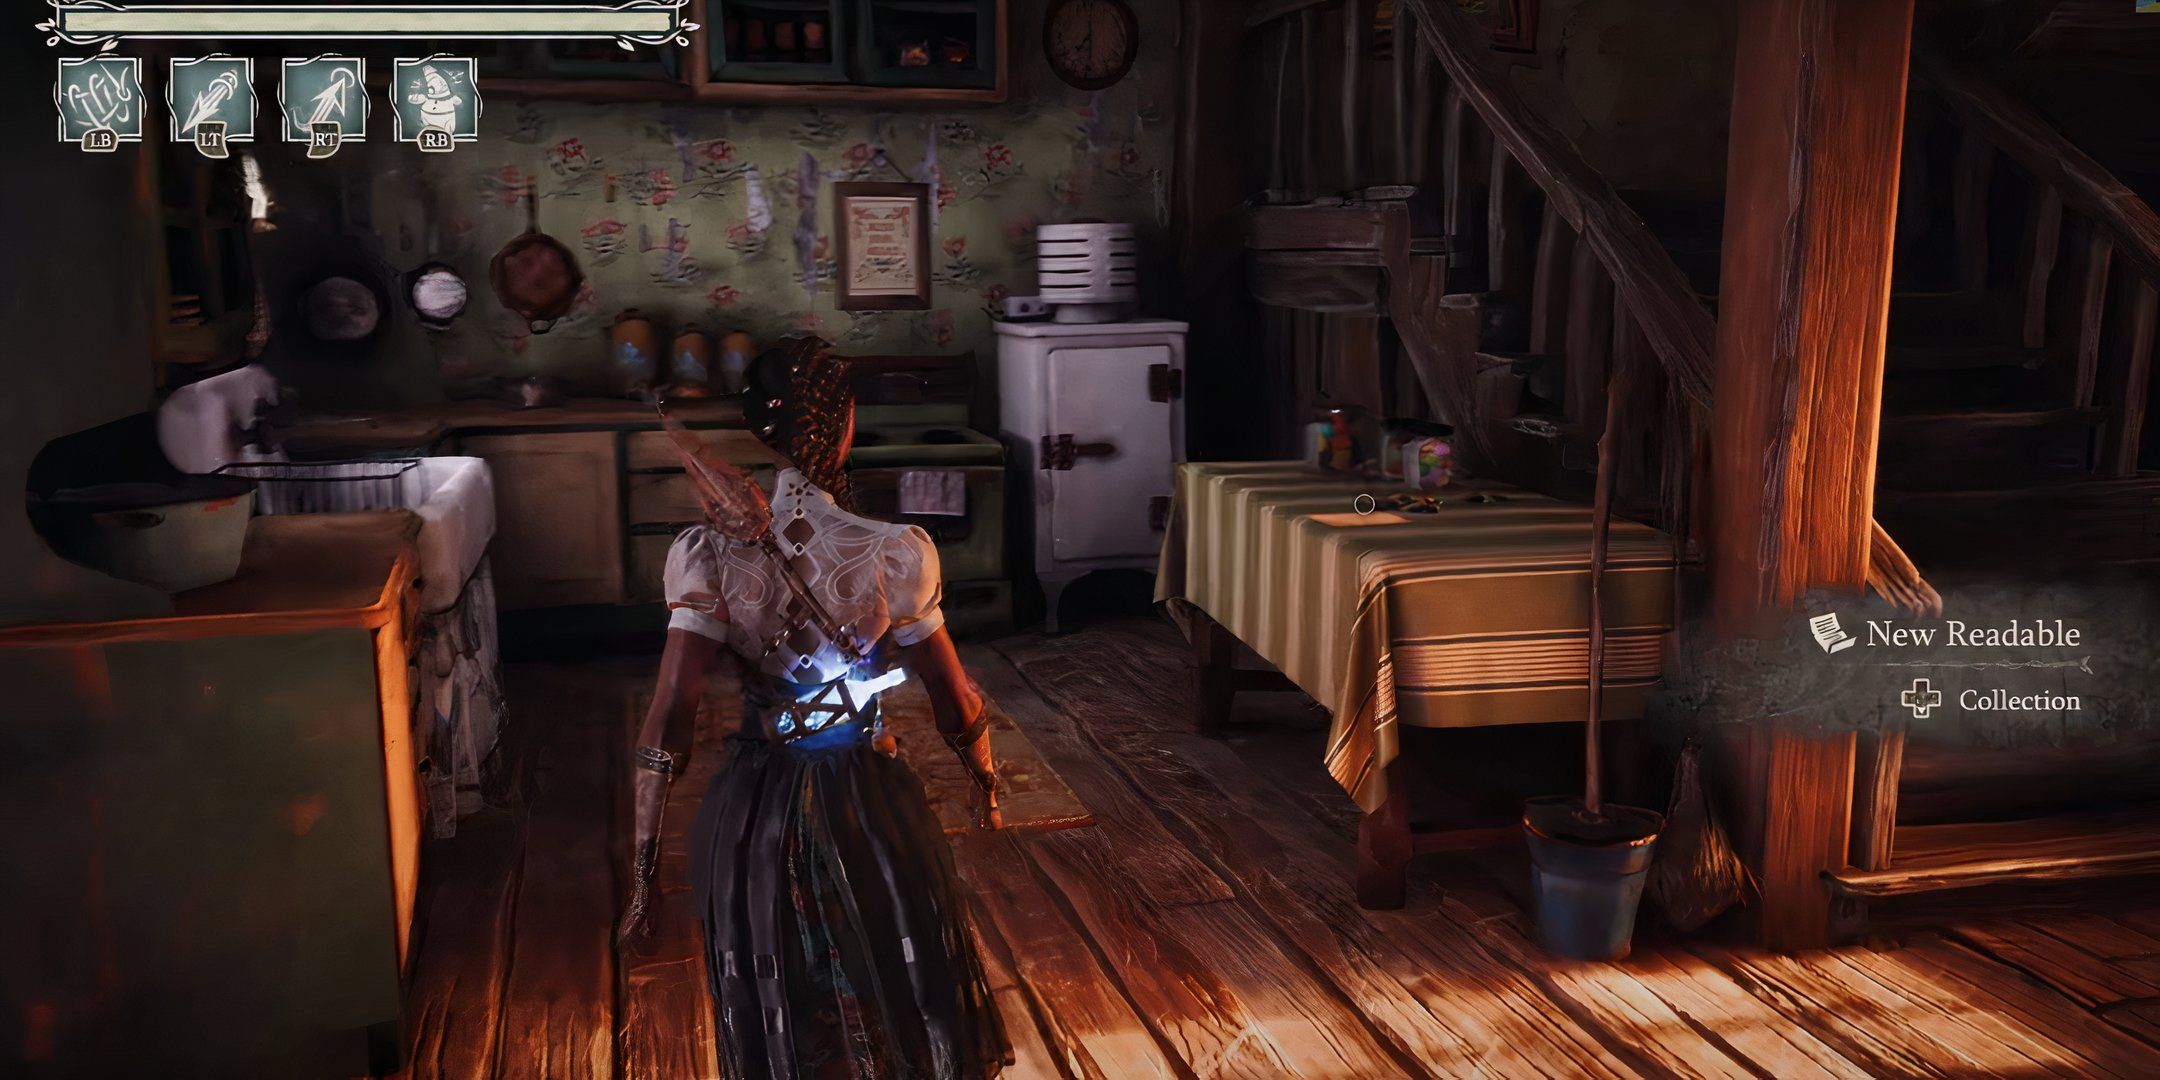
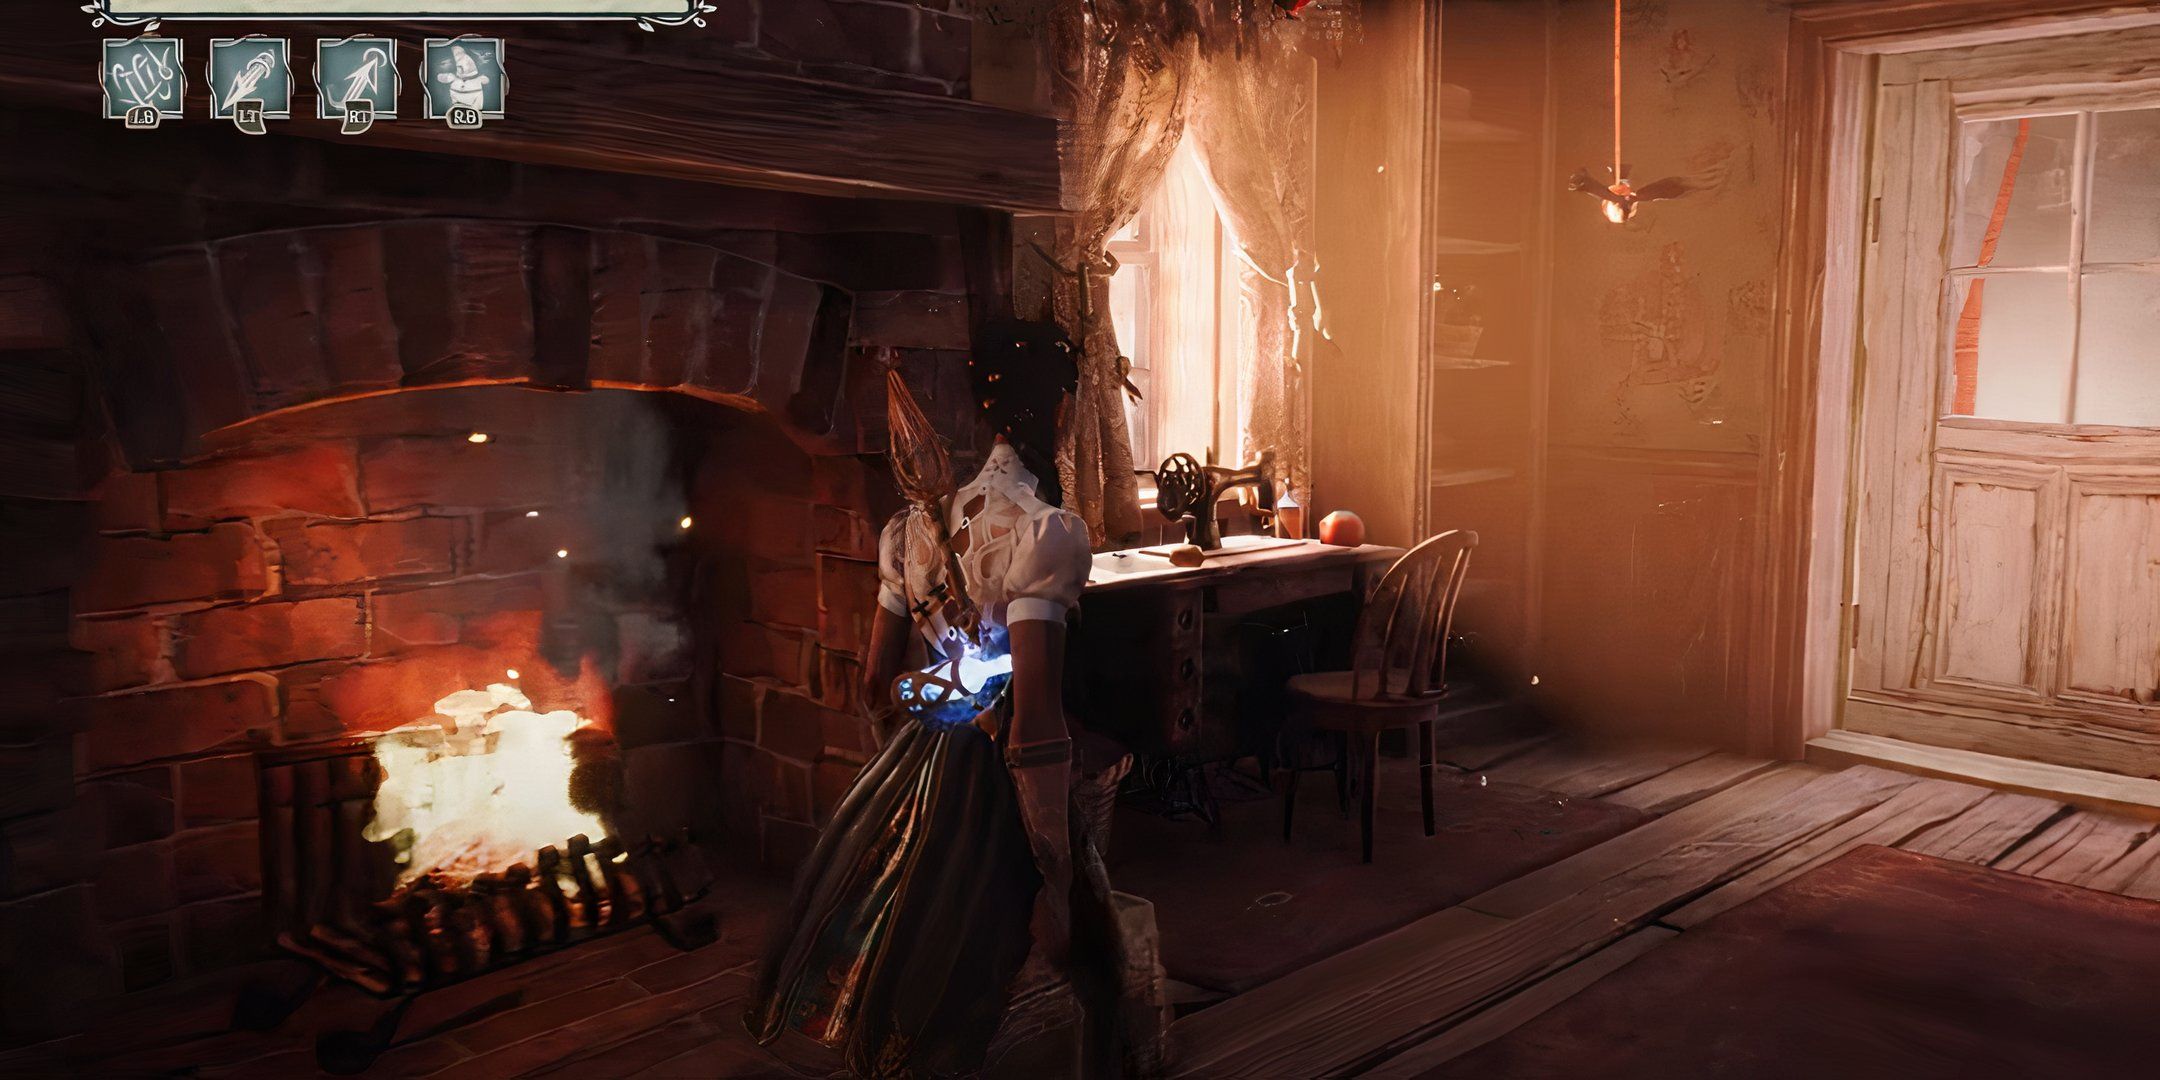
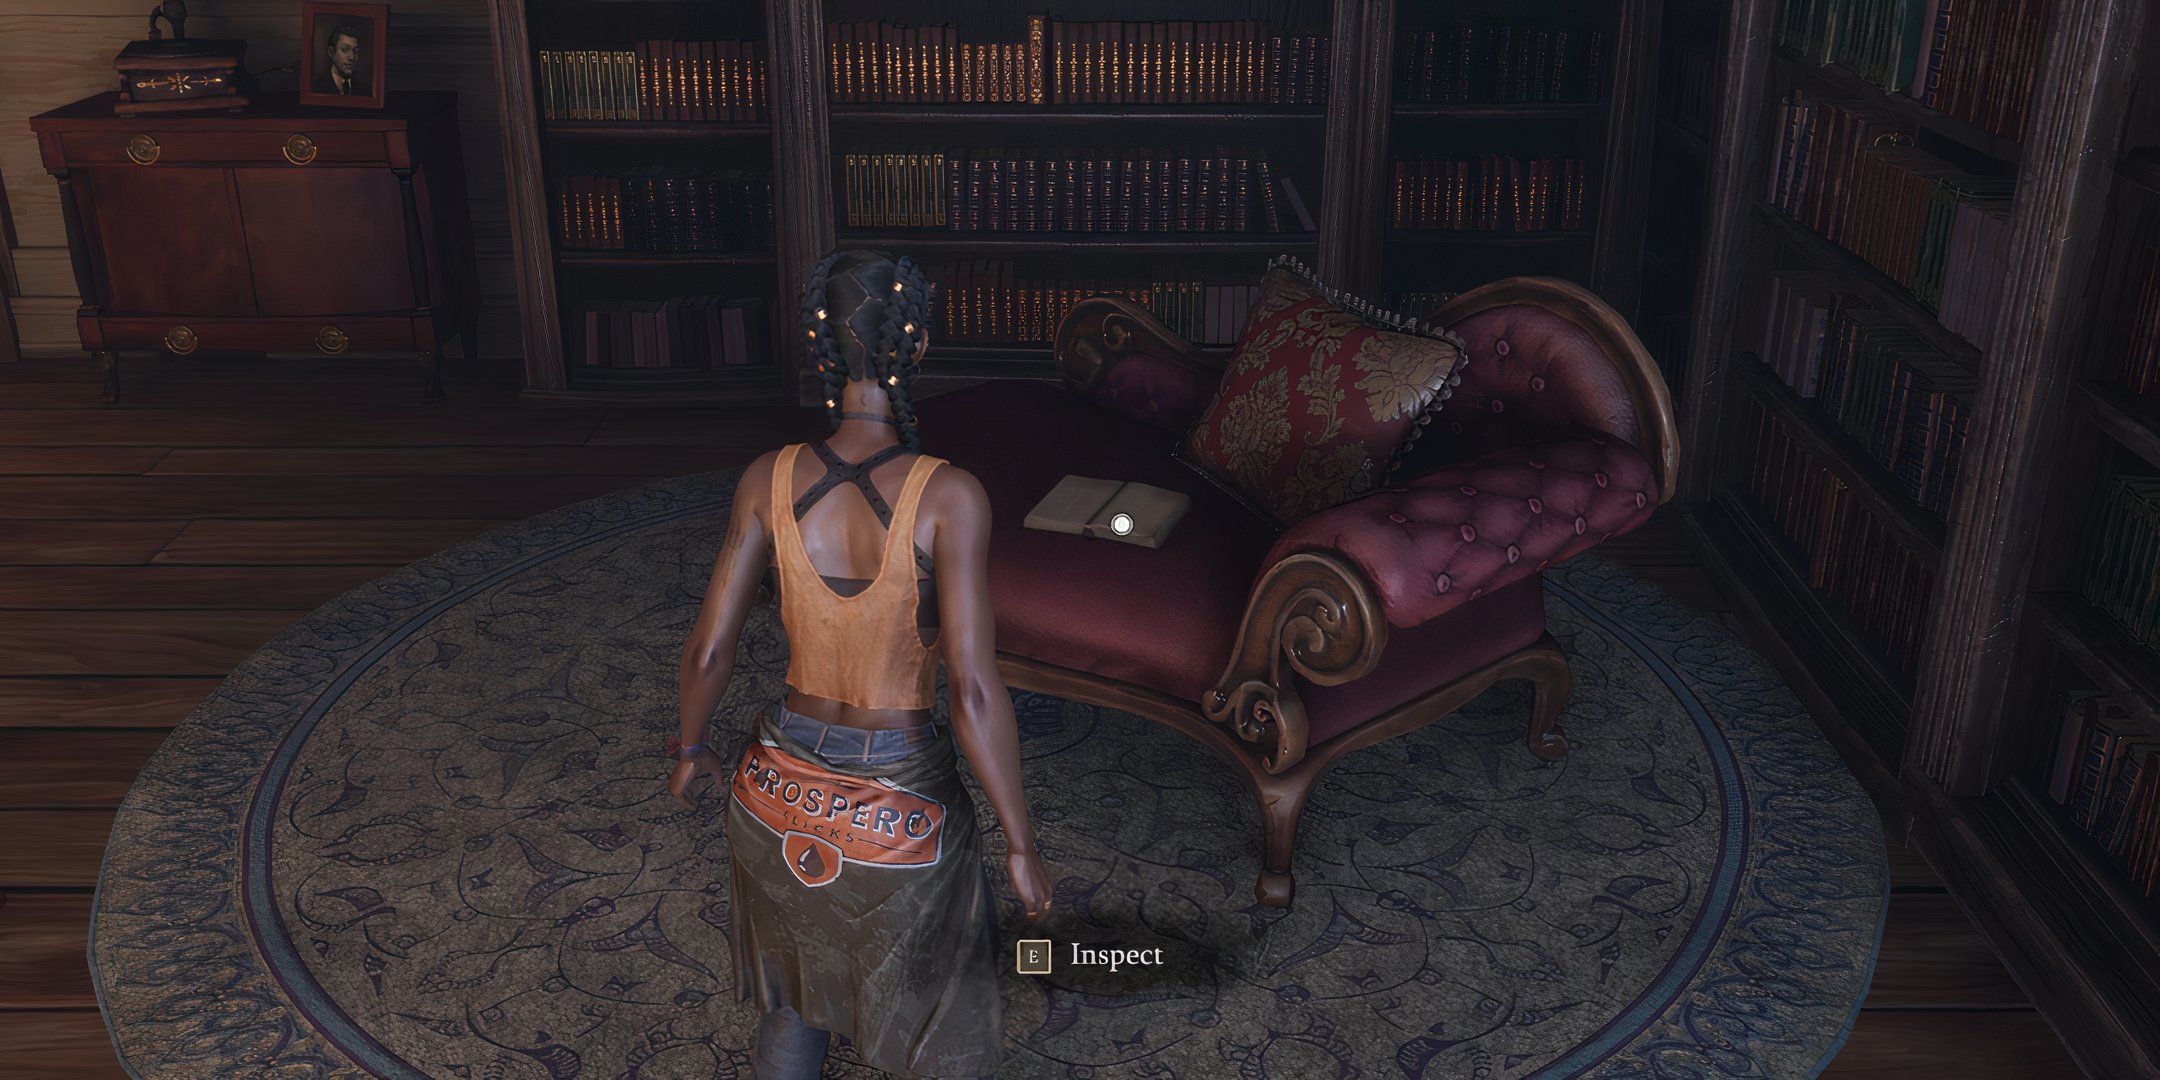
All Readables In Chapter 9: Of Webs And Woman
Search Molly’s House For A Trove Of Readable Collectibles
There are another 12 readable collectibles in Chapter 9 , but a third of them are all ascertain in one location , so it ’s not as much of a grind as you ’d carry . Once you get toMolly ’s house at the top of the hill , you ’ll be capable to collect four different readables . One is alfresco as you go about the house , while the other three are dissipate inside . You ’ll also roll up two other pairs of readables in different houses along the means , so you ’re doing a mo less meandering than you think for all the readables in this chapter .
Burrowers - Feline suspicion
When you see Molly ’s House in the background and the television camera pulls to focus , take the path right to the pulpit
get across My core
After assemble Itchy , enter the shanty to the left wing of the primary road in the town - it ’s on the sofa
Dear Santa
In the same theater on the kitchen table
Please Keep In thinker
After clearing the first mark , in the pinkish house on the kitchen counter
You ’ll Be Sorry
In the same house on the dining board
Mandatory Overtime

In the warehouse main office on the desk
Molly pay A Fright
Outside a house across from a bottle Sir Herbert Beerbohm Tree along the chief path
She Did It
On a board with a pink and black windmill toy by it as you come near Molly ’s mansion
Why Not Me ?
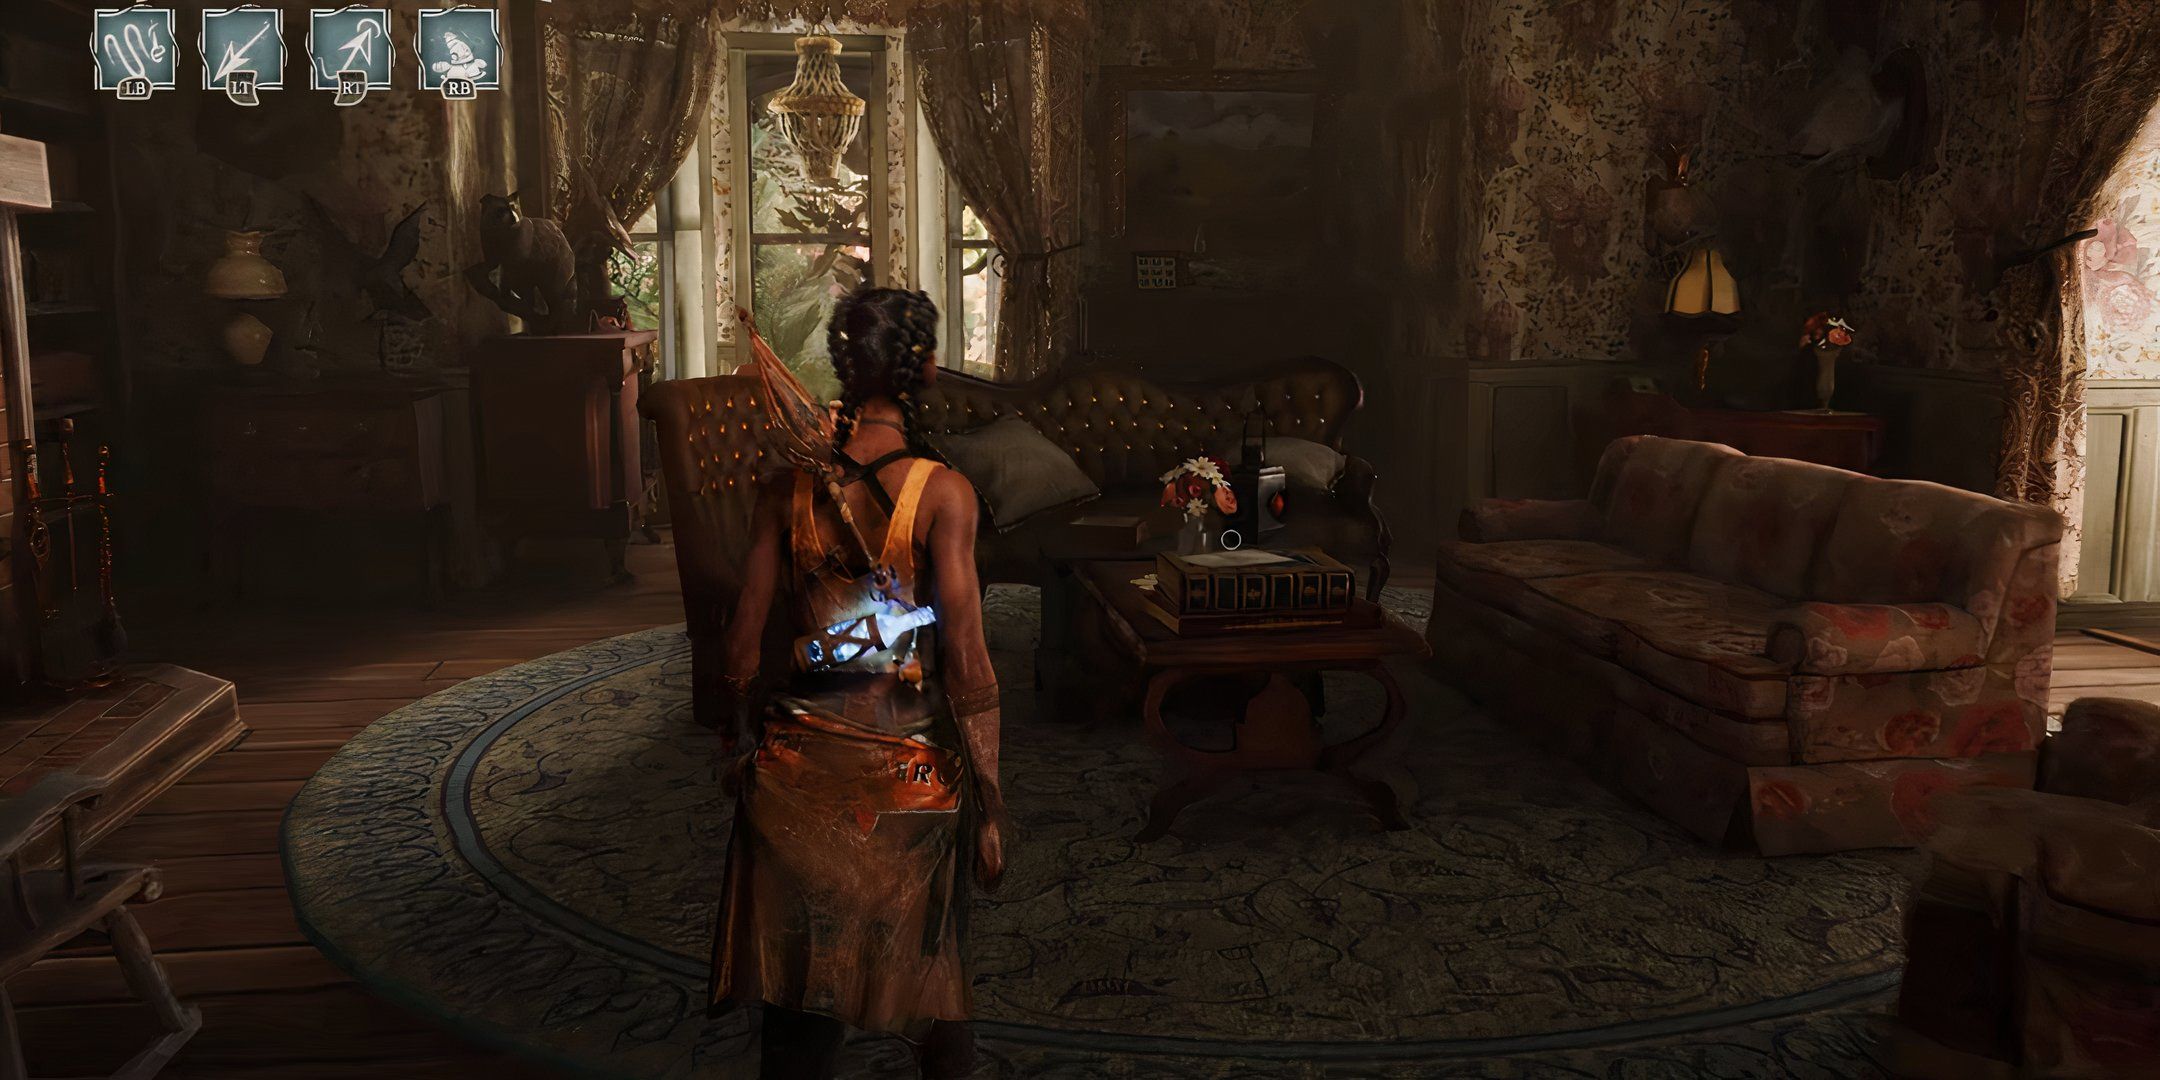
Inside Molly ’s house on the coffee table in front of the hearth
Dear Miss Molly
On the tabular array in Molly ’s kitchen
Decision of Transfer
up the stairs in Molly ’s house on the stitching table next to another open fireplace
Is It True ?

Once you hug through the shack in the cave , on the bed to your right
All Readables In Chapter 10: Light In The Darkness
One Last Break Before The Home Stretch
Chapter 10 only has five readables , and they ’re all on the signifier of the juicy glyphs gleam on bulwark or stumps , etc . One that you may miss is"Sleep and Smoke"as you ’ll need to pay heed a warm right or else of go along the main path after using Crouton to get to the next region . Keep an eye out for a heron sitting on a cliffside , and go mighty , hugging the wall until you see the glyph .
Hope ’s Crossing Homecoming
Along the chief path right next to a Floof percentage point , attend for the blue glyphs
Sleep and green goddess
After you use Crouton and grapple over to the next domain , seem for a Hero of Alexandria sitting on a cliff and advert a right , glyphs is on a paries in the hut
A Close Call
Climb the illusive steps and break the roadblock to get indoors for the glyph on the wall
A Grand Wedding
count for a wrestling point that leads to a broken down building , there ’s another glyph on the paries inside
The Flower Child
Inside the cave at the remnant of the point
All Readables In Chapter 11: Muddy Waters
Eight Readables In Chapter Eleven, Plus A Big Baby
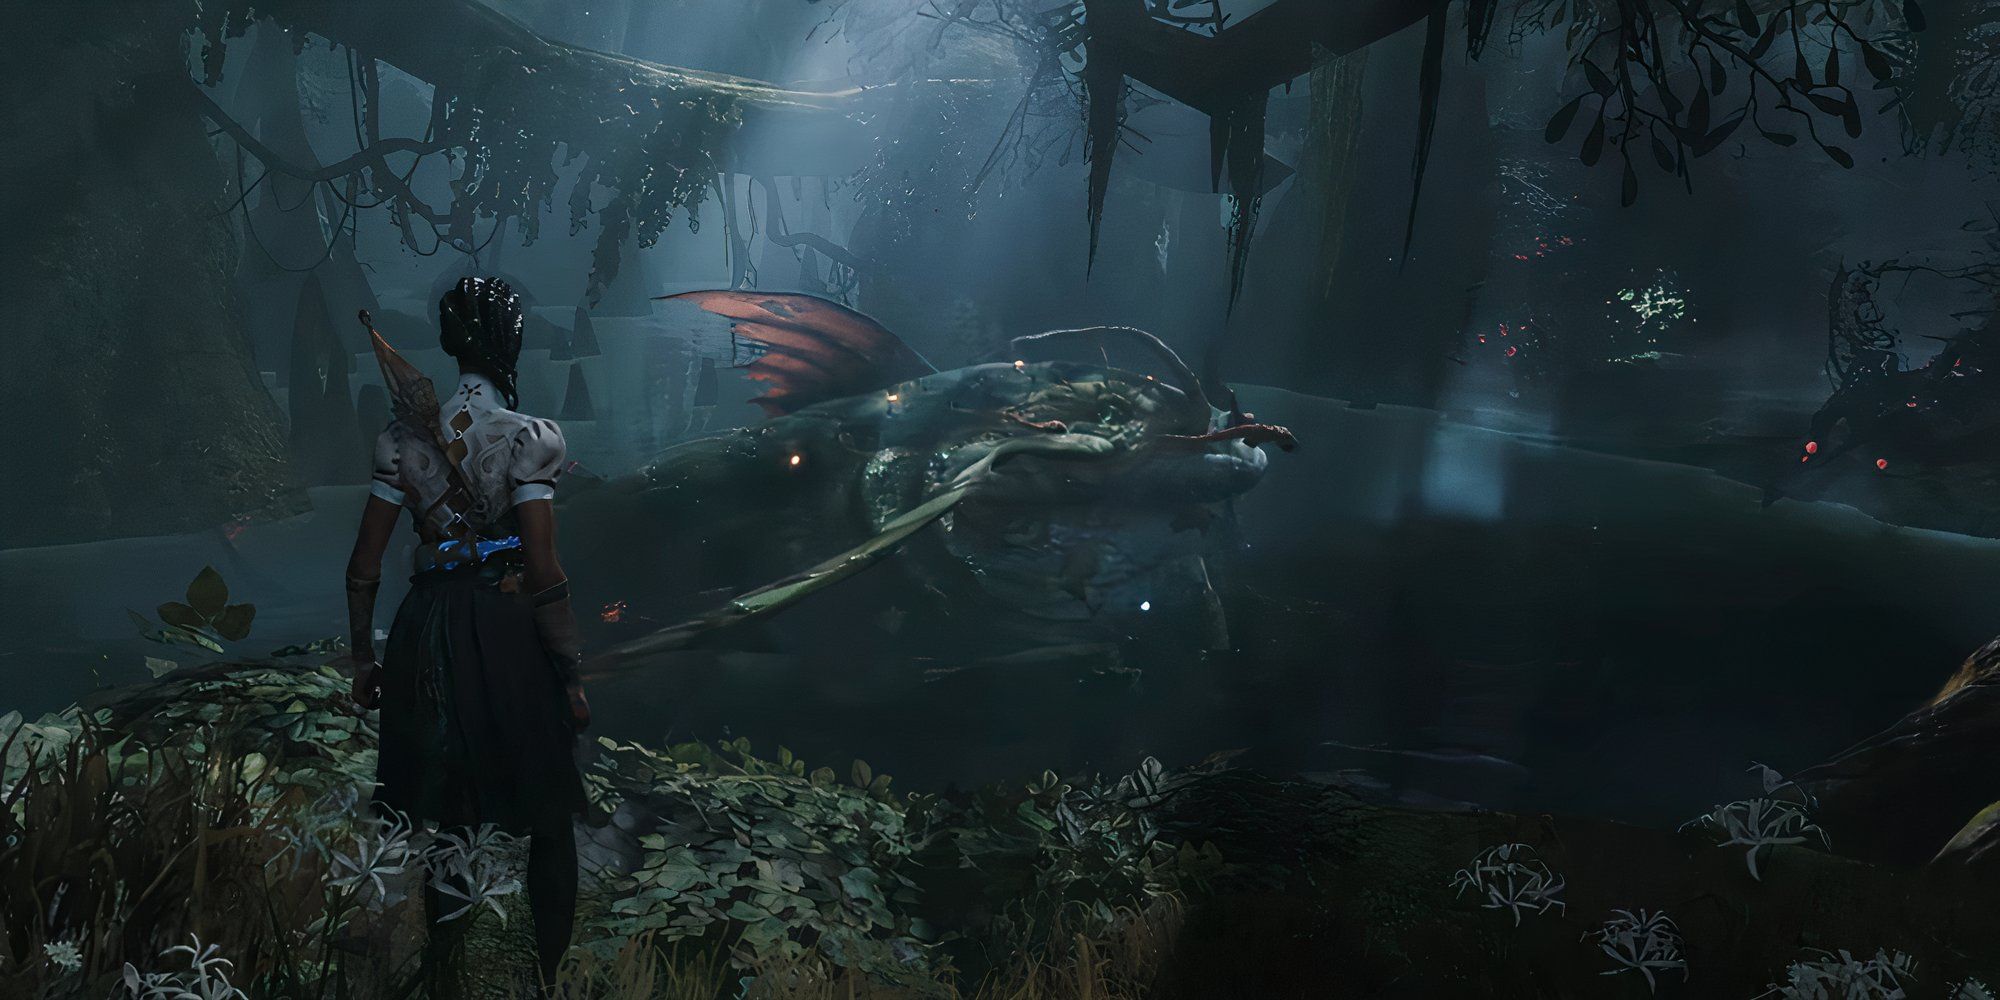
Chapter 11 let in eight more readables , and they number in various forms . This chapter also includesa big babe animate being and a scary fog swamp monsterthat you ’ll have to deflect while platforming across a serial of flowers with sharp tooth . None of the readables in this chapter are specially out of the elbow room , but some can be hard to recognize because of the area being so dark .
An Anguished Cry
Glyph to the left along the master path
Stowaway ’s Tin Box
After using Crouton to reset the stigma , on a mesa in one of the elbow room
Bill Of Fare
On the top level of the skittish building to the left as bats aviate at you
Old Pain , New Life
A glyph along the main path after pluck up the second Health Filament
A Bittersweet Reunion
After clearing the stigma in front of the big tree , rick around and look near some pinkish efflorescence for a glyph
False Knowledge
Once you attain the boat , there ’s a glyph on the independent storey when you break the roadblock
Captain ’s logarithm
On a table next to the large wooden in the hull of the ship
A last subject matter
Along the master path just before the end of the tier , there ’s a glyph on a stump
All Readables In Chapter 12: The Crossroads
Buckle Up For The Most Readables In A Single Chapter
If you thought the previous chapters contain a quite a little of readables , you have n’t seen anything yet . Chapter 12 has a staggering nineteen different readable collectible . Do n’t vex though , as with premature chapter , many of these are grouped together somewhat handily and do n’t expect a ton of extraneous searching or exploring . In particular , once you infix the sawbuck - drawn carriage , you ’ll be able-bodied to take hold of six different readables , including the one you grab outside beforehand .
Many achievements / trophies exist in South of Midnight , but to get them all , you ’ll have to make account advancement , happen collectibles , and master copy armed combat .
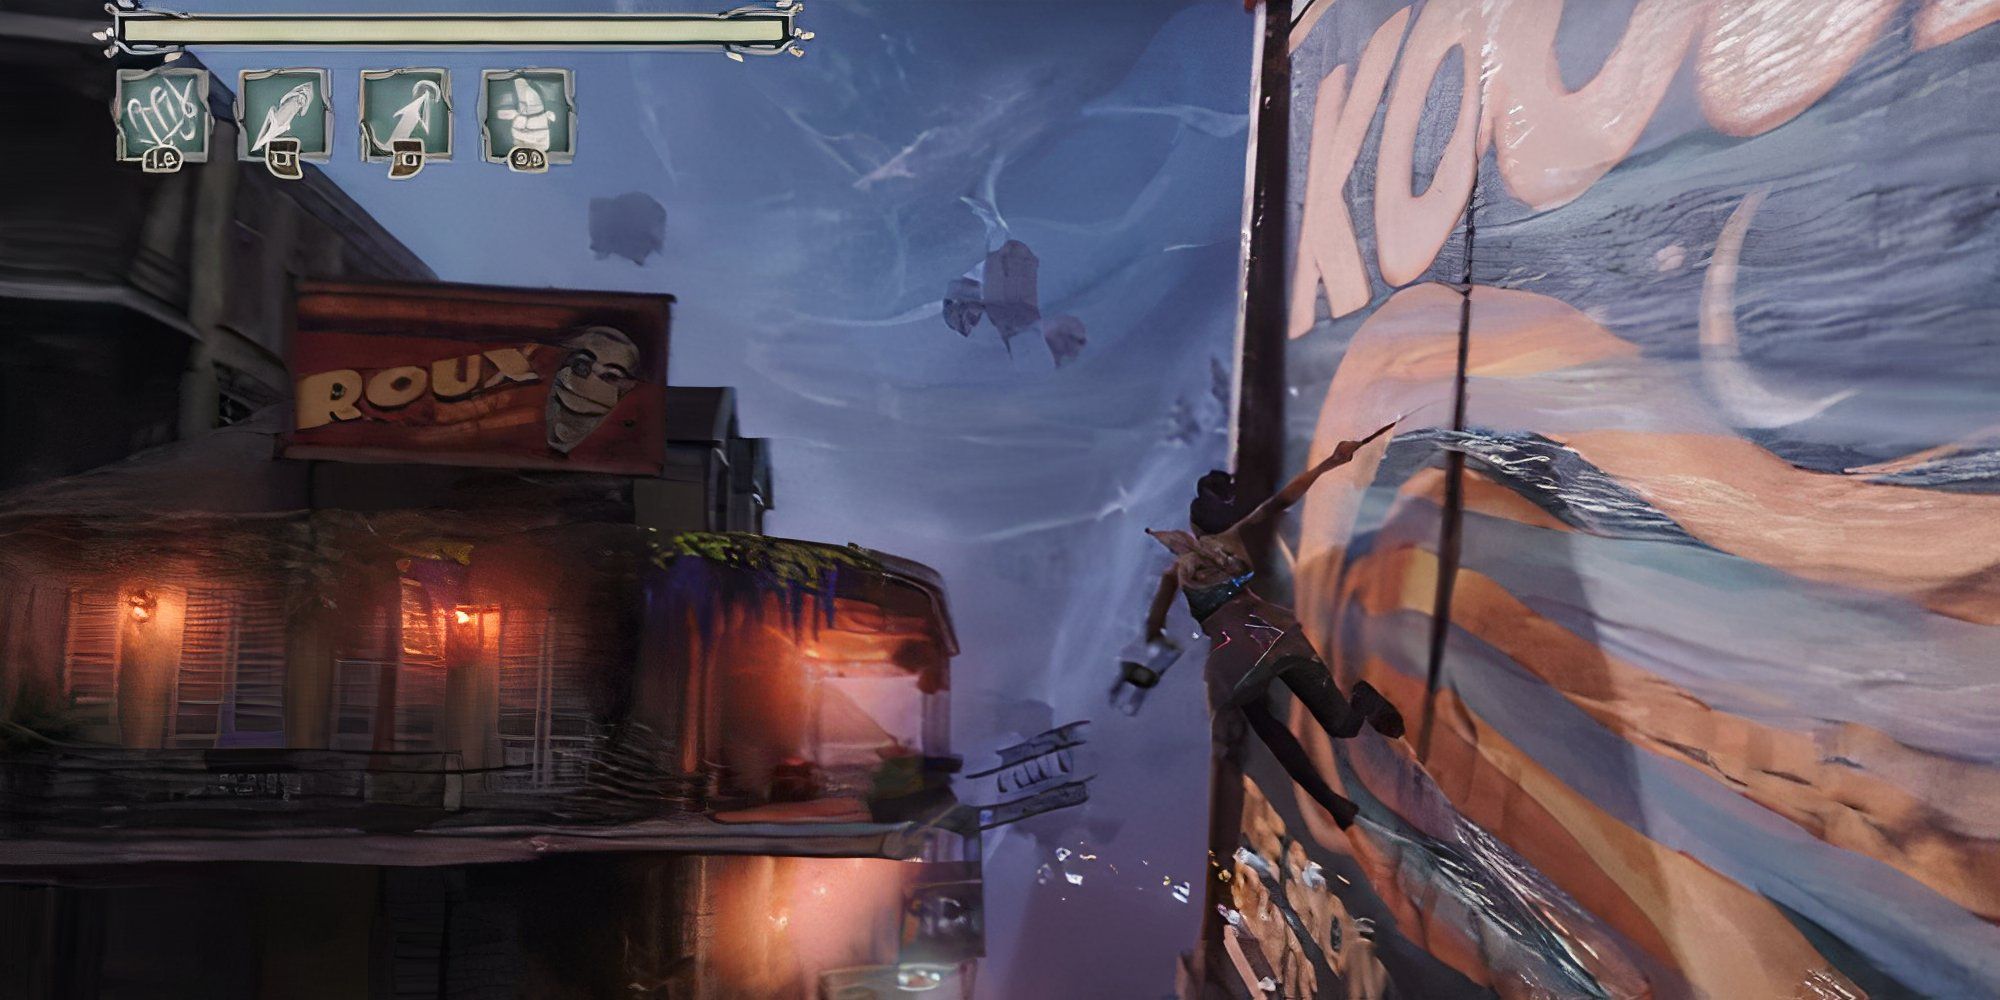
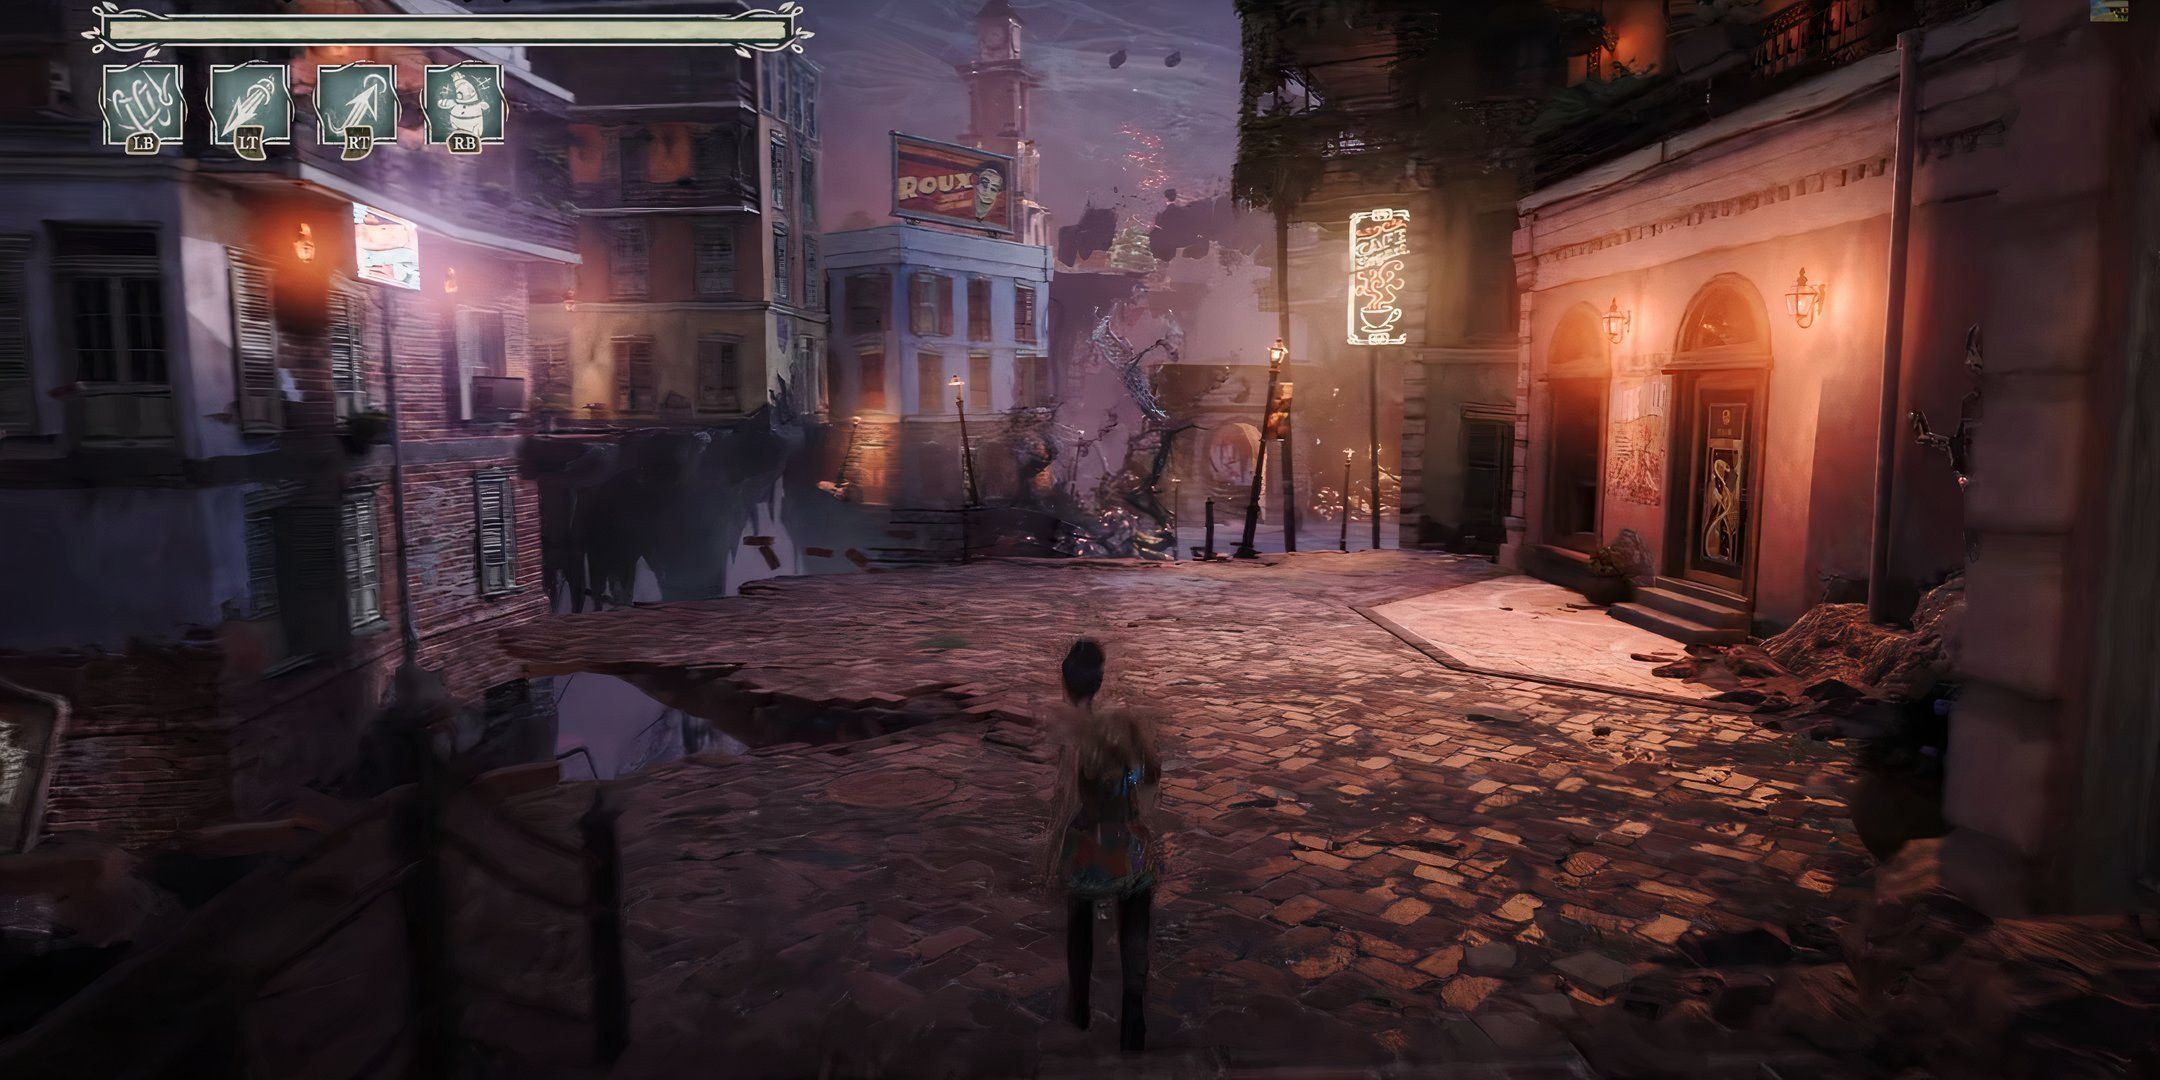
This chapter also includes a smattering of poster readables , which are simply posted on the front of various buildings , such as the club or cafe . These can be look across as they go in with the building well , but you ’ll see an indicant if you operate near them , so it should n’t be that much of a problem . If you gather all nineteen of these readables , extolment , you ’re officially in the home stretch .
Should I Leave ?
bunk directly at the beginning of the level and it ’s there next to a lantern
Should I Stay ?
Pass through the daze to your left wing and it will look similar to the above , but with a horse - drawn pushchair
The Record maintain Skipping
Go into the carriage ( it ’s bigger on the interior ) and scrutinize the record player
Milk and Sugar , Love ?
By the silver tea set in the carriage
Ring , Ring
On the trike as you climb up the stair in the carriage
Roux Limerence
At the top of the step next to the jukebox , still in the carriage
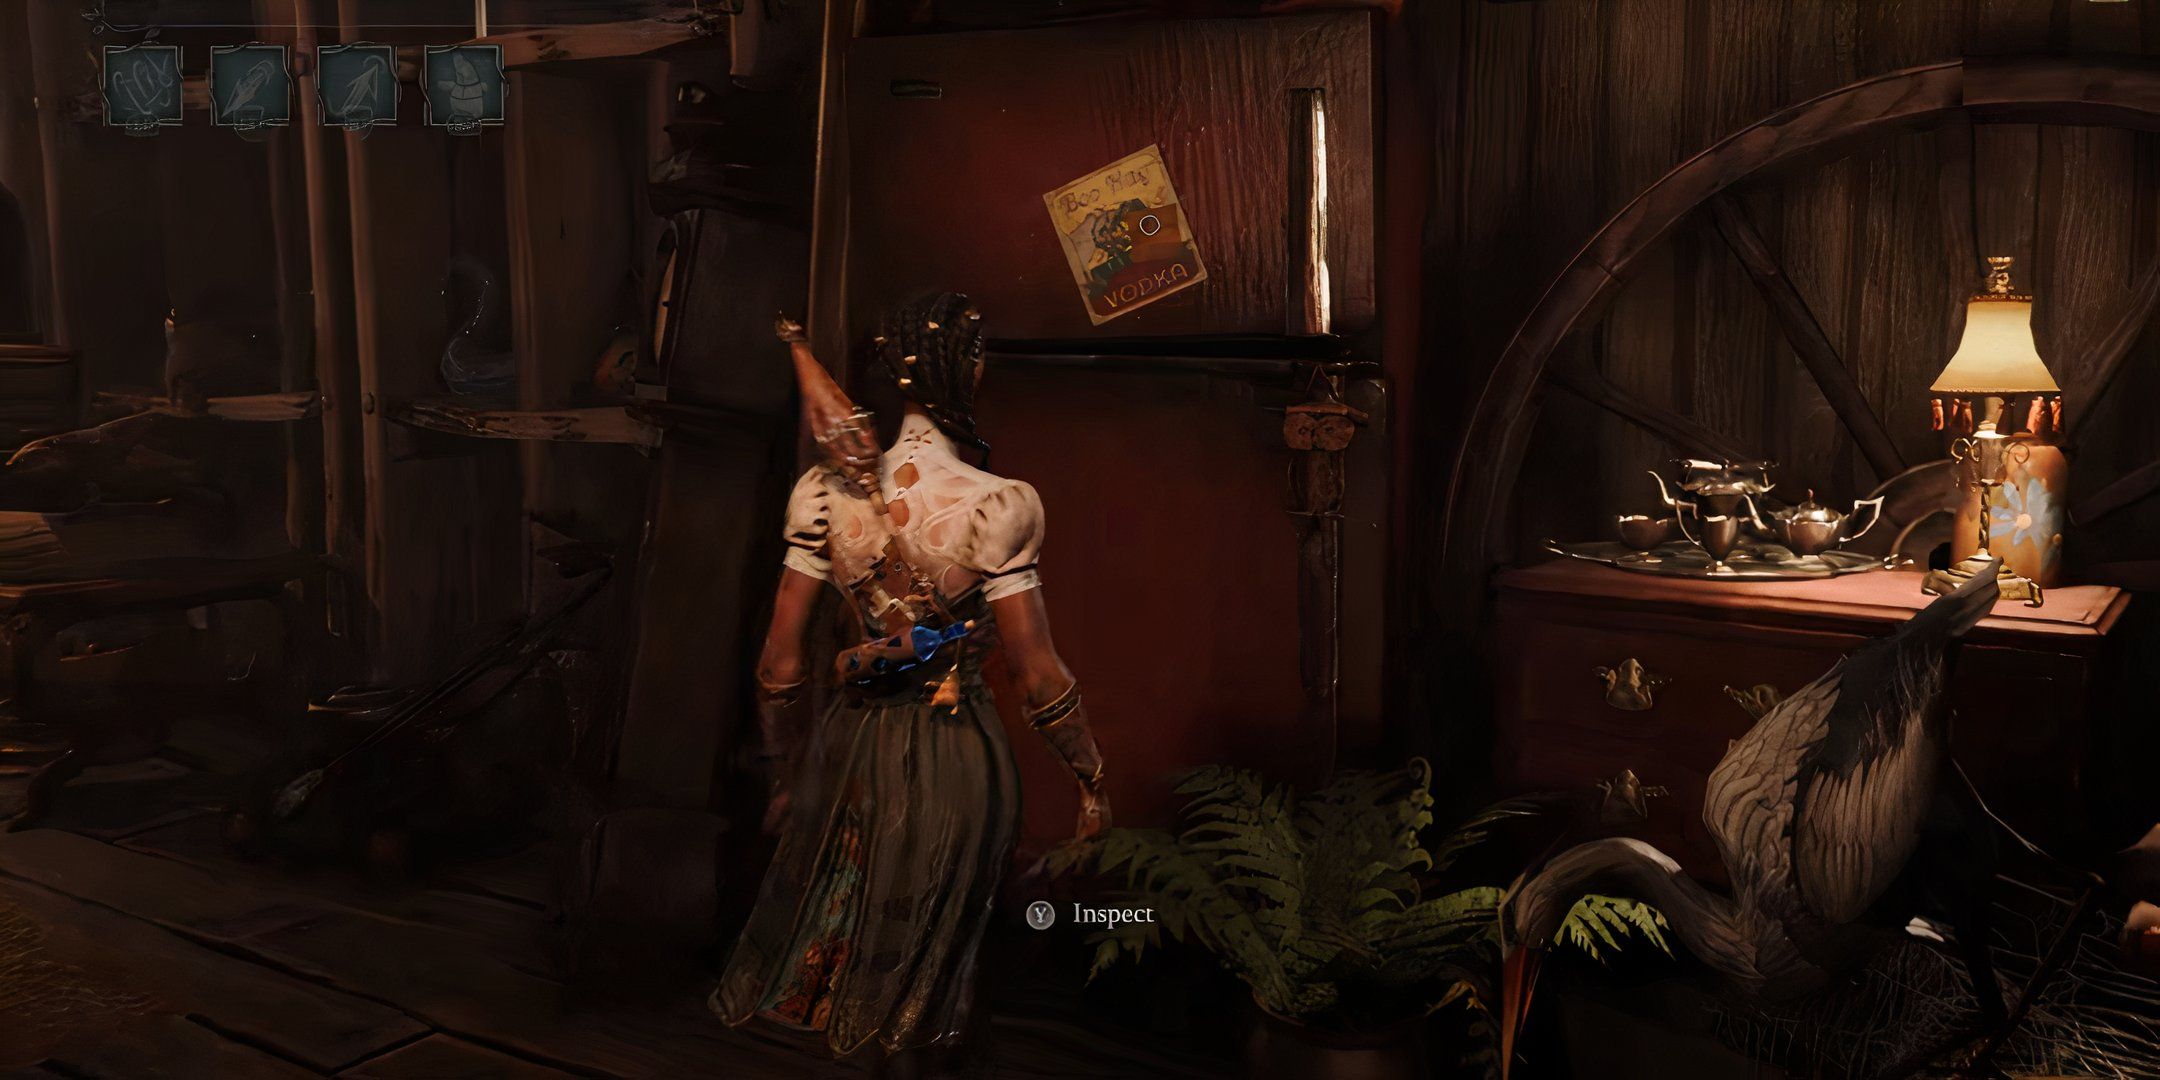
The Hungry trap
attend for the vodka poster on the bulwark ( last one in the passenger car )
Still Star Do n’t Remember

After crystallize the brand in the main courtyard , hop the fence by the illusory crateful
Joe Goodfellow , 74
placard on the front of the Fortune Teller edifice
The Many slight thing
Take the wind tunnel over to the Roux Cabaret , it ’s on a lawn chair on the balcony
Hollowed Love
On the same balcony on a board
Spit It Out
After crossing over to the hotel , look for the building to your right
Ella Mae , 7
Poster on a coffee bar with Vaudeville on the front
I Miss , I Miss , I lack
On a spooky balcony after traversing some illusive platforms
Would Be Beautiful
pluck down the Roux sign to access a balcony with a Floof spot and this readable
Tempest Hamlin , 42
Poster on the front of Taverne Tapisserie edifice
Passage
After pulling the lever tumbler inside the clock tower , near a box seat of gears on the next level up
I ’m try
Pass all the obstruction to get to the top of the clock tower , it ’s on a paraphernalia as you take the air along the chief track
You get ta secrete It
After conk the top of the clock tower , go around back for a Floof spot and this decipherable
All Readables In Chapter 13: Past Isn’t Past
Only Two Readables Remain
There are only two more readables leftinSouth of Midnight , and they ’re in Chapter 13 along the independent pathway . Once you enter the theater , bend around and check the workshop for the first one , and on your way out at the very end of the point , the second is there on a table . There are no readables in Chapter 14 .
Run , Rabbit , Run
In the shop around the corner after entering the theater
Eternally She Waits
Near the final stage of the level on a desk in the living way area
Overall , there are more than 100 unlike clear collectible inSouth of Midnight , and tracking them all down can be quite an effort . keep an eye out for the glow glyph and burrower ’s stumps along with in full explore when you ’re inside and your power are locked can aid you blame up all the readables as you go . There are almost always readables inside construction where you have to walk lento and ca n’t use your abilities . Collecting all the readables in the secret plan unlock the " Lore Master " achievement , and you should give yourself a well - deserved pat on the back .
Your Rating
Your remark has not been pull through